
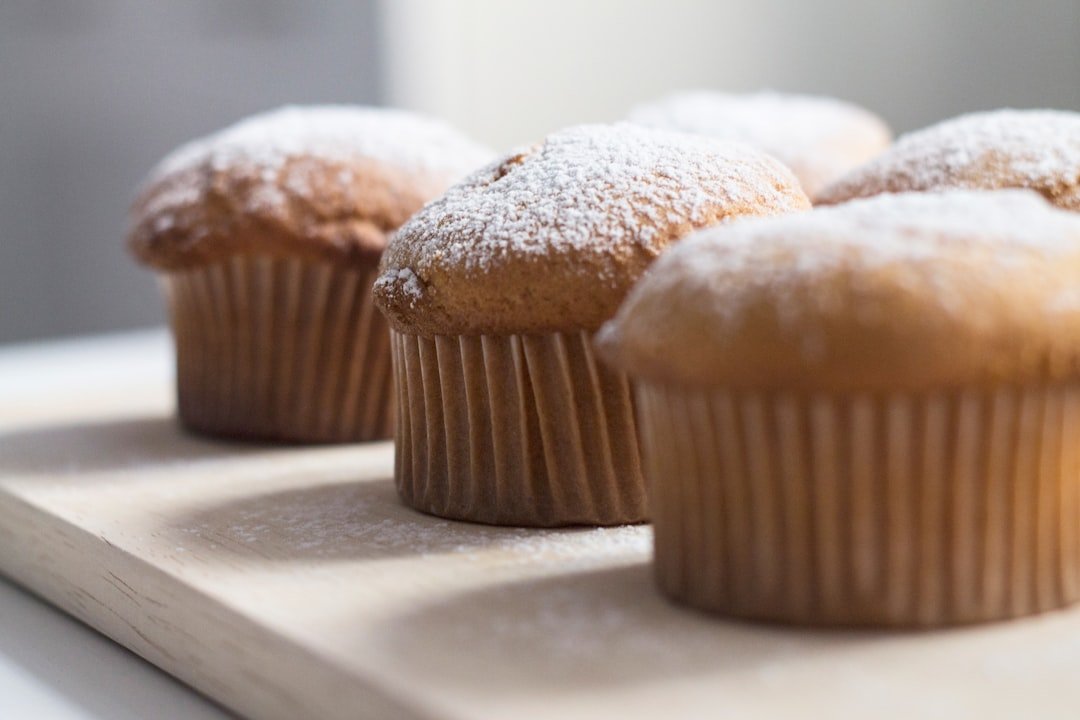
Are you tired of uneven muffins that bake with lopsided tops or soggy bottoms? Using a muffin tin might seem simple, but getting perfect, evenly baked treats every time takes a little know-how.
Imagine pulling out a batch where each muffin is golden, fluffy, and baked just right—wouldn’t that make your baking feel more rewarding? You’ll discover easy tips to help you use your muffin tin more effectively. These small changes can make a big difference in your baking results, saving you time and frustration.
Ready to bake muffins that look and taste amazing? Keep reading to learn how.
Choosing The Right Muffin Tin
Picking the right muffin tin helps bake evenly and get good results.
Different tins suit different recipes and ovens. Understanding options saves time.
Material Matters
Muffin tins come in various materials. Each material affects baking and cleanup.
- Aluminum:Heats fast and bakes evenly. Often lightweight.
- Non-stick coated:Easy to clean and release muffins smoothly.
- Silicone:Flexible and easy to remove muffins, but heats slower.
- Stainless steel:Durable but may heat unevenly.
Size And Shape Considerations
Choose muffin tin size and shape based on your recipe and oven space.
| Type | Capacity | Use | Notes |
|---|---|---|---|
| Standard | 12 muffins (about 2.5 inches each) | Most recipes | Fits most ovens |
| Mini | 24 or more small muffins | Small snacks or appetizers | Bakes faster |
| Jumbo | 6 large muffins | Big servings | Longer baking time |
| Novelty shapes | Varies | Fun shapes like hearts or stars | May need special recipes |
Credit: kalejunkie.com
Prepping Your Muffin Tin
Preparing your muffin tin properly helps you bake evenly and avoid sticking. Taking time to prep makes cleaning easier too.
Two common ways to prep are greasing the tin and using liners. Each method has its own benefits and tips.
Greasing Techniques
Greasing your muffin tin creates a smooth surface that stops baked goods from sticking. Use the right type and amount of grease for best results.
- Use butter, oil, or non-stick spray to coat each cup.
- Apply evenly with a pastry brush or paper towel.
- Make sure to reach the bottom and sides of each cup.
- Don’t use too much grease; a thin layer is enough.
- For extra non-stick power, sprinkle a little flour after greasing.
Using Liners
Liners are paper or silicone cups that fit inside your muffin tin. They make cleanup simple and can add style to your baked goods.
| Type of Liner | Benefits | Notes |
| Paper | Easy cleanup, disposable | May need greasing for sticky batters |
| Silicone | Reusable, flexible | Requires no greasing |
| Foil | Holds shape well | Good for heavy batters |
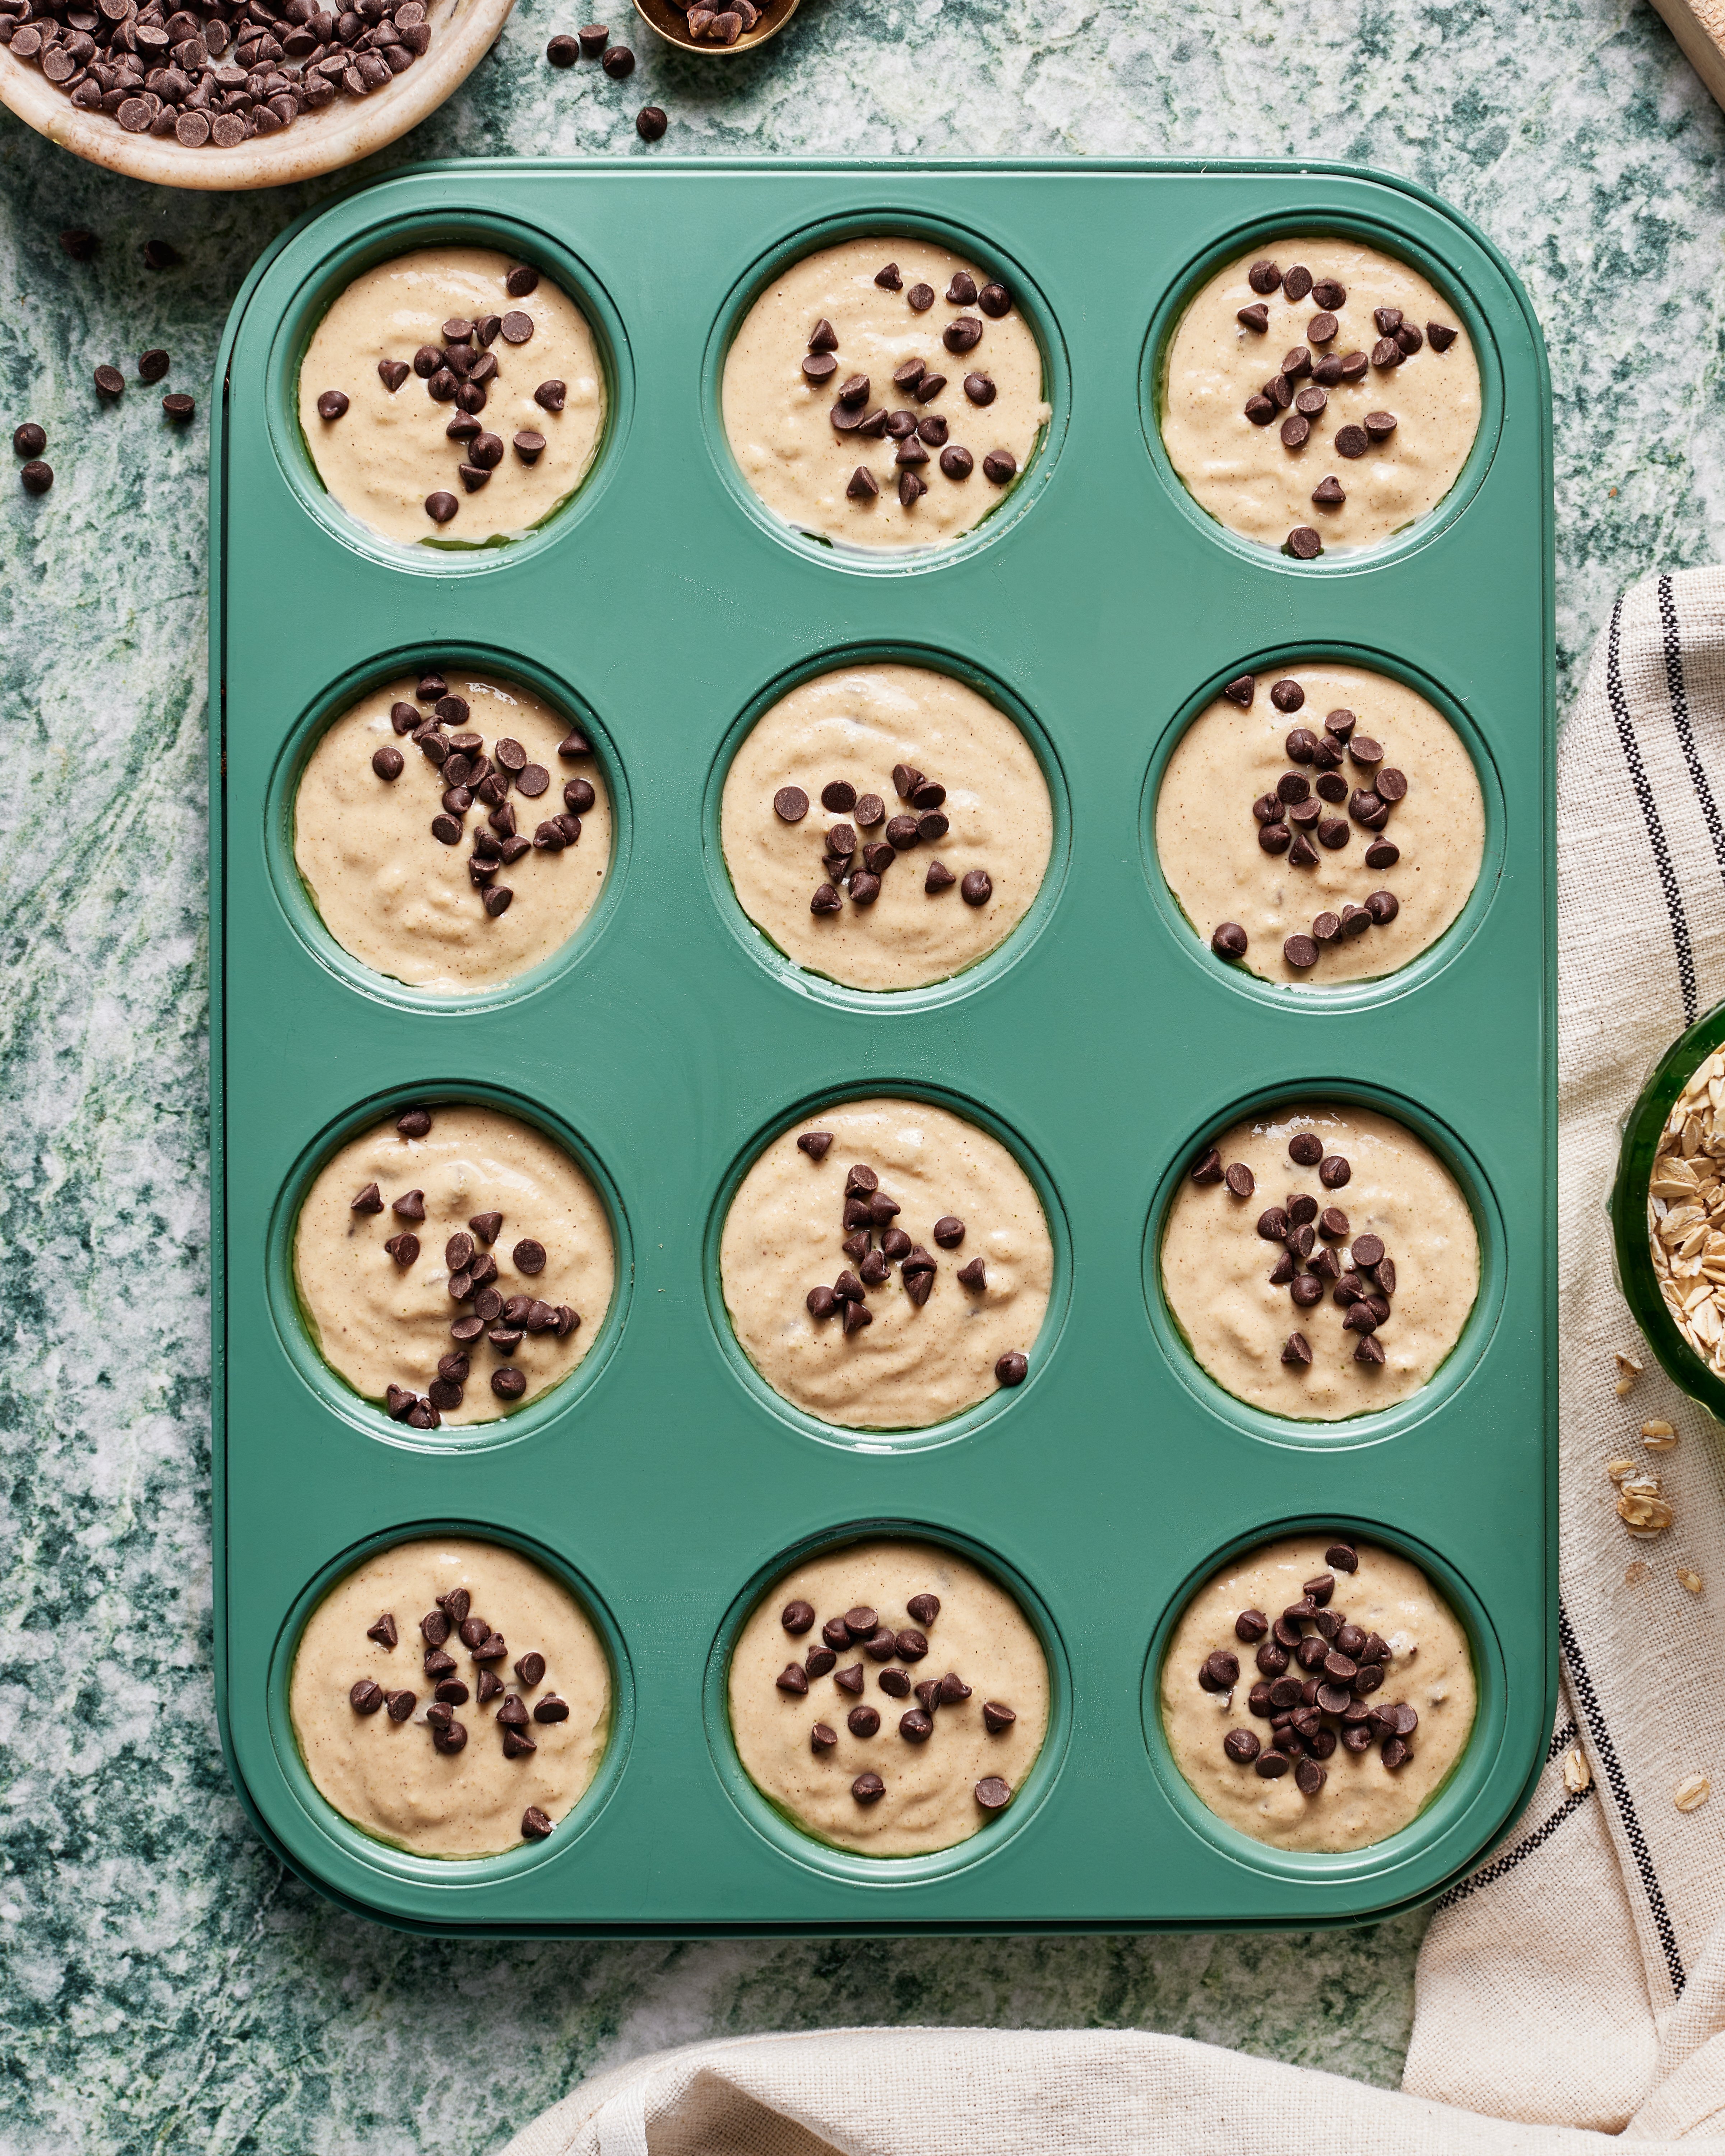
Filling Muffin Tins Evenly
Filling muffin tins evenly helps your muffins bake well. Even batter means muffins cook at the same speed.
Uneven filling can cause some muffins to burn or stay raw. Use tools and methods to fill tins uniformly.
Measuring Batter
Measuring batter before pouring keeps each muffin the same size. Use a measuring cup for accuracy.
Pour batter into each cup slowly to avoid spills. Check amounts by eye or with a spoon if needed.
- Use a liquid measuring cup with clear marks
- Pour batter to the same level in each cup
- Stop pouring when batter reaches about 2/3 full
Using A Scoop
A scoop helps portion batter evenly and quickly. It also keeps your hands clean.
Choose a scoop size that fits your muffin tin. Press the scoop against the bowl to fill it well.
- Use an ice cream or cookie scoop for uniform batter
- Fill each muffin cup with one or two scoops
- Level off the scoop for even amounts
Credit: bestfriendsforfrosting.com
Temperature And Baking Time
Using muffin tins evenly needs the right temperature and baking time. These two affect how well your muffins cook.
If the oven is too hot, muffins may burn outside and stay raw inside. Too low heat can make them dry and flat.
Adjusting Oven Racks
Place the oven rack in the middle for even heat. This helps muffins bake evenly on all sides.
If you use two muffin tins, put one rack in the middle and one a bit lower. Swap their positions halfway through baking.
- Middle rack gives best heat balance
- Switch racks halfway to avoid uneven baking
- Keep space between tins for air flow
Monitoring Bake Time
Check muffins a few minutes before the recipe time ends. Ovens can vary, so baking time is a guide.
Use a toothpick to test muffins. Insert it in the center; if it comes out clean, muffins are ready.
- Start checking 5 minutes early
- Look for golden tops
- Use toothpick test for doneness
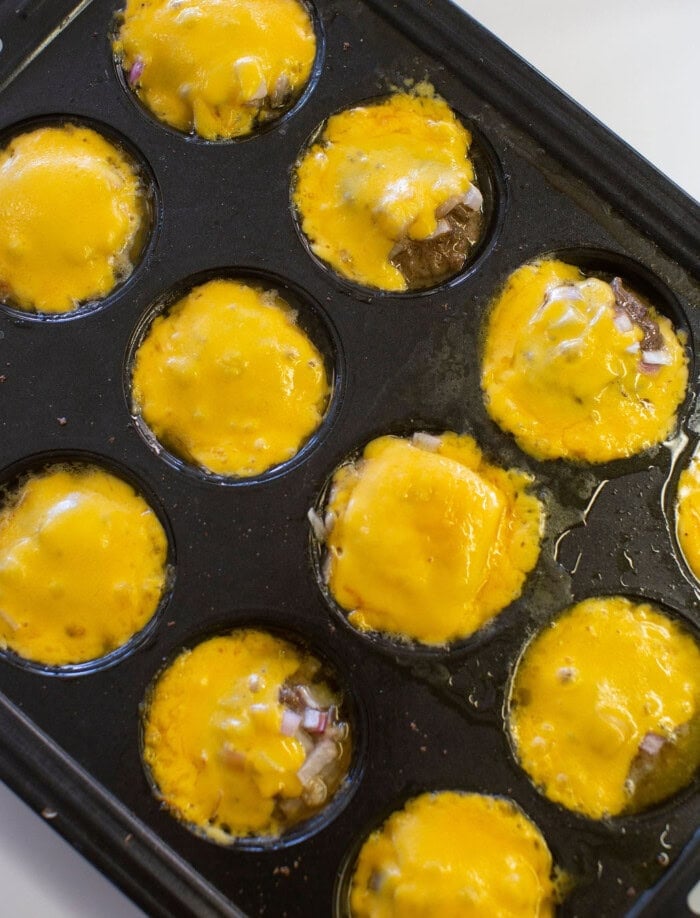
Troubleshooting Common Issues
Muffin tins are handy for baking, but some problems can happen. Overflow and uneven browning are common issues. Fixing these helps get better results.
Read the tips below to avoid these problems and bake muffins evenly every time.
Preventing Overflow
Overflow happens when the batter rises too much and spills over the edges. This makes a mess and wastes batter.
- Fill each muffin cup only two-thirds full to leave space for rising.
- Use the right recipe amounts for your tin size.
- Check your oven temperature with a thermometer to avoid overheating.
- Place the muffin tin in the center of the oven for even heat.
- Use muffin liners or grease the tin well to prevent sticking and overflow mess.
Avoiding Uneven Browning
Uneven browning means some muffins are darker or lighter than others. This can happen from hot spots or uneven heat.
| Cause | Solution |
| Oven hot spots | Rotate the muffin tin halfway through baking |
| Uneven batter distribution | Fill each cup with the same amount of batter |
| Wrong oven rack position | Place tin on the middle rack for balanced heat |
| Using dark or thin tins | Use light-colored, thick muffin tins for even heat |
Cleaning And Maintenance
Keeping muffin tins clean helps them last longer. Proper care makes baking easier and safer.
Regular cleaning stops buildup and prevents damage. Use the right tools to keep tins in good shape.
Removing Stubborn Residue
Sometimes muffin tins get sticky or burnt residue. Soaking helps loosen the stuck bits before cleaning.
Use gentle scrubbing tools to avoid scratching the surface. Avoid metal brushes or harsh cleaners.
- Fill the tin with warm water and mild soap
- Let it soak for 15 to 30 minutes
- Use a soft sponge or cloth to scrub gently
- For tough spots, try a paste of baking soda and water
- Rinse well and dry completely
Proper Storage
Store muffin tins in a dry place to avoid rust. Keep them flat or stacked with soft padding between.
Avoid heavy items on top to prevent warping. Proper storage helps keep tins ready for baking.
- Dry tins fully before storing
- Stack with paper towels or cloth between
- Store in a cool, dry cabinet
- Avoid placing heavy pots on top
- Check tins regularly for any signs of damage

Credit: food52.com
Frequently Asked Questions
How Do I Prevent Muffins From Sticking To The Tin?
To prevent sticking, always grease the muffin tin well or use paper liners. Ensure even coating on each cup. Non-stick spray or butter works best. This helps muffins release easily, maintaining their shape and appearance.
What’s The Best Way To Fill Muffin Cups Evenly?
Use an ice cream scoop or spoon to fill cups evenly. This ensures uniform baking and consistent muffin size. Avoid overfilling to prevent overflow and uneven cooking.
How Can I Ensure Muffins Bake Evenly In The Tin?
Place the muffin tin in the center of the oven. Rotate the tin halfway through baking for even heat distribution. Avoid overcrowding the oven to maintain consistent temperature.
Why Should I Avoid Overfilling Muffin Cups?
Overfilling causes muffins to spill over and bake unevenly. It can lead to undercooked centers and burnt edges. Fill cups about two-thirds full for best results.
Conclusion
Using muffin tins evenly helps bake treats perfectly every time. Fill each cup with the same amount of batter. This keeps baking consistent and avoids uneven cooking. Place the tin in the middle of the oven for even heat. Rotate the tin halfway through baking for best results.
Clean your muffin tin well before and after use. These simple steps make baking easier and more fun. Try these tips to enjoy delicious muffins with no fuss. Baking gets better with practice and patience. Keep experimenting and enjoy your tasty creations!