
Are you tired of struggling with your whisk every time you cook or bake? Using a whisk might seem simple, but doing it the right way can save you time and effort while giving you better results.
Imagine whipping up fluffy eggs or smooth batter without any lumps or mess. You’ll discover easy tips that make whisking faster and more efficient. Stick with me, and you’ll soon feel like a pro in the kitchen, turning ordinary dishes into something special with just a few smart moves.
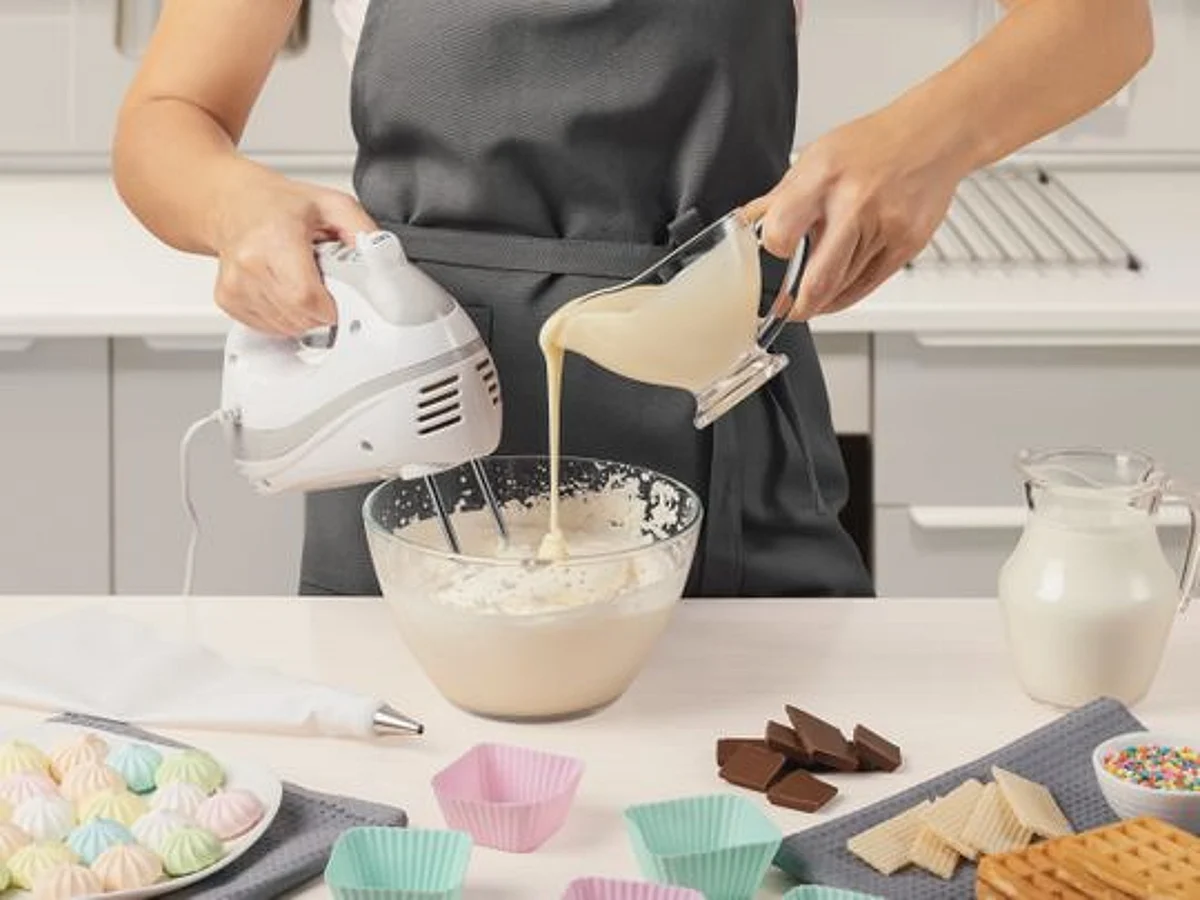
Credit: misen.com
Choosing The Right Whisk
Using the right whisk helps you mix ingredients faster and easier. Different whisks work best for different tasks in the kitchen.
Knowing the types, materials, and sizes will help you pick the best whisk for your cooking needs.
Types Of Whisks
There are many types of whisks. Each has a special shape for certain jobs like mixing, whipping, or folding.
- Ball Whisk: Good for reaching corners and mixing thicker batters.
- Balloon Whisk: Great for whipping air into eggs and cream.
- Flat Whisk: Best for sauces and gravies in shallow pans.
- French Whisk: Narrow shape, perfect for heavy mixing and thick mixtures.
Material Considerations
Whisks come in different materials like stainless steel, silicone, and plastic. Each has pros and cons.
- Stainless Steel: Strong, durable, and good for most tasks.
- Silicone: Safe for non-stick pans and heat resistant.
- Plastic: Lightweight but less durable, best for light mixing.
Choose a material that matches your cookware and the type of mixing you do often.
Size And Shape
The size and shape of your whisk affect how well you mix ingredients. Smaller whisks work well in tight spaces.
Bigger whisks can mix more ingredients fast. The shape also helps with different tasks like folding or whipping.
- Small Whisks: Great for sauces and small bowls.
- Medium Whisks: Good all-round size for most jobs.
- Large Whisks: Best for mixing large amounts or whipping cream.
Proper Whisking Techniques
Using a whisk correctly makes cooking easier and faster. Good techniques help mix ingredients smoothly.
Learn how to hold and move the whisk to get the best results in your recipes.
Grip And Hand Position
Hold the whisk handle firmly but not too tight. A relaxed grip helps you whisk longer without tiring.
Place your hand near the top of the handle for better control. Keep your wrist straight to avoid strain.
- Use your fingers and thumb to hold the handle
- Avoid gripping too hard to prevent hand fatigue
- Keep your wrist aligned with your forearm
Whisking Motion
Move the whisk in small circles or side-to-side strokes. This helps mix ingredients evenly and quickly.
Keep the whisk’s wires submerged to avoid splashing. Lift only slightly when needed to mix air into the batter.
- Use circular or back-and-forth motions
- Keep whisk wires under the mixture surface
- Lift gently to add air if recipe calls for it
Adjusting Speed
Start whisking slowly to combine ingredients without splashing. Increase speed as the mixture thickens.
Use faster movements for whipping cream or eggs. Slow down if the mixture looks unstable or splashes.
- Begin at a slow, steady pace
- Speed up when mixture thickens
- Slow down if splashing occurs
- Fast whisking is good for whipping
Optimizing Mixing Tasks
Using a whisk well can save time and make your cooking easier. It helps mix ingredients quickly and evenly.
This guide shares simple tips for using a whisk in different kitchen tasks. These ideas will help you get better results.
Whisking Eggs
To whisk eggs efficiently, use a balloon whisk for more air. This makes the eggs light and fluffy.
Start slow to break the yolks. Then whisk faster in a circular motion to add air.
- Use a bowl that is wide and deep
- Whisk in quick, smooth circles
- Stop when the eggs look frothy and pale
Blending Batters
Whisk batters gently to combine ingredients without overmixing. Overmixing can make baked goods tough.
Use a flat whisk or regular whisk depending on batter thickness. Thick batters need more strength.
- Mix dry and wet ingredients separately first
- Pour wet into dry slowly while whisking
- Stop when batter is smooth but still slightly lumpy
Emulsifying Dressings
Use a whisk to mix oil and vinegar well for a smooth dressing. This keeps them from separating.
Whisk quickly in a small bowl or jar. Adding mustard helps keep the mixture stable.
- Combine vinegar, mustard, and seasoning first
- Slowly add oil while whisking hard
- Whisk until the dressing looks creamy and thick

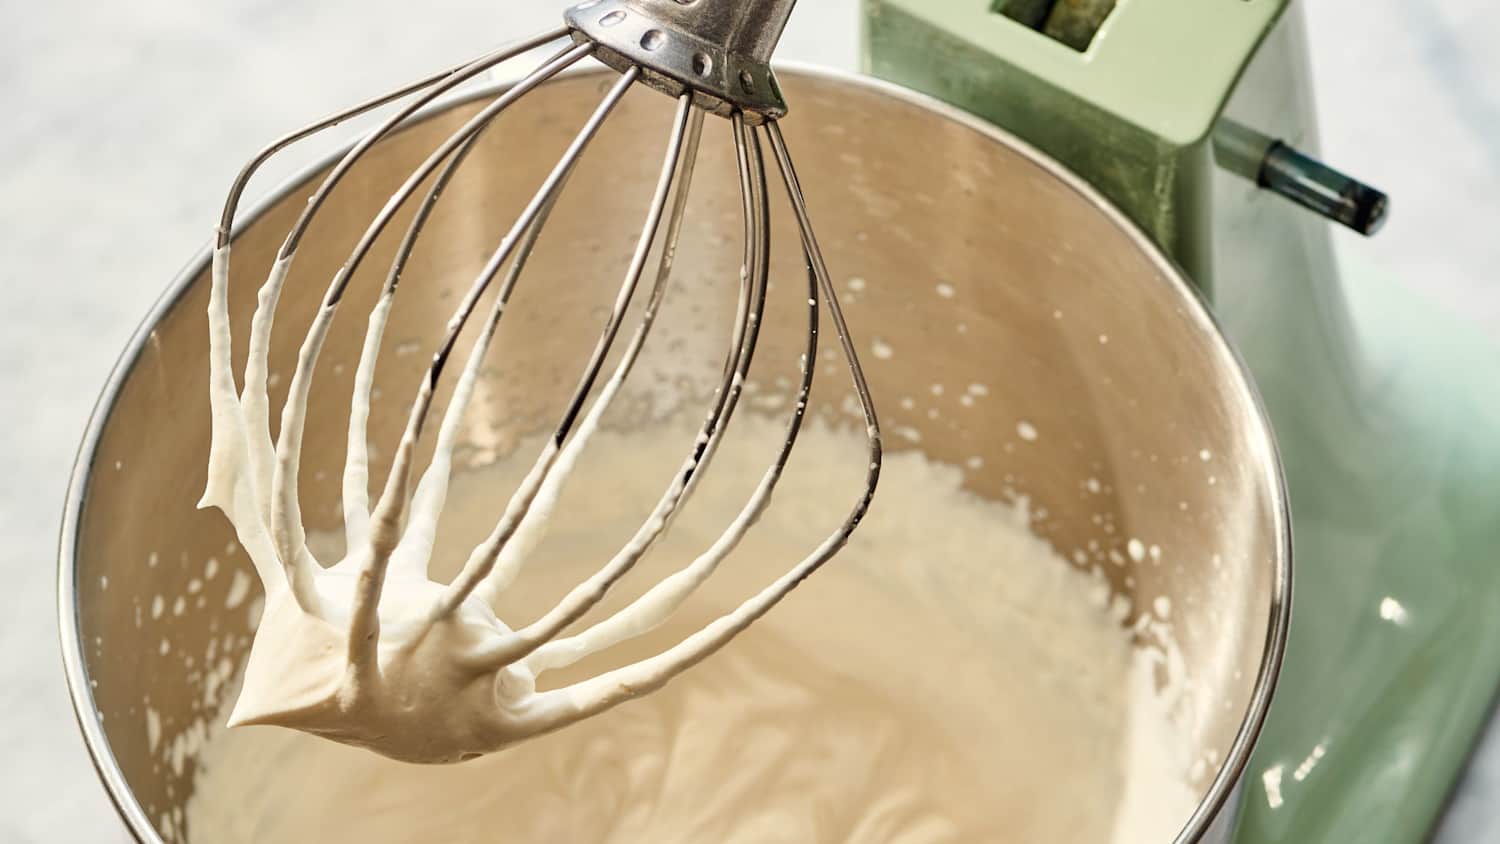
Credit: www.cadburydessertscorner.com
Cleaning And Maintenance
Keeping your whisk clean helps it work well for a long time. Proper care stops rust and dirt buildup.
Learn simple ways to clean, store, and know when to replace your whisk.
Cleaning Tips
Wash your whisk right after using it. Food can dry and stick to the wires.
Use warm soapy water and a brush to clean between the wires. Rinse well to remove soap.
- Soak in warm water if food is stuck.
- Use a small brush to clean hard spots.
- Dry the whisk fully before storing it.
Storage Solutions
Store your whisk in a dry place. Moisture can cause rust and damage.
Hang the whisk or keep it in a utensil holder to avoid bending the wires.
- Use hooks to hang the whisk.
- Keep it upright in a holder.
- Avoid crowded drawers that can bend wires.
When To Replace
Replace your whisk if wires are bent or broken. It will not work well then.
Rust or loose handles are signs you need a new whisk for safety and hygiene.
- Bent or broken wires
- Rust on metal parts
- Loose or cracked handle
Troubleshooting Common Issues
Using a whisk can be simple, but some problems may slow you down. Fixing these issues helps you work faster and cleaner.
Here are tips to avoid splatter, prevent wrist strain, and handle tough ingredients easily.
Avoiding Splatter
Whisking too fast can cause splatter. This makes a mess on your counter and clothes.
Start slow and increase speed as the ingredients mix well. Tilt the bowl slightly to keep the whisk inside.
- Use a deep bowl to contain ingredients
- Whisk gently at first
- Keep whisk close to the bowl’s bottom
- Cover the bowl partially with a cloth if needed
Preventing Wrist Strain
Whisking for long times can tire your wrist. This may cause pain or cramps.
Hold the whisk loosely and switch hands if possible. Take short breaks to rest your wrist.
- Use your whole arm, not just your wrist
- Keep your wrist straight, not bent
- Take breaks every few minutes
- Choose a whisk with a comfortable handle
Dealing With Stubborn Ingredients
Some ingredients like thick sauces or dough can be hard to whisk. This slows your work and tires you out.
Soften thick ingredients before whisking. Use a larger bowl to give space and mix easier.
- Warm cold ingredients slightly
- Break up clumps with a spoon first
- Use a balloon whisk for light mixtures
- Try a flat whisk for thick mixtures
Enhancing Efficiency With Accessories
Using a whisk is simple, but adding the right accessories can make it faster. Accessories help you mix better and save time.
These tools improve your whisking by making the process easier and cleaner. They help you get better results with less effort.
Using Whisk Attachments
Whisk attachments fit on hand mixers or stand mixers to speed up mixing. They work well for eggs, cream, and batter.
Different attachments serve different purposes. Balloon whisks are good for whipping air into mixtures. Flat whisks help with sauces and gravies.
- Balloon whisks add air and make mixtures fluffy
- Flat whisks stir sauces smoothly without lumps
- Electric whisk attachments reduce manual effort
- Interchangeable heads fit various mixer models
Complementary Kitchen Tools
Some kitchen tools work well with whisks to improve efficiency. Bowls with non-slip bases keep the bowl steady.
Silicone spatulas help scrape the sides clean. Measuring cups and spoons ensure correct ingredient amounts for better mixing.
- Non-slip mixing bowls prevent spills and slipping
- Silicone spatulas scrape batter for even mixing
- Measuring tools help add accurate ingredient amounts
- Timer helps track whisking time precisely
Credit: www.thekitchn.com
Frequently Asked Questions
How Do I Choose The Right Whisk For Tasks?
Select a whisk based on your recipe’s needs. Balloon whisks are great for whipping, while flat whisks suit sauces. Use small whisks for delicate tasks. Matching whisk size and shape ensures efficient mixing and better results in cooking and baking.
What Is The Proper Whisking Technique?
Hold the whisk firmly and use your wrist, not your arm. Move the whisk in a circular or side-to-side motion. Keep the whisk close to the bowl’s bottom for better mixing. This technique aerates ingredients quickly and evenly.
How Can I Avoid Splashing While Whisking?
Use a deep bowl to minimize splashes. Start whisking slowly to prevent ingredients from flying out. Gradually increase speed as the mixture thickens. Controlling speed and bowl size reduces mess and improves efficiency.
When Should I Clean My Whisk During Cooking?
Clean the whisk immediately after use to prevent food buildup. Rinse under warm water, then wash with soap. For sticky mixtures, soak briefly before cleaning. Regular cleaning maintains whisk performance and hygiene.
Conclusion
Using a whisk well makes cooking easier and more fun. Practice simple stirring and beating techniques daily. Choose the right whisk size for your task. Keep your whisk clean to avoid mixing old flavors. Whisk gently to avoid splashing ingredients everywhere.
Small steps lead to better cooking results. Enjoy the process and watch your dishes improve. A good whisk saves time and effort in the kitchen. Try these tips to feel confident while cooking.