
If you love baking bread at home, using a stand mixer can make your life so much easier. But getting the dough just right isn’t always simple.
You might wonder how to avoid sticky messes or how long to knead for the perfect texture. This article will give you clear, practical tips to help you master your stand mixer for bread dough. By the end, you’ll feel confident and ready to bake delicious, homemade bread every time.
Keep reading to unlock the secrets to better dough with less effort!

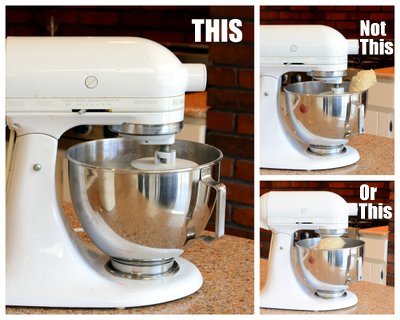
Credit: www.kitchenparade.com
Choosing The Right Stand Mixer
A good stand mixer helps make bread dough easier to prepare. It mixes ingredients evenly and saves your time.
Picking the right mixer depends on your baking needs. Consider power, size, and the tools it includes.
Power And Capacity Considerations
Look for a mixer with enough power to handle thick bread dough. A motor with 300 watts or more is best.
Capacity matters too. Choose a bowl size based on how much dough you plan to make at once.
| Power (Watts) | Recommended Use |
| Under 250 | Light doughs and small batches |
| 300-500 | Most bread dough and medium batches |
| Above 500 | Large batches and dense doughs |
Essential Attachments
Choose a stand mixer with the right tools for bread dough. The dough hook is the most important.
- Dough hook: Mixes and kneads dough efficiently
- Flat beater: Good for mixing ingredients before kneading
- Whisk: Used for whipping but not for dough

Credit: www.walmart.com
Preparing Your Ingredients
Getting your ingredients ready is important before using a stand mixer for bread dough. Proper preparation helps the dough mix well and bake evenly.
Careful preparation saves time and stops mistakes. It also makes your bread taste better and have a good texture.
Importance Of Measuring Accurately
Measuring ingredients correctly is key for good bread dough. Too much or too little of an ingredient can change the dough’s texture.
Use a kitchen scale for the best results. Measuring cups and spoons can work but are less exact.
- Weigh flour to avoid adding too much or too little
- Measure water and liquids by volume for accuracy
- Check salt and yeast amounts carefully for proper rising
Using The Right Flour Type
Different flours affect how your dough behaves. Bread flour has more protein and makes a stronger dough.
All-purpose flour works for soft breads but may produce a less chewy texture. Use the flour type your recipe asks for.
- Bread flour creates a firm, elastic dough
- All-purpose flour gives a softer, lighter bread
- Whole wheat flour adds fiber and a nutty taste
Mixing Techniques
Using a stand mixer for bread dough saves time and effort. It helps mix ingredients well and develops gluten.
Good mixing techniques give the dough the right texture. This improves bread quality and rise.
Optimal Speed Settings
Start mixing at a low speed to combine ingredients gently. This stops flour from flying out.
After ingredients blend, increase speed to medium for kneading. This develops gluten for elastic dough.
- Low speed for initial mixing (speed 1-2)
- Medium speed for kneading (speed 2-4)
- Avoid high speeds to prevent overheating dough
Identifying Proper Dough Consistency
Proper dough feels soft and slightly sticky but not wet. It should pull away from the bowl sides.
If dough is too sticky, add a little flour. If too dry, add a small amount of water.
- Dough is smooth and elastic
- It holds its shape without cracking
- It passes the windowpane test for gluten strength
Kneading Tips
Kneading bread dough with a stand mixer saves time and effort. It also helps develop gluten for better texture.
Knowing how long to knead and avoiding mistakes can improve your bread’s quality.
Duration For Kneading
Stand mixers usually knead dough faster than by hand. Most doughs need about 8 to 10 minutes.
- Start mixing on low speed to combine ingredients.
- Increase speed to medium for kneading.
- Stop after 8 minutes and check dough texture.
- If dough is sticky, knead 1–2 minutes more.
- Look for a smooth, elastic dough that pulls from the bowl sides.
Avoiding Over-kneading
Over-kneading can make dough tough and hard to shape. It damages gluten strands and dries the dough.
- Dough feels very stiff and hard to stretch.
- Surface looks dry or cracked.
- Bread bakes dense and heavy.
Handling Sticky Dough
Sticky dough can be tricky to work with in a stand mixer. It often sticks to the bowl and dough hook.
Knowing how to manage stickiness helps you shape bread dough easily and clean your tools quickly.
Using Oil Or Water
Adding a little oil or water can stop dough from sticking to the mixer parts. You can also use these to ease dough handling.
- Lightly oil the dough hook and bowl before mixing.
- Use water on your hands to shape sticky dough without it sticking.
- Add a small amount of oil to the dough if it feels too wet.
- Wet the work surface slightly to prevent dough from sticking during kneading.
Proper Cleanup Methods
| Cleaning Step | Method |
| Remove dough | Use a spatula to scrape dough from hook and bowl. |
| Soak parts | Soak removable parts in warm, soapy water for 10 minutes. |
| Wash bowl | Wash bowl with dish soap and soft sponge. |
| Dry thoroughly | Dry all parts completely to prevent rust. |
| Reassemble | Put parts back after drying for next use. |
Proofing Dough Tips
Proofing bread dough is a key step to make soft and fluffy bread. It helps the dough rise by letting the yeast work.
Using a stand mixer makes mixing easier, but proofing still needs care. Here are tips to get the best results.
Ideal Environment For Proofing
Yeast works best in a warm and moist place. Too hot or cold slows the rise or kills the yeast.
- Keep the dough in a bowl covered with a damp cloth or plastic wrap.
- Place the bowl in a warm spot, like near a radiator or inside an off oven with the light on.
- A temperature of 75°F to 85°F (24°C to 29°C) helps the dough rise well.
- Avoid drafts or cold areas that can stop the yeast from growing.
- Use a proofing box or a warm water bath for steady temperature control.
Recognizing Properly Proofed Dough
Knowing when the dough is ready to bake is important. Overproofed or underproofed dough affects bread quality.
| Test | What to Look For |
| Finger Test | Press dough gently. It should bounce back slowly but keep a slight dent. |
| Dough Size | Usually doubles in size during proofing. |
| Texture | Surface looks smooth and soft, not sticky or dry. |
| Time | Depends on temperature but usually 1 to 2 hours. |
Troubleshooting Common Issues
Using a stand mixer for bread dough can save time and effort. Yet, some problems may arise during mixing and kneading. Learning to fix these helps make better bread.
This guide covers two common problems: dough that is too wet or dry, and dough that does not rise properly.
Addressing Dough Too Wet Or Dry
The texture of bread dough is key to good bread. Dough that is too wet or too dry can cause poor results. Adjusting the ingredients and mixing time helps fix this.
- Dough Too Wet:Add small amounts of flour gradually while mixing. Stop once dough is smooth and elastic.
- Dough Too Dry:Add water or milk one teaspoon at a time. Mix until dough feels soft and sticky but not sticky on hands.
- Check Measurements:Use a kitchen scale for accurate flour and liquid amounts.
- Mixing Time:Knead dough long enough to develop gluten. Under-kneaded dough may feel sticky or crumbly.
Dealing With Dough Not Rising
Dough that does not rise can be frustrating. Yeast activity is affected by temperature, time, and ingredients. Checking these factors helps solve rising issues.
| Issue | Cause | Solution |
| Dough Does Not Rise | Yeast expired or dead | Use fresh yeast and test it with warm water and sugar |
| Dough Rises Slowly | Room too cold | Place dough in a warm spot (around 75°F or 24°C) |
| Dough Collapses After Rising | Overproofing | Watch dough and punch down when it doubles in size |
| Dough Rises Unevenly | Uneven mixing or shaping | Knead thoroughly and shape dough evenly before rising |
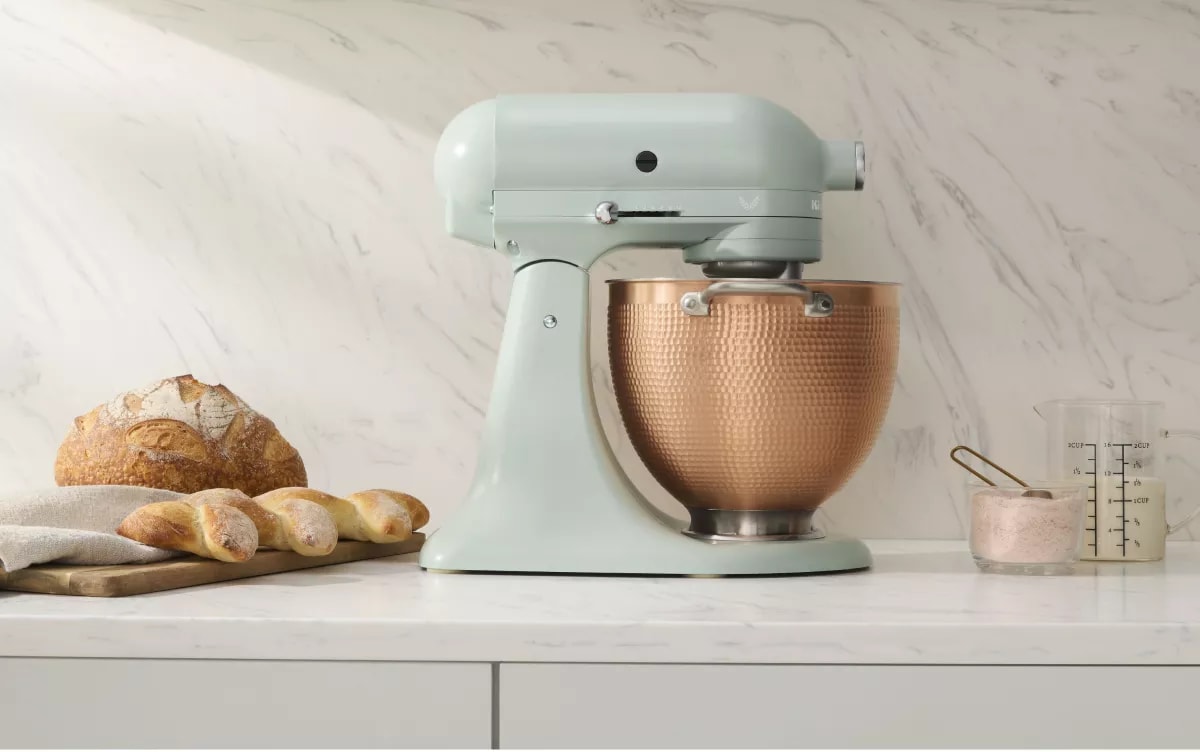
Credit: www.kitchenaid.com
Frequently Asked Questions
How Do I Prevent Dough From Sticking In A Stand Mixer?
Use the dough hook attachment and add flour gradually. Avoid overloading the mixer. Scrape down sides occasionally to keep dough from sticking and ensure even mixing.
What Speed Setting Is Best For Kneading Bread Dough?
Start mixing on low speed to combine ingredients, then increase to medium-low for kneading. High speeds can overwork dough and strain the mixer motor.
Can I Use A Stand Mixer For All Types Of Bread Dough?
Yes, stand mixers can handle most bread doughs, including white, whole wheat, and enriched dough. Adjust kneading time based on dough texture and recipe requirements.
How Long Should I Knead Bread Dough With A Stand Mixer?
Typically, knead dough for 8-10 minutes on medium-low speed. Stop when dough is smooth, elastic, and pulls away from the bowl sides.
Conclusion
Using a stand mixer makes bread dough easier and faster. Start slow to avoid flour flying everywhere. Watch the dough closely to get the right texture. Don’t forget to clean the mixer after use. Practice helps you learn how much mixing is enough.
With these tips, your bread baking will improve. Enjoy the process and the tasty results. Keep trying, and soon you will bake with confidence.