
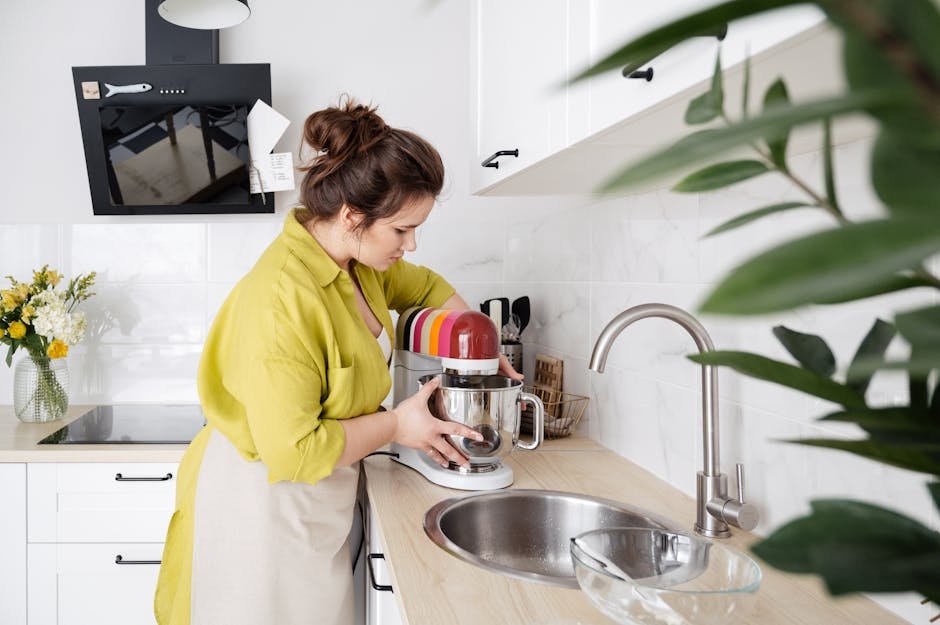
Are you ready to take your baking skills to the next level? Using a stand mixer can make your baking faster, easier, and more enjoyable.
But if you’re not sure how to get the best results, you might be missing out on its full potential. You’ll discover simple tips that will help you use your stand mixer like a pro. From mixing techniques to cleaning hacks, these ideas will save you time and improve your baked goods every time.
Keep reading to unlock the secrets that can transform your baking experience!
Choosing The Right Stand Mixer
Picking a stand mixer can make baking easier and faster. The right mixer fits your kitchen needs and baking habits.
Consider a few key features before buying. These features affect how well the mixer works for you.
Consider The Capacity
Capacity means how much dough or batter the mixer can handle at one time. If you bake for many people, a bigger bowl is best.
For small families or occasional baking, a smaller bowl saves space and energy.
| Capacity Size | Best Use |
| 4 to 5 quarts | Small batches, light baking |
| 5 to 7 quarts | Most home bakers, medium batches |
| 7 quarts and above | Large batches, heavy baking |
Power And Speed Settings
Power affects how well the mixer handles thick dough. Strong motors avoid overheating during long use.
- Look for motors with at least 250 watts for regular baking.
- Multiple speed settings help mix different ingredients well.
- Slow speeds work for gentle mixing, while fast speeds help whip cream or eggs.
Attachments And Accessories
Attachments add to the mixer’s use. Some come with a dough hook, paddle, and whisk. Others offer extra tools.
| Attachment | Use |
|---|---|
| Dough Hook | Kneads bread and pizza dough |
| Flat Beater | Mixes cookie dough and cake batter |
| Wire Whisk | Whips cream, eggs, and meringues |
| Additional Tools | Graters, slicers, pasta makers |
Preparing Ingredients For Mixing
Using a stand mixer works best when your ingredients are ready. Proper preparation helps your recipe turn out well.
Take time to prepare ingredients before mixing. This saves effort and improves the final texture.
Room Temperature Ingredients
Butter, eggs, and milk mix better at room temperature. Cold ingredients can make batter uneven or lumpy.
Leave these items out for about 30 minutes before starting. This helps them blend smoothly with other ingredients.
Proper Measuring Techniques
Measuring ingredients right is key. Too much or too little can change your recipe’s outcome.
- Use dry measuring cups for flour and sugar.
- Fill the cup and level it off with a straight edge.
- Use liquid measuring cups for milk, oil, or water.
- Check liquid measurement at eye level on a flat surface.
- Use teaspoons and tablespoons for small amounts.
Sifting Dry Ingredients
Sifting flour, baking powder, and cocoa powder removes lumps. It also mixes them evenly.
Use a fine mesh sieve or sifter. Hold it over a bowl and shake gently until all dry ingredients pass through.
| Dry Ingredient | Why Sift |
|---|---|
| Flour | Prevents clumps and aerates for lighter texture |
| Baking Powder | Distributes evenly to help rising |
| Cocoa Powder | Breaks up lumps for smooth batter |
Optimal Mixing Techniques
Using a stand mixer can save time and effort in baking. Mixing ingredients the right way helps create the best texture.
Knowing how to use your mixer properly prevents common baking mistakes. This guide covers key tips for better results.
Using The Paddle Attachment
The paddle attachment is ideal for mixing batters and doughs that are thick but not too stiff. It blends ingredients evenly without adding too much air.
Use the paddle for cookie dough, cake batter, and mashed potatoes. It helps combine ingredients smoothly.
Avoiding Overmixing
Overmixing can make baked goods tough or dense. It develops gluten too much or adds too much air.
- Mix ingredients just until combined.
- Stop the mixer as soon as the texture looks smooth.
- Use the lowest speed needed to blend well.
- Scrape the bowl sides to avoid uneven mixing.
Incorporating Ingredients Gradually
Add ingredients step-by-step to ensure even mixing and better texture. This method helps avoid lumps and clumps.
| Ingredient | How to Add | Reason |
| Flour | Add in small batches | Prevents overmixing and clumps |
| Sugar | Sprinkle slowly | Allows even dissolving |
| Eggs | Add one at a time | Ensures smooth batter |
| Butter | Use softened pieces | Mixes evenly without lumps |
Stand Mixer Maintenance
Keeping your stand mixer in good shape helps it last longer. Regular care avoids breakdowns.
Simple maintenance tasks make your baking easier and keep the mixer running well.
Cleaning Tips
Clean the mixer after every use to avoid buildup. Wipe the body with a damp cloth.
- Remove attachments and wash them with warm, soapy water.
- Dry parts fully before storing to prevent rust.
- Use a soft brush to clean small crevices.
- Never submerge the mixer body in water.
Storing Accessories
Keep your mixer tools safe and ready to use. Store attachments carefully.
| Accessory | Storage Tip |
| Whisk | Hang or place in a dry container |
| Beater | Wrap in cloth to avoid dents |
| Dough Hook | Keep in a sealed box to prevent dust |
Routine Maintenance Checks
Check your mixer regularly to catch issues early. This keeps it working smoothly.
- Inspect the power cord for cracks or damage.
- Listen for unusual noises during operation.
- Check that attachments lock in firmly.
- Look for signs of wear on moving parts.
- Test speed settings to ensure they work correctly.
Troubleshooting Common Issues
Using a stand mixer for baking is easy, but sometimes problems happen. Knowing how to fix common issues saves time and effort.
This guide covers how to deal with overheating, noise problems, and attachment wobble in your stand mixer.
Dealing With Overheating
Stand mixers can get hot if used for a long time or on high speed. Overheating can stop your mixer from working properly.
Turn off the mixer and let it cool down for 20 to 30 minutes. Avoid running the mixer on the highest speed for too long.
- Use lower speeds for heavy dough
- Mix in shorter bursts instead of long runs
- Check the vents for dust and clean them regularly
Addressing Noise Problems
Unusual noise from your mixer can mean a problem with the motor, gears, or attachments. Some noise is normal but loud grinding or rattling is not.
First, stop the mixer and check if the attachments are tight and correctly fixed. If noise continues, check for worn parts or debris inside the mixer.
- Tighten all attachments before mixing
- Remove and clean attachments regularly
- Inspect the mixer for loose screws or parts
Fixing Attachment Wobble
Attachments should fit firmly in the mixer. Wobbling can cause uneven mixing and damage the mixer or bowl.
Make sure you push the attachment all the way into the hub. Clean the attachment and hub to remove any flour or batter build-up before attaching.
- Remove debris before attaching tools
- Check that attachments are compatible with your mixer model
- Replace worn or bent attachments if wobbling continues
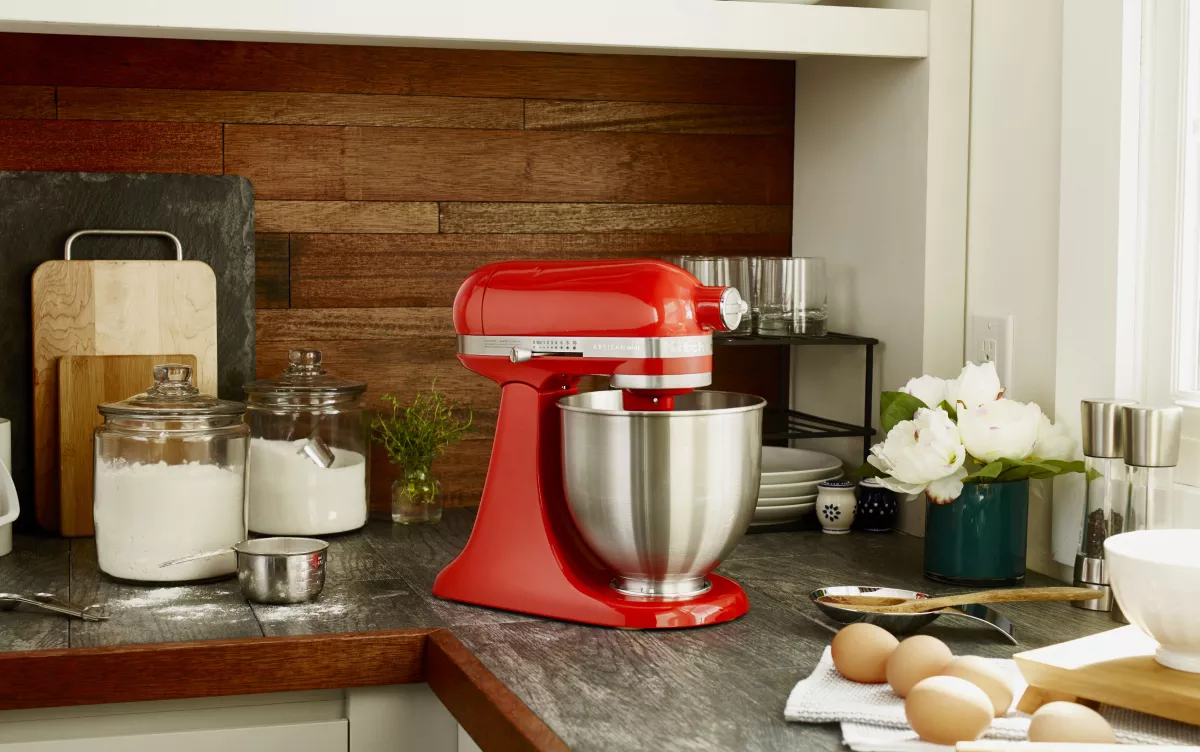
Credit: www.kitchenaid.com
Enhancing Baking Results
Using a stand mixer can improve your baking by saving time and effort. It helps mix ingredients evenly and achieve consistent textures.
Knowing how to use your stand mixer well leads to better dough, whipped egg whites, and creamy frostings.
Achieving Perfect Dough
Start with the right flour and measure it correctly. Use the dough hook attachment to mix and knead dough evenly without overworking it.
- Use low speed to mix ingredients first
- Switch to medium speed for kneading
- Stop mixing once dough is smooth and elastic
- Rest dough after kneading for better texture
Whipping Egg Whites To Stiff Peaks
Clean bowls and beaters help egg whites whip properly. Use the whisk attachment and start at low speed, then increase gradually.
| Tip | Reason |
|---|---|
| Use room temperature eggs | Whip faster and to higher volume |
| Avoid any yolk in whites | Yolks prevent proper whipping |
| Clean, dry mixing bowl | Fat or water stops whipping |
| Add sugar slowly | Stabilizes foam without deflating |
Creating Fluffy Buttercream
Buttercream is smooth and light when butter is soft but cool. Use the paddle attachment to mix butter before adding sugar.
- Beat butter on medium speed for 2 minutes
- Add powdered sugar gradually
- Mix until fluffy and smooth
- Adjust texture with milk or cream if needed
Exploring Advanced Techniques
A stand mixer is a helpful tool for many baking tasks. It can do more than just mix dough or batter. Learning some advanced techniques lets you use it for new recipes and textures.
Below are tips on using your stand mixer for making homemade pasta, crafting artisan breads, and churning ice cream. These ideas will help you try new things with your machine.
Making Homemade Pasta
Your stand mixer can knead pasta dough quickly and evenly. Use the dough hook and mix until the dough feels smooth. Let the dough rest before rolling it out for better texture.
- Combine flour and eggs in the mixer bowl.
- Use the dough hook on low speed to mix.
- Knead for about 5 minutes until smooth.
- Wrap dough in plastic and rest for 30 minutes.
- Roll out dough using a pasta roller or by hand.
Crafting Artisan Breads
Artisan breads need good dough development. Use the stand mixer’s dough hook to knead longer for better gluten structure. Control speed to avoid overheating the dough.
| Mixing Stage | Speed | Time |
| Initial Mixing | Low | 2-3 minutes |
| Kneading | Medium | 8-10 minutes |
| Final Folding | Low | 1-2 minutes |
Check dough temperature. It should be warm but not hot. Proper kneading helps bread rise well and have a nice crumb.
Churning Ice Cream
You can use your stand mixer to churn ice cream without a machine. Freeze the bowl and beat the cream slowly to create smooth ice cream.
Try this simple method to churn ice cream:
- Freeze the metal mixing bowl for 24 hours.
- Mix cream, sugar, and flavorings in a separate bowl.
- Pour the mixture into the cold bowl.
- Use the whisk attachment on medium speed.
- Beat for 10-15 minutes until thick and creamy.
- Transfer to a container and freeze until firm.
Credit: www.youtube.com

Credit: www.cakesandmore.in
Frequently Asked Questions
How Do I Choose The Right Speed For My Stand Mixer?
Select the speed based on your recipe’s instructions. Low speeds are for mixing, medium for beating, and high for whipping. Using correct speed ensures proper texture and prevents overmixing, which can ruin baked goods.
Can I Use A Stand Mixer For All Baking Recipes?
Most baking recipes work well with a stand mixer. However, delicate recipes like certain pastries may require gentle hand mixing. Always follow recipe guidelines and use appropriate attachments for best results.
What Attachments Are Essential For Baking With A Stand Mixer?
The paddle, whisk, and dough hook are key attachments. Use the paddle for mixing batter, whisk for whipping cream or eggs, and dough hook for kneading dough. Each attachment improves efficiency and baking outcomes.
How Do I Clean My Stand Mixer Properly?
Unplug the mixer before cleaning. Wipe the base with a damp cloth and hand wash attachments in warm, soapy water. Dry thoroughly before reassembling to maintain hygiene and prolong mixer life.
Conclusion
Using a stand mixer makes baking easier and faster. Always follow the recipe and use the right attachments. Keep the mixer speed steady to avoid splashes. Clean the mixer after each use to keep it working well. Experiment with different recipes to get comfortable with your mixer.
Enjoy baking with less mess and better results. Practice will help you bake like a pro over time. A stand mixer is a helpful tool in any kitchen.