
Are you ready to make the most out of your sandwich maker? Whether you use it daily or just occasionally, knowing a few simple tips can save you time, prevent mess, and help you create tastier sandwiches every time.
Imagine enjoying perfectly toasted bread with melted fillings, without any fuss or wasted ingredients. Keep reading, and you’ll discover easy ways to boost your sandwich-making game and get delicious results faster than ever. Your kitchen routine is about to get a whole lot better!

Credit: manuals.plus
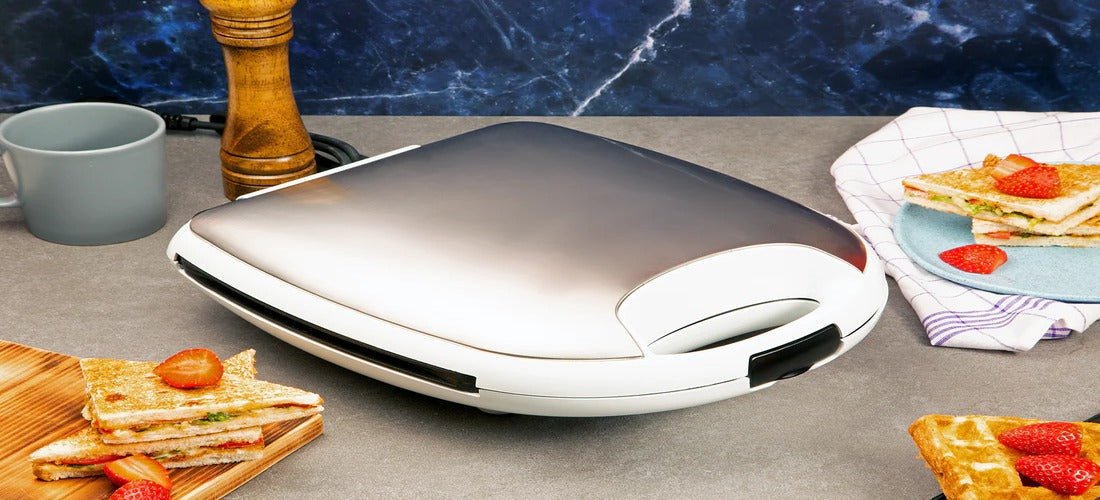
Choosing The Right Sandwich Maker
Picking the right sandwich maker helps you save time and effort. It also ensures your sandwiches cook evenly and taste great.
Consider the size and features carefully to find a model that fits your needs and kitchen space.
Size And Capacity
Size matters depending on how many sandwiches you want to make at once. A larger maker can cook several sandwiches quickly.
- Small models fit one sandwich at a time, good for singles or couples.
- Medium models handle two sandwiches, ideal for small families.
- Large makers cook four or more sandwiches, great for gatherings or big families.
- Check the appliance’s footprint to fit your kitchen counter.
Features To Consider
Some features make a sandwich maker easier and safer to use. Choose the ones that suit your cooking style.
| Feature | Benefit |
|---|---|
| Non-stick Plates | Prevent sandwiches from sticking and simplify cleaning. |
| Adjustable Temperature | Control heat for different bread types and fillings. |
| Indicator Lights | Show when the maker is ready or the sandwich is done. |
| Cool-touch Handle | Protect your hands from burns while handling the maker. |
| Removable Plates | Make cleaning easier and allow plate swapping for other uses. |
Credit: www.tataneu.com
Prepping Ingredients In Advance
Preparing ingredients before using a sandwich maker saves time. It helps you make sandwiches faster and more smoothly.
Organizing your ingredients also keeps your kitchen clean. You avoid last-minute mess and stress.
Chopping And Storing Veggies
Cut vegetables into small pieces before you start cooking. Store them in airtight containers to keep fresh.
- Wash and dry vegetables well.
- Chop peppers, onions, and tomatoes into thin slices.
- Place chopped veggies in sealed containers or bags.
- Keep containers in the fridge for up to three days.
- Use paper towels in containers to absorb extra moisture.
Pre-slicing Meats And Cheeses
Slice meats and cheeses before making your sandwich. This step speeds up assembly and ensures even cooking.
| Meat Type | Best Storage | Storage Time |
| Cooked Chicken | Airtight container | 3-4 days |
| Ham | Wrapped in parchment paper | 5 days |
| Cheddar Cheese | Plastic wrap or container | 1 week |
| Swiss Cheese | Plastic wrap or container | 1 week |
Efficient Layering Techniques
Using a sandwich maker is easy, but layering ingredients right makes it better. Proper layering helps cook evenly and keeps flavors balanced.
Good layering also stops the sandwich from getting soggy or falling apart. This guide shares tips to layer your sandwich efficiently.
Balancing Flavors
Balance strong and mild flavors to make each bite enjoyable. Place spicy or salty ingredients between milder layers to avoid overpowering taste.
Use spreads like butter or cream cheese to add smoothness. This helps blend flavors and keeps the sandwich moist.
- Start with a spread on the bread for moisture
- Add mild ingredients like cheese or lettuce first
- Place stronger flavors like ham or pickles in the middle
- Top with another spread to seal flavors
Avoiding Overstuffing
Too many ingredients can make the sandwich hard to close and cook unevenly. Keep layers thin and simple for best results.
Overstuffing may cause fillings to spill out during cooking. This creates a mess and weakens the sandwich structure.
- Use a moderate amount of each ingredient
- Slice ingredients thinly to fit better
- Press layers gently before closing the sandwich maker
- Leave space at edges for sealing the bread
Optimal Heat Settings
Using the right heat setting on your sandwich maker saves time and improves taste. It helps toast the bread evenly and melts fillings well.
Each sandwich maker may have different temperature controls. Learning to use them correctly makes your sandwiches better every time.
Understanding Temperature Controls
Most sandwich makers have a dial or buttons to adjust heat levels. Low, medium, and high settings control how fast and how much the sandwich cooks.
- Low heat is good for soft bread and delicate fillings.
- Medium heat works well for most sandwiches.
- High heat is best for thick bread or when you want a crisp crust.
Adjusting For Different Bread Types
Different breads need different heat settings to avoid burning or undercooking. Knowing these helps you pick the right heat level.
| Bread Type | Recommended Heat Setting | Notes |
| White bread | Medium | Toasts evenly without burning |
| Whole wheat | Medium to high | Denser bread needs more heat |
| Ciabatta | High | Thick crust crisps well at high heat |
| Rye | Medium | Toasts well but watch for burning |
| Gluten-free | Low to medium | Can dry out quickly, use lower heat |
Quick Cleanup Tips
Cleaning your sandwich maker quickly helps keep it ready for the next use. It also stops food from sticking and makes the appliance last longer.
Use easy steps to clean the sandwich maker right after you finish cooking. This saves time and effort.
Non-stick Solutions
Non-stick surfaces make cleaning easier. Always use non-stick spray or a small amount of oil before cooking. This prevents food from sticking to the plates.
Use soft cloths or sponges to clean non-stick surfaces. Avoid metal tools that can scratch and damage the coating.
- Apply a light layer of cooking spray before use
- Wipe plates with a damp cloth after each use
- Do not use abrasive scrubbers or sharp tools
- Allow the sandwich maker to cool before cleaning
Maintaining The Sandwich Maker
Regular maintenance keeps your sandwich maker working well. Clean crumbs and food bits from all corners to stop buildup.
Check the power cord and plug for damage. Store the sandwich maker in a dry place to avoid rust and wear.
- Unplug before cleaning to stay safe
- Use a soft brush to remove crumbs
- Clean the outside with a damp cloth
- Store in a cool, dry area
Creative Recipe Ideas
Using a sandwich maker can bring fun and ease to your cooking. You can make more than just simple sandwiches. Let’s explore creative ideas to try with your sandwich maker.
These recipes work well for breakfast, vegetarian meals, and even desserts. Each idea is simple and tasty to help you enjoy your sandwich maker more.
Breakfast Sandwiches
Start your day with warm and filling breakfast sandwiches. You can mix eggs, cheese, and meats for a quick meal. Try adding fresh herbs or veggies for extra flavor.
- Egg, cheese, and bacon sandwich
- Spinach, tomato, and feta cheese sandwich
- Ham and cheddar with a dash of mustard
- Scrambled eggs with avocado and salsa
Vegetarian Options
Vegetarian sandwiches can be tasty and healthy. Use colorful vegetables, cheese, and spreads to create great flavors. You can also add nuts or seeds for crunch.
| Ingredient | Suggested Use | Tip |
| Grilled zucchini | Layer with mozzarella | Slice thinly for even grilling |
| Roasted bell peppers | Add with goat cheese | Use different colors for variety |
| Smashed chickpeas | Mix with spices as a spread | Add lemon juice for freshness |
| Spinach leaves | Use fresh inside sandwich | Layer at the end to keep crisp |
Dessert Creations
Make sweet treats easily with your sandwich maker. Fill the bread with fruits, chocolate, or cream cheese. Warm it up until golden and enjoy a quick dessert.
- Peanut butter and banana with honey drizzle
- Nutella and sliced strawberries
- Cream cheese with cinnamon and apple slices
- Marshmallow and chocolate chunks for s’mores style
Safety Precautions
Using a sandwich maker is easy and quick. But you must follow safety rules to avoid accidents.
These tips help you use your sandwich maker safely every time you cook.
Avoiding Burns
Sandwich makers get very hot during use. Touching hot surfaces can cause serious burns.
Always use oven mitts or thick cloth when handling the sandwich maker. Do not touch the heating plates directly.
- Unplug the sandwich maker before cleaning or moving it
- Keep children away while the sandwich maker is hot
- Place the sandwich maker on a stable, heat-resistant surface
- Open the sandwich maker carefully to avoid steam burns
Proper Storage
Store the sandwich maker safely to prevent damage and accidents. Keep it dry and clean after use.
Wrap the power cord loosely to avoid tangles. Store the sandwich maker in a cool, dry place.
- Clean the plates after each use to remove food residue
- Do not store the sandwich maker when it is still warm
- Keep it out of reach of children
- Store the sandwich maker in a cupboard or drawer to protect it

Credit: wiproappliances.com
Frequently Asked Questions
How Do I Clean My Sandwich Maker Effectively?
Clean your sandwich maker after each use with a damp cloth. Avoid harsh chemicals. Use a soft brush for crumbs. Ensure it’s unplugged and cooled before cleaning.
What Is The Best Way To Preheat A Sandwich Maker?
Preheat your sandwich maker for 3-5 minutes until the indicator light shows it’s ready. This ensures even cooking and prevents sticking.
Can I Use Frozen Ingredients In A Sandwich Maker?
Yes, you can use frozen ingredients but thaw them slightly. This helps cook evenly and avoids excess moisture, which can affect texture.
How To Prevent Sandwiches From Sticking To The Maker?
Lightly grease the plates with oil or butter before placing sandwiches. This helps prevent sticking and makes cleaning easier after use.
Conclusion
Using a sandwich maker can be simple and fun. Clean it after each use to keep it working well. Choose fresh ingredients for tasty sandwiches every time. Avoid overfilling to prevent mess and uneven cooking. Experiment with different fillings to find your favorite.
Enjoy quick meals without much effort or time. Small steps make a big difference in efficiency. Keep these tips in mind for better results. Your sandwich maker will serve you well with care. Happy cooking and enjoy your delicious sandwiches!