
Are you ready to make your sandwich game easier and more delicious? Using a sandwich maker can save you time and bring out flavors you never thought possible.
But, to get the best results, you need to know a few simple tips. These tricks will help you avoid common mistakes and turn your sandwiches into perfect bites every time. Keep reading, and you’ll discover how to use your sandwich maker like a pro—making your meals tastier and your kitchen routine smoother.
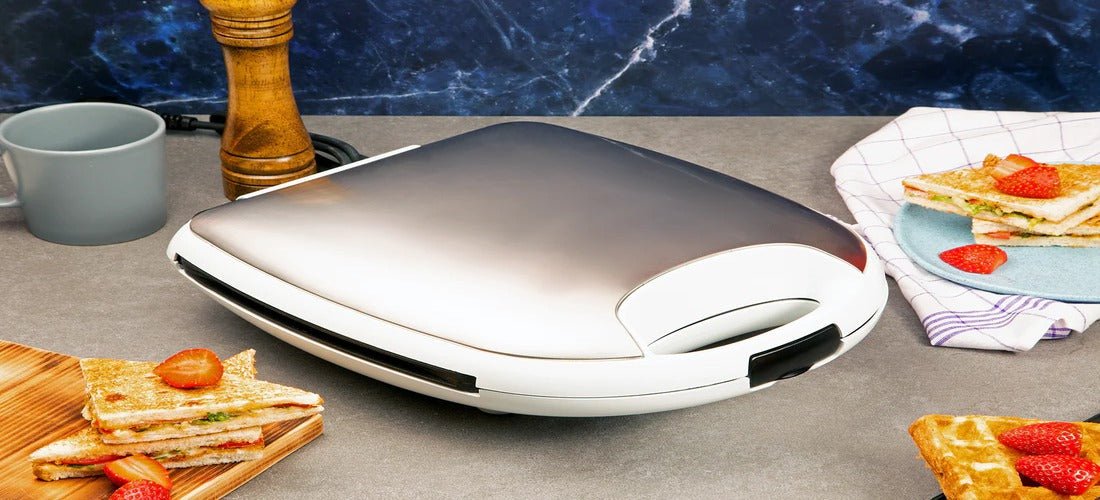
Credit: wiproappliances.com
Choosing The Right Sandwich Maker
Picking the right sandwich maker helps you enjoy easy and tasty meals. Different models suit different needs and kitchens.
Knowing the types and features can guide you to a good choice. This saves time and money in the long run.
Types Of Sandwich Makers
Sandwich makers come in several styles. Each style works best for certain sandwich types or cooking methods.
- Classic Sandwich Press:Heats both sides at once with heated plates.
- Panini Maker:Has ridged plates for grill marks and presses sandwiches flat.
- Toaster Sandwich Maker:Toasts bread and seals edges for pocket sandwiches.
- Multi-Function Maker:Offers different plates for waffles, grills, and sandwiches.
Key Features To Consider
| Feature | Why It Matters |
|---|---|
| Non-stick Plates | Makes cleaning easy and prevents sticking |
| Temperature Control | Allows cooking sandwiches at the right heat |
| Size and Portability | Fits your kitchen space and travel needs |
| Indicator Lights | Show when the maker is ready or done |
| Easy Plate Removal | Helps with cleaning and switching plates |

Credit: www.youtube.com
Preparing Your Ingredients
Preparing your ingredients carefully makes your sandwich taste better. It also helps your sandwich cook evenly in the sandwich maker.
Focus on choosing the right bread and fillings. These two parts decide the flavor and texture of your sandwich.
Selecting The Best Bread
Pick bread that fits your sandwich style. Soft breads work well for grilled sandwiches. Crunchy breads add texture.
- White bread is soft and easy to toast.
- Whole wheat bread adds a nutty flavor.
- Sourdough has a tangy taste and firm texture.
- Ciabatta gives a chewy bite.
- Use bread slices that are not too thick or thin.
Choosing Fillings And Spreads
Fillings and spreads give your sandwich flavor and moisture. Choose fresh and tasty options to avoid soggy bread.
| Type | Examples | Tips |
|---|---|---|
| Cheese | Cheddar, Mozzarella, Swiss | Use thin slices for even melting |
| Meats | Ham, Turkey, Chicken | Choose lean cuts to reduce grease |
| Vegetables | Tomatoes, Lettuce, Onions | Pat dry to avoid wet bread |
| Spreads | Butter, Mayonnaise, Mustard | Apply thin layers for flavor balance |
Preheating And Safety Tips
Using a sandwich maker is quick and easy. Preheating and safety are important to get good results and avoid accidents.
Follow simple tips to make your sandwich tasty and keep yourself safe while cooking.
Optimal Preheating Techniques
Always preheat the sandwich maker before placing the sandwich inside. This helps cook the bread evenly and gives a crispy texture.
Wait for the indicator light to show the sandwich maker is hot. Avoid opening the plates too early to keep heat inside.
- Plug in the sandwich maker and close the lid.
- Wait for the ready light or signal.
- Open the lid carefully before adding the sandwich.
- Close the lid gently to press the sandwich.
Ensuring Safe Usage
Use the sandwich maker on a flat, heat-resistant surface. Keep it away from water and flammable items.
Always unplug the device after use. Let it cool down before cleaning or storing it.
- Do not touch hot plates or surfaces while cooking.
- Use heat-resistant gloves if needed.
- Keep children away from the sandwich maker during use.
- Clean the plates only after the device is fully cool.
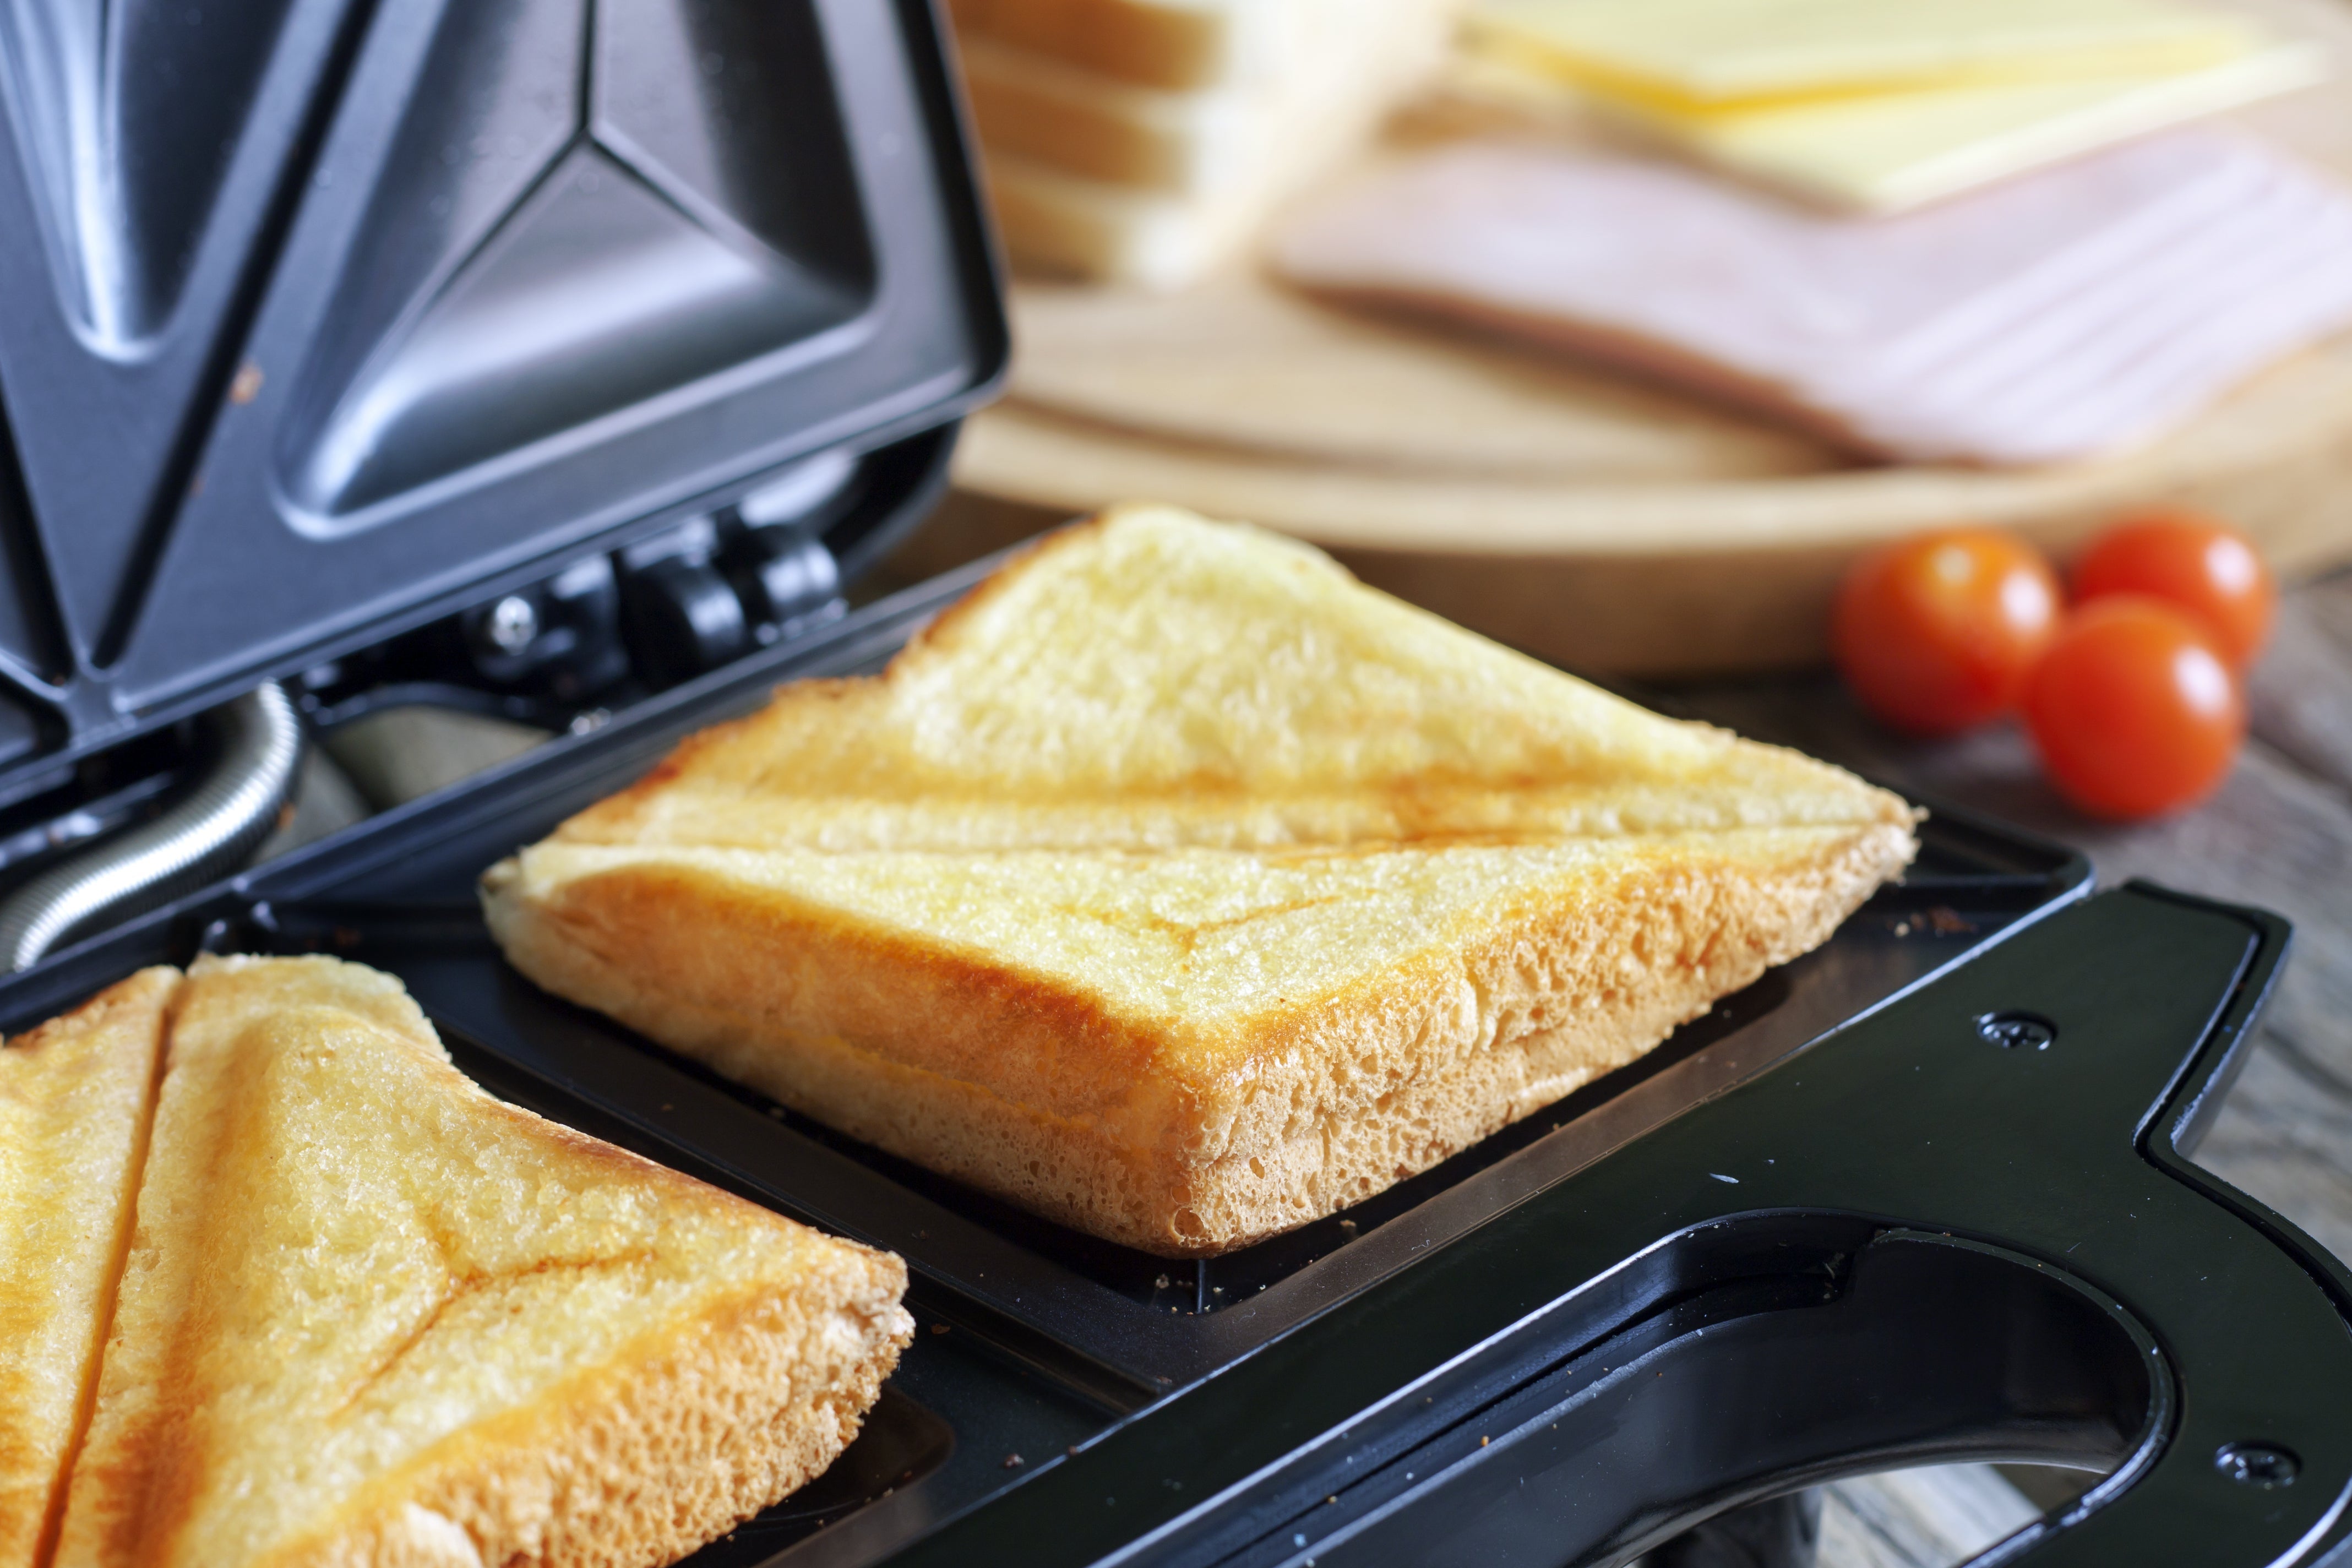
Making The Perfect Toast
Using a sandwich maker can help you make delicious toast quickly. Simple tips can improve your results every time.
Paying attention to how you layer your ingredients and adjust cooking time ensures your toast is crispy and tasty.
Layering Ingredients Correctly
Layering ingredients in the right order helps the sandwich cook evenly. It prevents soggy or burnt spots.
- Spread butter or mayonnaise on the bread first to create a moisture barrier.
- Add cheese next to help bind ingredients and melt nicely.
- Place meats or cooked vegetables in the middle for even heating.
- Put fresh vegetables like lettuce or tomatoes last to keep them crisp.
- Close with another buttered slice of bread for a golden crust.
Adjusting Cooking Time
Cooking time varies by sandwich thickness and ingredient moisture. Adjust the time to get perfect toast.
| Sandwich Type | Suggested Cooking Time | Notes |
| Thin sandwich with cheese | 3-4 minutes | Watch closely to avoid burning |
| Thick sandwich with multiple fillings | 5-6 minutes | Use lower heat if needed |
| Sandwich with fresh vegetables | 4-5 minutes | Check so vegetables stay crisp |
Cleaning And Maintenance
Using a sandwich maker often means cleaning it after each use. Proper care keeps it working well and safe for food.
Cleaning and maintenance help your sandwich maker last longer and stay free from germs.
Daily Cleaning Tips
Clean the sandwich maker after each use while it is still warm but unplugged. This stops food from sticking and makes cleaning easier.
Use a soft cloth or sponge with warm water and mild soap. Avoid harsh scrubbing to protect the non-stick surface.
- Unplug and cool the appliance before cleaning
- Wipe plates with a damp cloth or sponge
- Remove crumbs with a soft brush or cloth
- Do not use metal tools or abrasive cleaners
- Dry all parts fully before storing
Long-term Care
Check your sandwich maker regularly for any damage or wear. Tighten screws and clean vents to keep it safe and efficient.
Store your sandwich maker in a dry place. Cover it or keep it in its box to avoid dust and moisture buildup.
- Inspect the power cord for damage
- Clean heating plates deeply once a month
- Do not submerge the appliance in water
- Keep it away from damp or hot areas
- Follow the manufacturer’s manual for special care
Creative Recipe Ideas
Using a sandwich maker can be fun and easy. It lets you create many tasty sandwiches fast.
Try different ingredients to make delicious meals. Here are some ideas to get started.
Classic Combinations
Classic sandwiches are always a good choice. They use simple ingredients you know and love.
These combos are easy to make and taste great every time.
- Ham and cheese with mustard
- Peanut butter and jelly
- Grilled cheese with tomato
- Turkey, lettuce, and mayo
- Tuna salad with pickles
Innovative Twists
Try new flavors by adding unexpected ingredients. This makes your sandwich exciting.
Mix sweet, spicy, or crunchy items for a fresh taste.
- Apple slices with cheddar cheese
- Avocado and bacon with spicy mayo
- Grilled chicken with pesto and sun-dried tomatoes
- Nutella and banana with crushed nuts
- Roasted vegetables with hummus
Troubleshooting Common Issues
Using a sandwich maker is easy, but you may face some common problems. These issues can affect your sandwich’s taste and texture.
Knowing how to fix these problems helps you get better results every time. Here are tips to avoid soggy toasts and fix uneven cooking.
Avoiding Soggy Toasts
Soggy toasts happen when too much moisture stays inside the sandwich. This makes the bread soft and less tasty.
To avoid soggy toasts, use less wet ingredients and toast longer if needed. Also, preheat the sandwich maker before use.
- Use dry or lightly moist fillings like cheese and cooked meat
- Pat wet ingredients like tomatoes or pickles dry with a paper towel
- Preheat the sandwich maker for even heat
- Toast for the full recommended time without opening the lid early
- Let the sandwich rest for a minute after cooking to firm up
Fixing Uneven Cooking
Uneven cooking means some parts of the sandwich are overcooked or undercooked. This happens when heat spreads unevenly.
To fix uneven cooking, check your sandwich maker’s plates and adjust how you place the sandwich inside.
- Clean the plates regularly to remove food stuck on them
- Preheat the sandwich maker to get steady heat
- Place the sandwich in the center of the plates
- Press the lid evenly to spread heat well
- Flip the sandwich if your maker allows for better heat distribution

Credit: wiproappliances.com
Enhancing Your Sandwich Experience
Using a sandwich maker is a quick way to prepare tasty meals. It makes sandwiches crispy and warm. There are simple tips to improve your sandwich experience.
Choosing the right serving ideas and drinks can make your sandwich even better. This guide shares useful tips for serving and pairing.
Serving Suggestions
Try different ways to serve your sandwiches. Presentation and side dishes add flavor and fun. Here are some ideas to try next time.
- Cut sandwiches into triangles or strips for easy eating
- Serve with fresh salad leaves or crispy chips
- Add a small bowl of soup for a warm meal
- Sprinkle herbs like parsley or basil on top
- Use colorful plates to make the meal look inviting
Pairing With Beverages
Drinks can change the taste of your sandwich. Pick drinks that match the sandwich flavor. Here is a simple table of good pairings.
| Beverage | Best Sandwich Types |
|---|---|
| Iced Tea | Chicken, Turkey, Veggie |
| Fresh Lemonade | Ham, Cheese, BLT |
| Orange Juice | Breakfast Sandwiches |
| Black Coffee | Grilled Cheese, Bacon |
| Light Beer | Beef, Spicy Sausage |
Frequently Asked Questions
How Do I Clean A Sandwich Maker Effectively?
Clean your sandwich maker after it cools. Use a damp cloth to wipe plates gently. Avoid abrasive cleaners to protect non-stick surfaces. Remove crumbs with a soft brush. Regular cleaning maintains performance and hygiene, ensuring tasty sandwiches every time.
What Types Of Bread Work Best In A Sandwich Maker?
Use sliced bread like white, whole wheat, or multigrain. Avoid thick or very soft bread to prevent sticking. Lightly butter the outer sides for crispiness. Choosing the right bread enhances texture and flavor in your sandwiches.
Can I Use A Sandwich Maker For Other Recipes?
Yes, sandwich makers cook more than sandwiches. Try grilling vegetables, making quesadillas, or cooking omelets. They’re versatile for quick snacks and meals. Experimenting expands your cooking options beyond traditional sandwiches.
How Long Should I Cook Sandwiches In A Sandwich Maker?
Cook sandwiches for 3 to 5 minutes depending on filling. Wait until the indicator light signals readiness. Avoid opening too soon to keep heat consistent. Proper timing ensures a golden, crispy sandwich every time.
Conclusion
Using a sandwich maker can save time and make tasty meals. Clean it regularly to keep it working well. Choose fresh ingredients for better flavor and health. Experiment with different fillings to find your favorite. Always follow safety tips to avoid burns or accidents.
Enjoy quick, easy sandwiches anytime you want. Simple steps lead to great results every time. Keep practicing and have fun with your sandwich maker.