
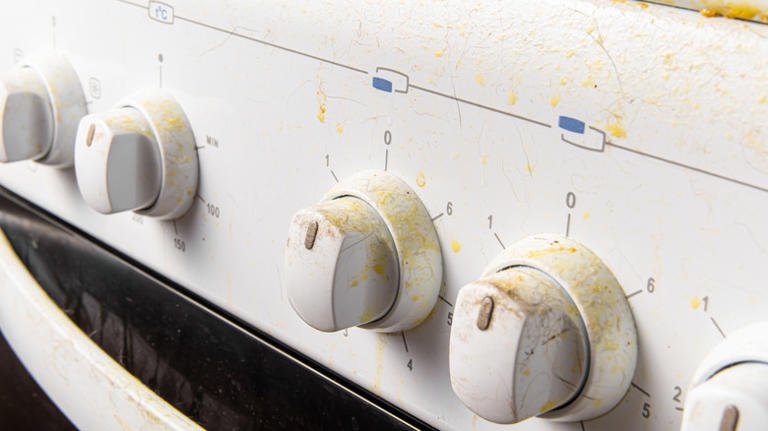
Are your oven knobs looking grimy or sticky? Cleaning them might seem like a small chore, but it can make a big difference in your kitchen’s look and hygiene.
You use these knobs every day, so keeping them clean isn’t just about appearances—it’s about safety and ease of use too. You’ll discover simple, effective tips that make cleaning your oven knobs quick and hassle-free. Keep reading to find out how you can refresh your kitchen with just a few easy steps!

Credit: us.cleadeep.com
Preparation Steps
Cleaning oven knobs is easier with proper preparation. Taking time to prepare ensures safe and effective cleaning.
Before you start, gather all needed supplies. Also, follow safety rules to avoid accidents.
Gather Necessary Supplies
Having the right tools makes cleaning oven knobs faster and cleaner. Prepare all items before you begin.
- Mild dish soap
- Warm water
- Soft cloth or sponge
- Old toothbrush
- Small bowl
- Paper towels
- Optional: Baking soda for tough stains
Safety Precautions
Safety is important when cleaning oven knobs. Follow these precautions to avoid injury or damage.
- Turn off the oven and unplug it if possible
- Make sure the oven is cool before cleaning
- Remove knobs gently to avoid breaking them
- Avoid harsh chemicals that can damage surfaces
- Keep cleaning supplies away from children and pets
Removing Knobs Safely
Cleaning oven knobs is easier when you remove them safely. Removing knobs without damage helps keep your oven in good condition.
Knowing the types of knobs and how to remove them properly protects both the knobs and the oven surface.
Types Of Knobs
Oven knobs come in different styles. Some are simple plastic, and others have metal parts or a push-pull design. Understanding your knob type helps in choosing the right removal method.
- Plastic Knobs:Usually slip off with a gentle pull.
- Push-Pull Knobs:Require pressing or pulling to unlock.
- Metal Knobs:May have screws or clips holding them.
Proper Removal Techniques
Using the right technique avoids breaking the knobs or damaging the oven. Follow these steps carefully.
| Knob Type | Removal Method | Tips |
| Plastic | Pull straight off | Use a cloth for grip |
| Push-Pull | Push then pull | Do not force, press firmly |
| Metal with Screws | Unscrew first | Use the right screwdriver |
Check for hidden screws or clips before pulling. If unsure, consult the oven manual for guidance.
Cleaning Methods
Oven knobs can get greasy and dirty from regular use. Cleaning them keeps your kitchen safe and looks nice.
Try simple cleaning methods using common household items. These ways are easy and effective.
Using Soap And Water
Soap and water work well for light dirt on oven knobs. You can clean knobs without harsh chemicals.
Remove the knobs from the stove if possible. Soak them in warm soapy water for 10 minutes.
- Use mild dish soap and warm water
- Scrub knobs gently with a soft cloth or sponge
- Rinse with clean water and dry fully
Baking Soda Paste
Baking soda paste cleans tougher grime on oven knobs. It is a natural scrub that won’t scratch.
Mix baking soda with a little water to form a thick paste. Apply paste on the knobs and wait 15 minutes.
- Make a paste with 3 parts baking soda and 1 part water
- Use a soft brush to scrub knobs gently
- Rinse well and dry before putting knobs back
Vinegar Solution
Vinegar helps remove grease and disinfects oven knobs. It is a natural cleaner you can use safely.
Mix equal parts white vinegar and water in a spray bottle. Spray the solution on the knobs and wipe clean.
- Use 1 cup vinegar and 1 cup water
- Spray on knobs and let sit for 5 minutes
- Wipe with a soft cloth to remove dirt
- Dry knobs completely before reattaching
Tackling Stubborn Stains
Oven knobs often get dirty from grease and food spills. Some stains can be hard to remove with just soap and water.
Using the right cleaning methods helps bring back the shine on your oven knobs. It also keeps your kitchen looking fresh.
Lemon Juice Treatment
Lemon juice works well to break down grease and stains on oven knobs. Its natural acidity helps lift dirt without harsh chemicals.
Apply lemon juice directly to the stained areas. Let it sit for 5 to 10 minutes before wiping it off with a damp cloth.
- Cut a fresh lemon in half
- Squeeze juice on stains
- Wait 5–10 minutes
- Wipe with a clean, damp cloth
- Repeat if needed
Commercial Cleaners
Commercial cleaners can remove tough stains that lemon juice cannot. Choose a cleaner safe for plastic or metal knobs.
Use a small amount of cleaner on a cloth. Rub gently on the stains. Avoid using too much to prevent damage to the knob surface.
- Pick a non-abrasive cleaner
- Apply cleaner to cloth, not directly on knob
- Gently scrub the stained area
- Rinse with a damp cloth
- Dry the knob thoroughly
Drying And Reattaching Knobs
Cleaning oven knobs is important for hygiene and smooth operation. After washing, drying them well keeps parts safe.
Proper reattachment ensures the oven works as expected. Follow simple tips to dry and fix knobs correctly.
Ensuring Complete Dryness
Dry the oven knobs fully before putting them back. Water left inside can cause damage or rust.
- Use a soft cloth to wipe off moisture.
- Let knobs air dry in a warm place for at least an hour.
- Check all crevices to remove trapped water.
- Avoid direct sunlight to prevent plastic damage.
Reinstallation Tips
Put knobs back carefully to avoid breaking or misalignment. Proper fit keeps your oven safe to use.
| Tip | Details |
| Align Correctly | Match the knob’s grooves with the oven’s control shaft. |
| Press Firmly | Push the knob until it clicks or fits snugly. |
| Test Function | Turn the knob gently to check if it controls the oven properly. |
| Clean Surroundings | Wipe the area before reattaching to avoid dirt buildup. |
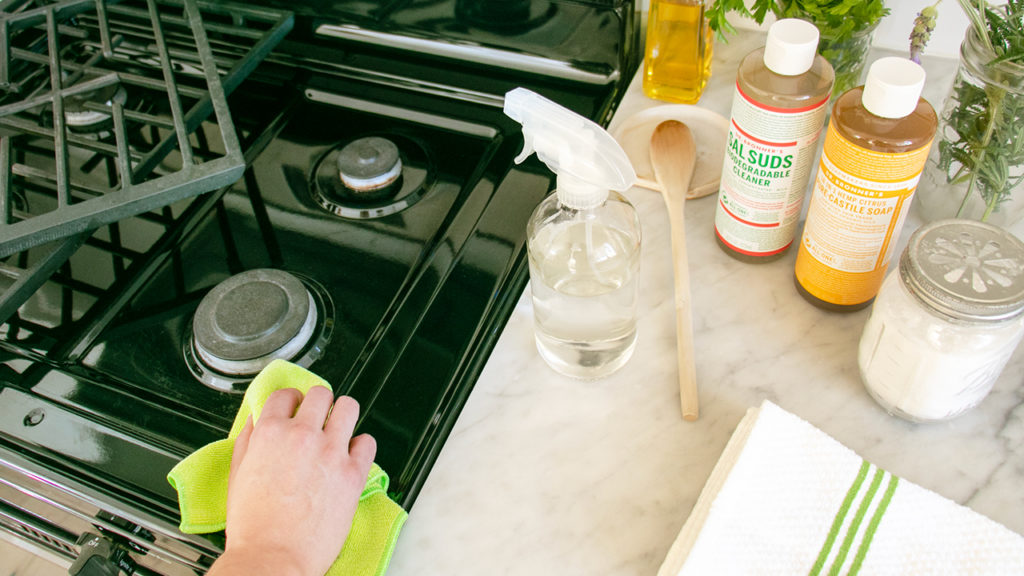
Credit: www.lisabronner.com
Regular Maintenance Tips
Keeping your oven knobs clean helps your kitchen look neat. Regular care stops dirt from building up.
Simple cleaning routines save time and keep knobs working well. Follow easy steps to maintain them.
Weekly Wipe-down
Clean your oven knobs once a week with a soft cloth. This removes grease and dust before they harden.
Use warm water and mild soap for wiping. Avoid harsh cleaners that can damage the knob’s surface.
- Turn off the oven before cleaning.
- Dampen a cloth with warm, soapy water.
- Wipe each knob gently to remove dirt.
- Dry knobs with a clean towel to avoid water spots.
Avoiding Future Build-up
Prevent dirt by handling knobs with clean hands. Avoid touching them with greasy or wet fingers.
Cover your stove when cooking foods that splatter. This helps keep knobs free from grease and spills.
- Wash hands before using the oven.
- Use stove covers or splatter guards while cooking.
- Clean spills right away to stop buildup.
- Check knobs weekly for any signs of grime.
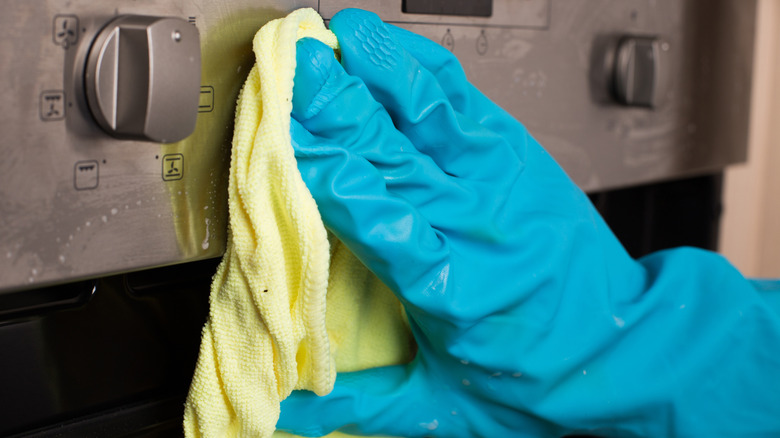
Credit: www.housedigest.com
Frequently Asked Questions
How Do I Safely Remove Oven Knobs For Cleaning?
Gently pull the oven knobs straight out to avoid damage. If stuck, use a cloth for grip or consult your manual. Avoid using tools that may scratch or break the knobs.
What Cleaning Solutions Work Best For Oven Knobs?
Mild dish soap mixed with warm water effectively cleans oven knobs. Avoid harsh chemicals that can damage surfaces. For stubborn grime, a baking soda paste works well and is safe.
How Often Should Oven Knobs Be Cleaned?
Clean oven knobs monthly or whenever visible dirt appears. Regular cleaning prevents grease buildup and maintains hygiene. Frequent wiping after heavy use helps keep knobs spotless.
Can I Put Oven Knobs In The Dishwasher?
Check your oven manual first; some knobs are dishwasher-safe. If unsure, hand wash with mild soap and warm water. Avoid high heat, which can warp or damage knobs.
Conclusion
Cleaning oven knobs is simple with these easy tips. Regular cleaning keeps knobs looking new and working well. Use mild soap and warm water for best results. Avoid harsh chemicals that can damage the surface. Take your time to remove grease and dirt carefully.
Clean knobs help your kitchen stay fresh and safe. A little effort goes a long way in kitchen care. Start today and enjoy a cleaner cooking space.