
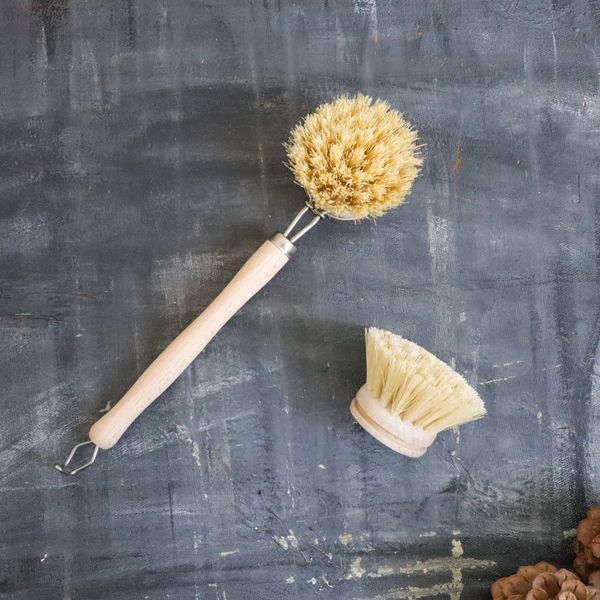
Your kitchen sponge and brushes are hardworking tools, but they can also be a hidden source of germs if not cleaned properly. You use them every day to keep your kitchen spotless, yet many people overlook how to keep these tools fresh and safe.
What if you could make your cleaning routine more effective and healthier with just a few simple steps? You’ll discover easy and practical tips to clean your kitchen sponges and brushes, helping you protect your family and keep your kitchen truly clean.
Keep reading to find out how small changes can make a big difference!
Importance Of Clean Kitchen Tools
Kitchen sponges and brushes help us clean dishes and surfaces. They get dirty fast because of food and moisture.
Keeping these tools clean stops germs from spreading. It also keeps your kitchen safe and fresh.
Preventing Bacteria Growth
Sponges and brushes hold moisture, which helps bacteria grow. Dirty tools can spread germs to your dishes.
Cleaning them often lowers the chance of illness. It keeps your family healthy.
Extending Tool Lifespan
Regular cleaning stops buildup of dirt and grime. This makes sponges and brushes last longer.
It saves money by reducing how often you buy new ones.
Maintaining Kitchen Hygiene
Clean tools help keep your kitchen tidy. They stop bad smells and stains from forming.
This creates a better cooking space for you and your family.
Avoiding Cross-contamination
Dirty sponges and brushes can spread germs between foods. This is risky for raw meat and vegetables.
Cleaning tools regularly helps prevent this problem and keeps food safe.
Signs Your Sponge Or Brush Needs Cleaning
Kitchen sponges and brushes get dirty fast. They hold germs and food bits. Knowing when to clean them keeps your kitchen safe.
Look for clear signs that your sponge or brush needs cleaning. This helps stop bad smells and bacteria buildup.
Unpleasant Odor
A strong, bad smell is a clear sign. Sponges and brushes trap food and moisture. This causes bacteria to grow and smell bad.
If your sponge or brush smells sour or rotten, it is time to clean it. Do not ignore the smell as it means germs are inside.
Visible Dirt Or Food Particles
You can see leftover food or dirt stuck in the sponge or brush. This means it is not clean anymore. It may spread germs when used.
Check the sponge or brush after each use. If you spot any food bits, clean it right away to avoid bacteria growth.
Change In Texture
The sponge or brush feels slimy or sticky. It may also become hard or crumbly. These texture changes show it is dirty or old.
If the texture is different than when new, clean or replace the sponge or brush. This keeps your kitchen tools safe to use.
Discoloration Or Stains
Sponges and brushes may change color or have stains after use. Dark or green spots can mean mold or mildew growth.
Do not use sponges or brushes with mold stains. Clean them well or replace them to avoid health risks.
Last Used A Long Time Ago
If you have not cleaned your sponge or brush in days, it likely holds many germs. Regular cleaning is important for safety.
Set a schedule to clean or replace your kitchen tools every few days. This prevents bacteria from building up.
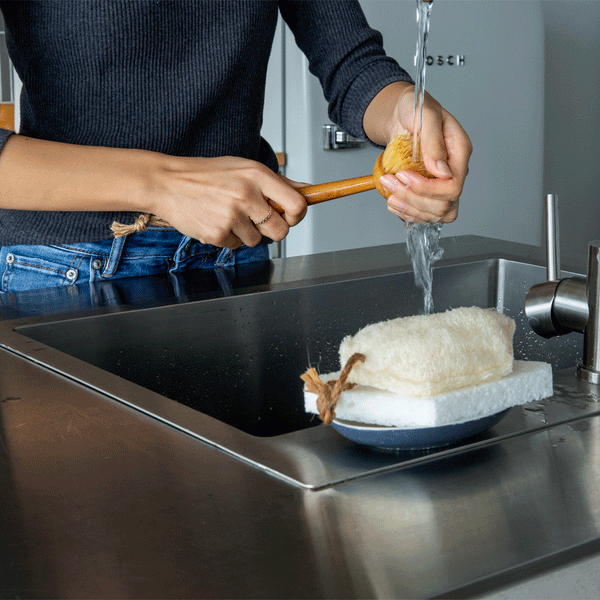
Quick Cleaning Methods
Kitchen sponges and brushes get dirty fast. Cleaning them often stops germs from growing. Here are two quick ways to clean them safely at home.
Microwave Technique
Microwaving sponges kills many bacteria. It uses heat to clean deep inside. Make sure the sponge is wet before microwaving.
Put the wet sponge in the microwave for about two minutes. Let it cool before taking it out. This method refreshes your sponge quickly.
Boiling Water Method
Boiling water also cleans sponges and brushes well. It kills germs by using very hot water. This method works best for brushes with tough bristles.
Place the sponge or brush in boiling water for five minutes. Remove carefully and let it dry. This simple step keeps your kitchen tools safe.
Deep Cleaning Techniques
Kitchen sponges and brushes collect germs and food bits. Cleaning them deeply keeps your kitchen healthy.
Use strong cleaning solutions to kill bacteria and remove odors. Regular deep cleaning helps sponges last longer.
Vinegar And Baking Soda Soak
Vinegar and baking soda make a natural cleaner. This soak removes grime and kills germs on sponges and brushes.
First, mix half a cup of vinegar with one cup of hot water. Add two tablespoons of baking soda slowly.
- Soak the sponge or brush in the mixture for 30 minutes.
- Rinse well with clean water after soaking.
- Let dry completely before using again.
Bleach Solution
Bleach kills almost all bacteria on kitchen tools. Use a diluted bleach solution for safe deep cleaning.
Mix one tablespoon of bleach with one gallon of water. Soak the sponge or brush for five minutes in this solution.
- Wear gloves to protect your skin.
- Rinse the item thoroughly after soaking.
- Air dry fully before use to avoid bleach smell.
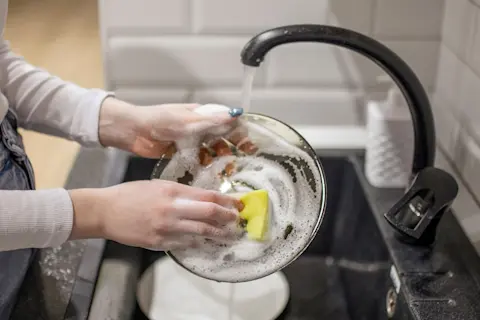
Using Dishwashers For Cleaning
Kitchen sponges and brushes hold many germs. Cleaning them often helps keep your kitchen safe.
Dishwashers can clean these tools well. They use hot water and strong sprays to remove dirt and bacteria.
Place Sponges And Brushes Properly
Put sponges and brushes in the top rack of the dishwasher. This keeps them away from heating elements.
Make sure they do not block water flow. Place brushes with bristles facing down for better cleaning.
Use The Right Dishwasher Cycle
Choose a hot water or sanitize cycle. These cycles kill most germs on sponges and brushes.
A regular wash cycle may not clean them fully. Check your dishwasher manual for best settings.
Avoid Using Detergent
Do not add dishwasher detergent when cleaning sponges. Detergents can leave harmful residue behind.
Cleaning with hot water alone is enough to kill most bacteria and remove grime.
Dry Sponges And Brushes Thoroughly
After the dishwasher cycle, let sponges and brushes dry well. Wet tools grow bacteria faster.
- Place them in a dry spot with good air flow
- Do not store them in closed containers while wet
- Replace sponges often to keep your kitchen clean

Credit: sqwishful.com
Natural Cleaning Alternatives
Cleaning kitchen sponges and brushes is important to keep them fresh and safe. Natural cleaning options help remove germs without harsh chemicals.
These simple ingredients are easy to find and gentle on your tools. They help keep your kitchen clean naturally.
Lemon And Salt Combo
Lemon and salt work well to clean kitchen sponges and brushes. Lemon has natural antibacterial properties. Salt acts as a gentle scrub.
To clean, cut a lemon in half and dip it in salt. Rub the lemon on the sponge or brush. Let it sit for a few minutes, then rinse well.
- Lemon juice kills bacteria and neutralizes odors
- Salt scrubs away dirt and food bits
- This combo is natural and safe for most materials
Essential Oils
Essential oils add a natural clean scent and help kill germs. Oils like tea tree, lavender, or eucalyptus work well for cleaning.
Add a few drops of essential oil to warm water. Soak your sponge or brush for 10-15 minutes. Rinse and let dry completely.
- Tea tree oil is a strong natural disinfectant
- Lavender oil helps freshen and soothe
- Eucalyptus oil fights bacteria and smells clean
Maintaining Cleanliness
Kitchen sponges and brushes get dirty fast. They hold germs from food and dishes. Cleaning them often keeps your kitchen safe.
Good care helps stop bad smells and bacteria. It also makes your tools last longer.
Regular Replacement Schedule
Sponges and brushes need to be replaced often. Old ones collect germs that can spread illness.
Change sponges every one to two weeks. Replace brushes every two to three months or sooner if worn out.
- Replace sponges every 7 to 14 days
- Swap brushes every 60 to 90 days
- Replace sooner if they smell or fall apart
Proper Storage Tips
Store sponges and brushes in dry places. Wet tools grow bacteria fast and smell bad.
Keep them where air can reach all sides. Avoid leaving them in sinks or closed containers.
- Use holders with holes or slits for airflow
- Keep tools away from standing water
- Let sponges dry completely between uses
Credit: nymag.com
Common Mistakes To Avoid
Cleaning kitchen sponges and brushes is important to keep your kitchen safe. Many people make mistakes that stop these tools from getting clean.
Knowing what to avoid helps you clean better and last longer. Here are some common errors to watch out for.
Not Cleaning Sponges Often Enough
People often forget to clean sponges daily. This lets bacteria grow and spread in your kitchen.
Cleaning sponges every day keeps them fresh and safe to use.
Using Harsh Chemicals On Brushes
Some cleaners damage the bristles of kitchen brushes. This makes brushes less effective and shortens their life.
Use mild soap or natural cleaners to protect your brushes.
Leaving Sponges Wet For Too Long
Sponges stay wet and trap germs if left without drying. This causes bad smells and bacteria growth.
Always squeeze out water and let sponges dry in open air.
Not Replacing Sponges Regularly
Using the same sponge for too long is a big mistake. Old sponges hold dirt and germs even if cleaned.
Replace sponges every 1 to 2 weeks for better hygiene.
Ignoring Brush Handles And Bases
People clean only the bristles and forget about handles. Dirt and germs can hide in brush bases and handles.
Clean the entire brush, including the handle and base, regularly.
Credit: www.discovermagazine.com
Frequently Asked Questions
How Often Should I Clean Kitchen Sponges?
You should clean kitchen sponges daily to prevent bacteria build-up. Use methods like microwaving or soaking in vinegar for effective cleaning.
What Is The Best Way To Disinfect Kitchen Brushes?
Disinfect kitchen brushes by soaking them in hot, soapy water. Follow up with a vinegar or bleach solution for deeper cleaning.
Can I Microwave My Kitchen Sponge Safely?
Yes, microwaving a damp sponge for two minutes kills most bacteria. Ensure the sponge is wet to avoid fire hazards.
How Do I Dry Kitchen Sponges Properly?
Squeeze out excess water and air dry sponges in a well-ventilated area. Avoid leaving them in damp, enclosed spaces to reduce bacteria growth.
Conclusion
Keeping kitchen sponges and brushes clean helps stop germs from spreading. Regular washing and drying make them last longer. Using hot water or vinegar kills many bacteria. Replace sponges often to keep your kitchen safe. Clean tools mean healthier food and fewer illnesses.
Small steps lead to big changes in kitchen hygiene. Remember, clean sponges and brushes make cooking safer and easier. Simple habits keep your kitchen fresh every day.