
Have you ever struggled to get that perfect golden glaze on your baked goods? A pastry brush might be the simple tool you’re missing.
Knowing how to use a pastry brush can transform your cooking, making your dishes look and taste more professional. Whether you’re brushing butter, egg wash, or sauces, the right technique can make all the difference. Keep reading to discover easy tips and tricks that will help you master this handy kitchen tool—and impress everyone with your baking skills.
Choosing The Right Pastry Brush
Using the right pastry brush can make baking easier and more effective. Different brushes suit different tasks in the kitchen.
Knowing which brush fits your needs helps you get the best results for glazing, buttering, or cleaning dough.
Materials And Their Benefits
Pastry brushes come in various materials. Each material has its own advantages for baking and cooking.
- Natural Bristles:Soft and hold liquids well. Good for delicate pastries but can absorb odors.
- Silicone:Heat-resistant and easy to clean. Does not shed bristles and works well with sticky glazes.
- Nylon:Durable and affordable. Works well for general use but may melt if exposed to high heat.
- Wooden Handle:Comfortable grip and sturdy, but avoid soaking to prevent damage.
Size And Shape Considerations
Brush size and shape affect how you apply liquids and reach tight spots in your baking.
| Brush Size | Best Use | Advantages |
|---|---|---|
| Small (1-2 inches) | Detail work, edges, and small pastries | Precise application, good for delicate tasks |
| Medium (3-4 inches) | General glazing and buttering | Balanced control and coverage |
| Large (5+ inches) | Covering large surfaces quickly | Fast and even spreading of liquids |
| Flat Shape | Spreading sauces evenly | Good surface contact, smooth finish |
| Round Shape | Applying liquids in small areas | Better reach in corners and crevices |

Credit: zyliss.co.uk
Preparing The Pastry Brush
Using a pastry brush starts with making sure it is clean and dry. A well-prepared brush helps spread sauces and butter evenly. It also keeps your food safe from germs and old flavors.
Learn how to clean and dry your pastry brush before you start cooking or baking. These simple steps keep your brush ready and your dishes delicious.
Cleaning Before Use
Before using your pastry brush, wash it with warm water and soap. This removes dust, dirt, or leftover food. Rinse it well to get rid of soap residue. Clean bristles work better and do not change the flavor of your food.
- Use mild dish soap for cleaning.
- Gently scrub the bristles with your fingers.
- Rinse under running warm water until no soap remains.
- Check for food particles stuck in the brush.
- Repeat washing if the brush feels sticky or dirty.
Proper Drying Techniques
Drying your pastry brush properly keeps the bristles in good shape. It also stops mold and bacteria from growing. Do not leave the brush wet or in a closed space.
| Drying Method | Benefits |
| Air dry bristles hanging down | Prevents water buildup in the handle |
| Pat dry with a clean towel | Removes excess water quickly |
| Store in open space | Allows airflow to keep bristles fresh |
Techniques For Using A Pastry Brush
A pastry brush is a simple tool that helps spread liquids on food. It makes baking easier and improves the look and taste.
Using the right technique with a pastry brush helps you cover food evenly and avoid messes.
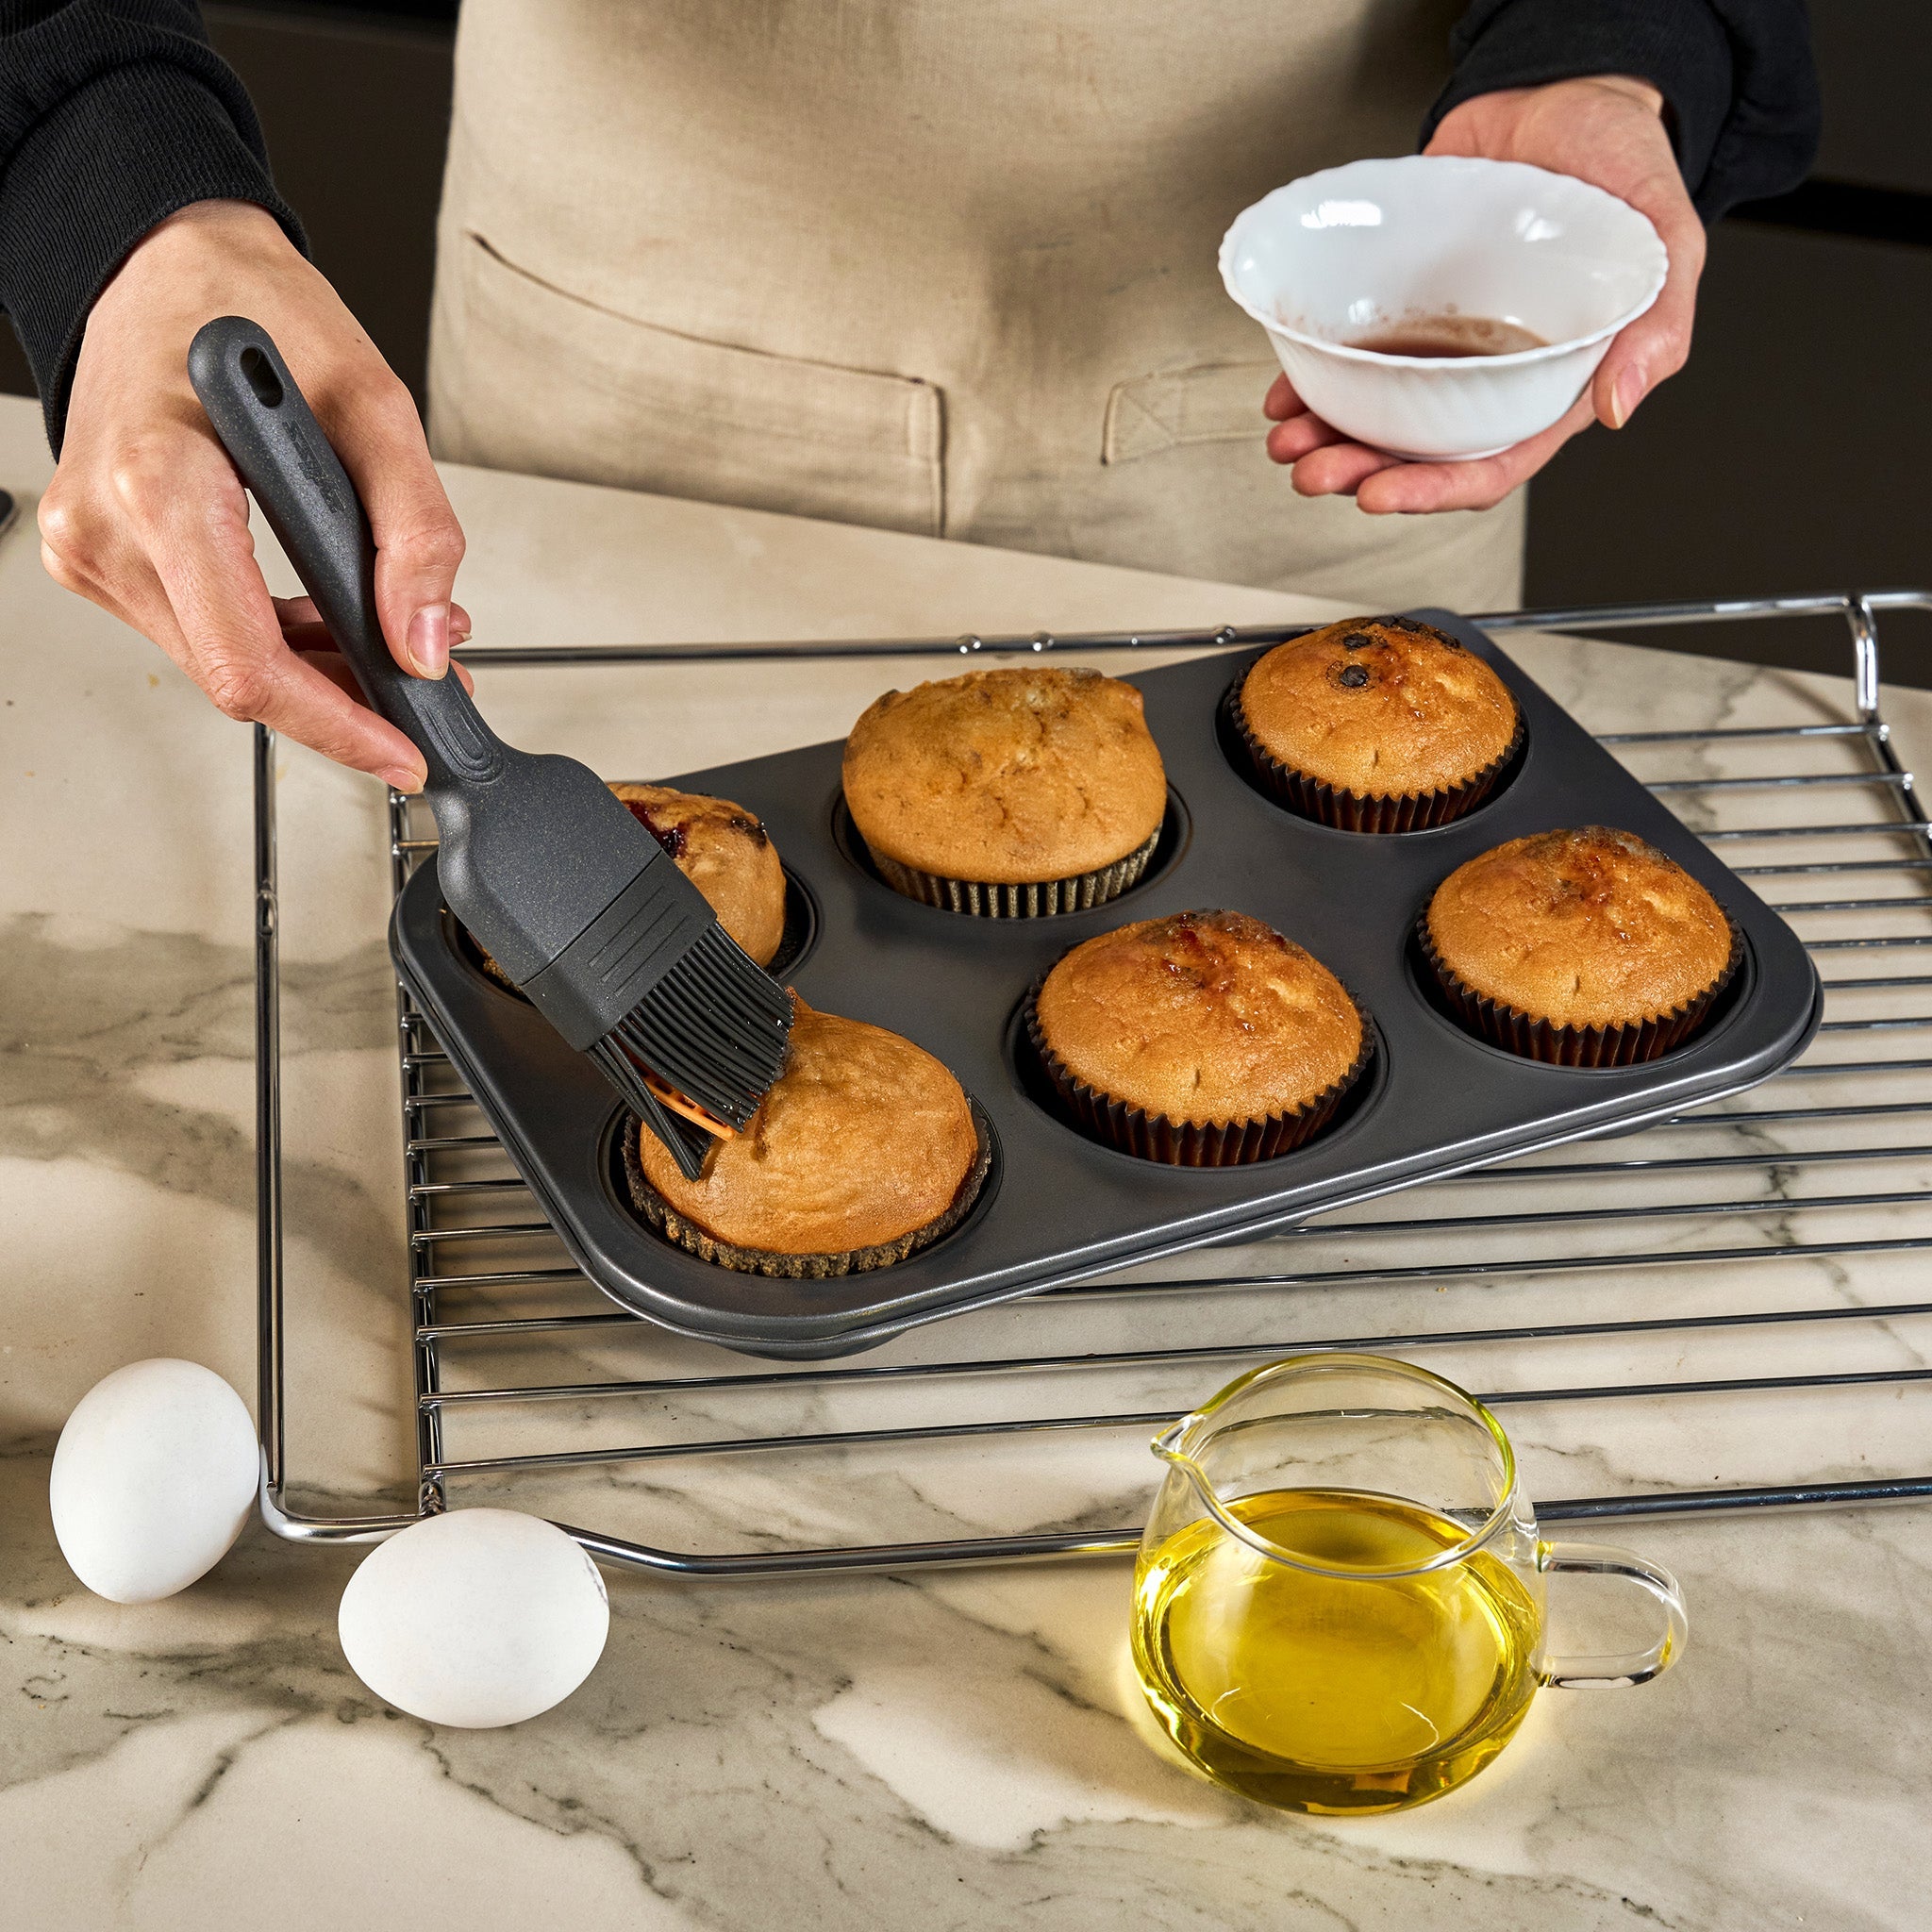
Applying Egg Wash Evenly
Dip the brush lightly into the egg wash. Avoid soaking it too much to prevent dripping.
Brush the egg wash gently and in one direction. Use smooth, even strokes to cover the surface.
- Start from the center and move outward
- Use a light touch to avoid removing dough
- Reload the brush often for consistent coverage
Glazing With Precision
Use a small, clean brush for delicate glazing. This helps control the amount of glaze.
Apply the glaze in thin layers. Let each layer dry before adding the next for a smooth finish.
- Hold the brush at a slight angle
- Use short strokes to avoid pooling
- Work quickly to prevent the glaze from drying unevenly
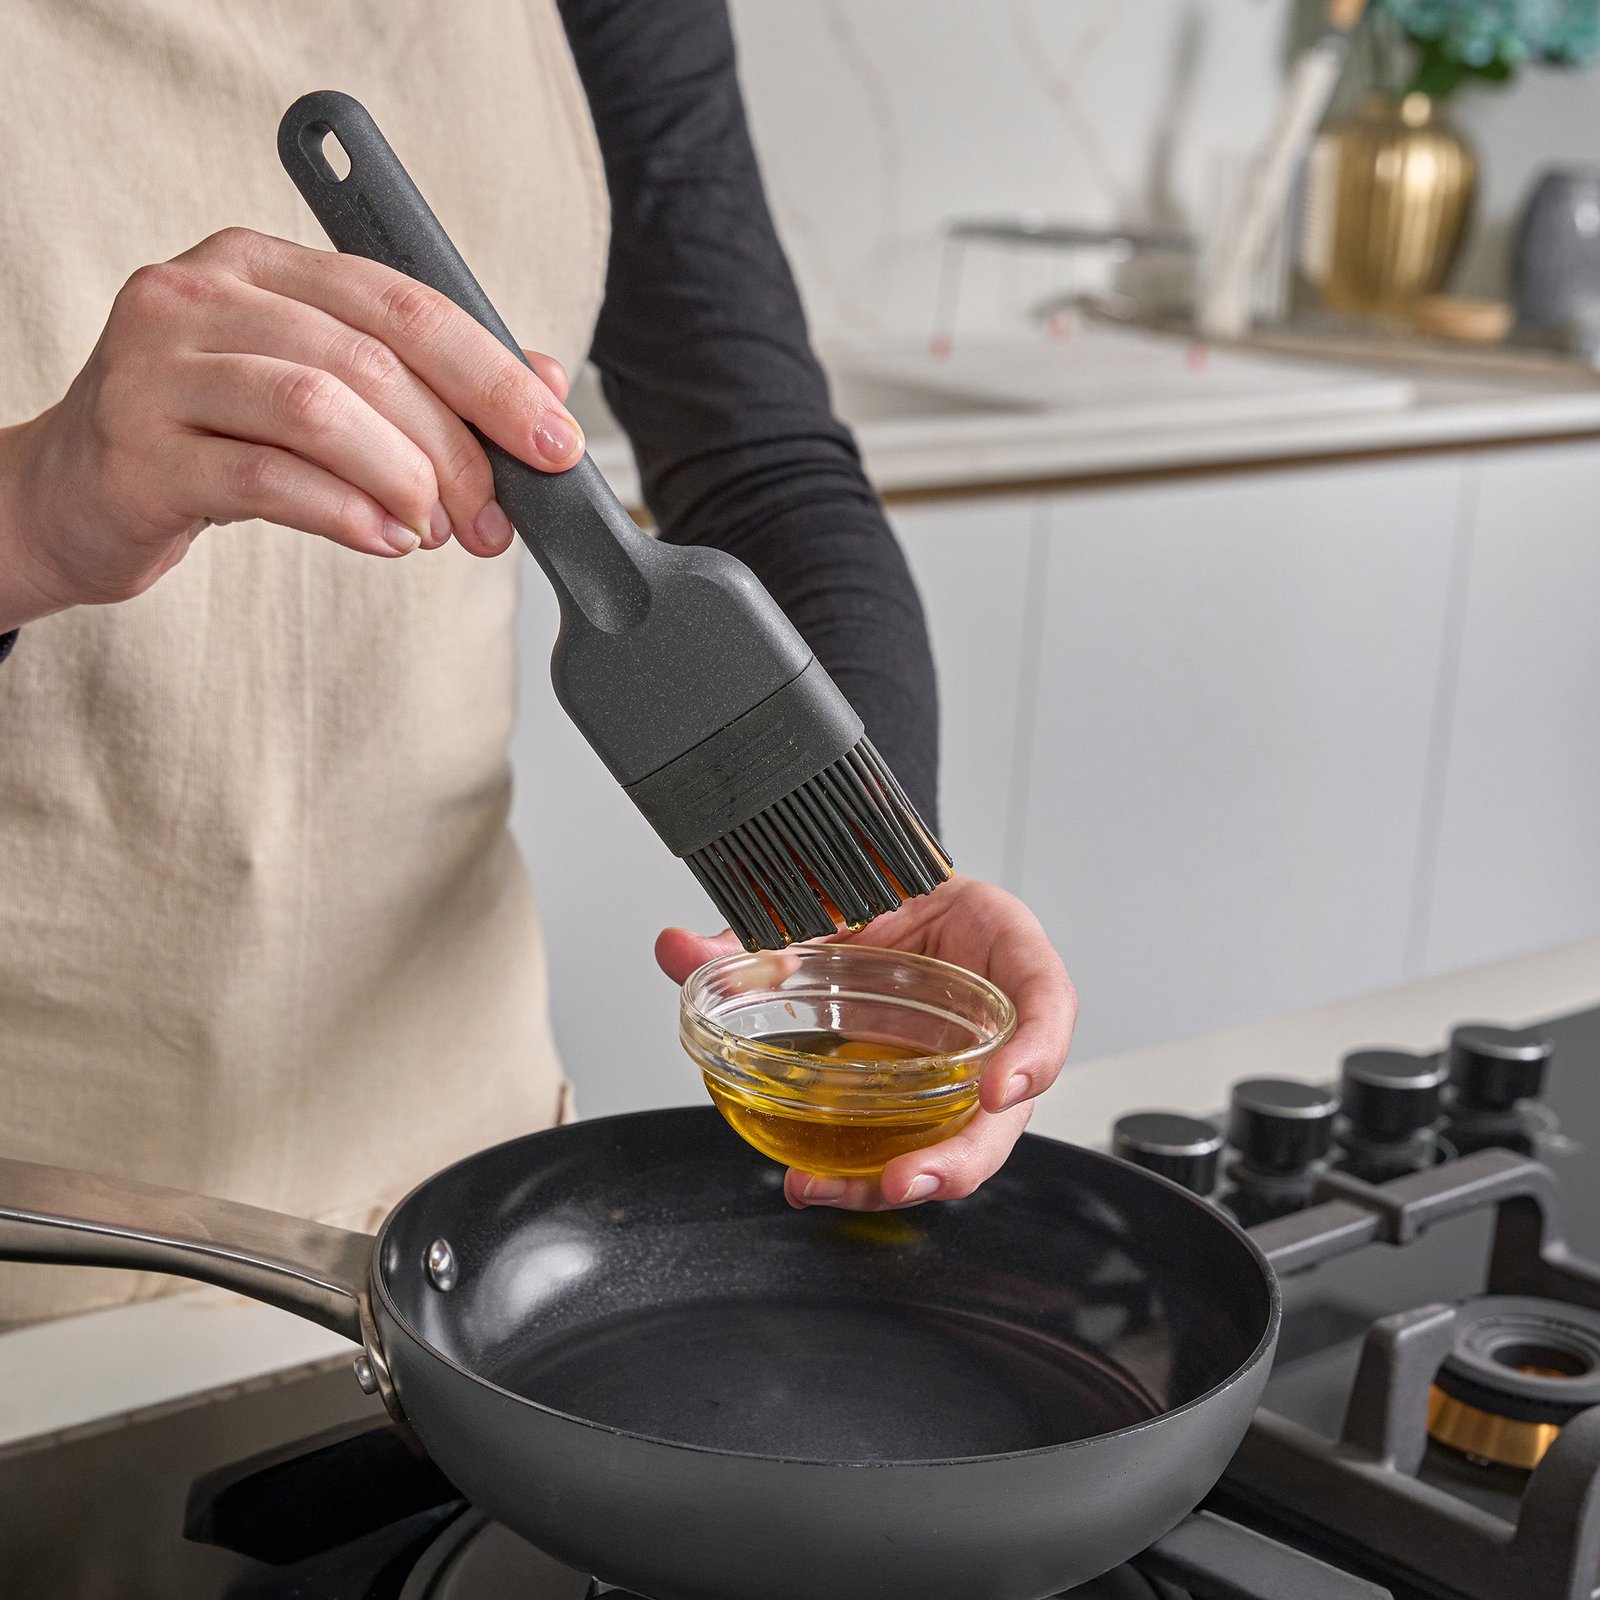
Butter And Oil Application
Warm the butter or oil before brushing. This helps it spread easily over the dough or pan.
Brush in thin, even layers. This prevents greasy spots and helps food cook evenly.
- Use a soft brush to avoid tearing dough
- Apply just enough to coat the surface
- Reload the brush frequently for smooth coverage
Credit: zyliss.com
Maintaining Your Pastry Brush
Taking care of your pastry brush keeps it clean and ready to use. Proper maintenance helps it last longer and work better.
Simple steps after each use can protect your brush from damage and bacteria buildup.
Cleaning After Use
Clean your pastry brush right after using it. Remove food bits and grease to avoid buildup.
- Rinse the brush under warm water immediately.
- Use mild soap to wash the bristles gently.
- Rinse thoroughly to remove all soap.
- Shake off excess water from the bristles.
- Let the brush air dry on a clean towel.
Storage Tips For Longevity
Store your pastry brush properly to keep its shape and avoid damage.
| Storage Tip | Why It Helps |
|---|---|
| Hang the brush bristles down | Prevents bending and keeps bristles straight |
| Keep in a dry place | Stops mold and mildew growth |
| Avoid storing with heavy items on top | Prevents damage to handle and bristles |
| Use a brush cover if available | Protects from dust and dirt |
Common Mistakes To Avoid
Using a pastry brush might seem easy, but some errors can spoil your baking. Avoiding common mistakes helps you get better results.
Learn about two frequent errors: overloading the brush and using the wrong brush type. Fixing these will improve your pastry work.
Overloading The Brush
Putting too much liquid on the brush causes dripping and uneven coating. This can make your pastry soggy or messy.
- Dip the brush lightly into the liquid.
- Tap the brush edge on the bowl to remove extra liquid.
- Brush in thin, even layers for better control.
- Reload the brush often to avoid pooling.
Using The Wrong Brush Type
Different brushes suit different tasks. Using the wrong type can damage your pastry or make brushing harder.
| Brush Type | Best Use | Not Recommended For |
| Silicone Brush | Oils, marinades, and sauces | Delicate pastries needing light brushing |
| Natural Bristle Brush | Egg wash and butter on pastries | Sticky sauces that clog bristles |
| Nylon Brush | General purpose brushing | High heat applications |
Innovative Uses Beyond Baking
A pastry brush is not just for baking. It can be used in many creative ways around the house.
Using a pastry brush outside the kitchen can save time and make tasks easier.
Crafting And Painting
Pastry brushes work well for small painting jobs. Their soft bristles hold paint evenly.
You can use them to apply glue or paint in detailed craft projects.
- Paint small surfaces or edges
- Apply glue smoothly without mess
- Clean dust from delicate craft items
- Use for watercolor or acrylic paint
Barbecue And Marinade Application
Pastry brushes are great for spreading sauces on grilled food. They help add flavor evenly.
Use the brush to apply marinades before and during cooking. It keeps meat moist and tasty.
- Brush barbecue sauce on ribs or chicken
- Apply oil or marinade on vegetables
- Spread butter on corn or bread
- Control sauce amount to avoid dripping

Credit: bakerbettie.com
Frequently Asked Questions
What Is The Best Way To Use A Pastry Brush?
Use a pastry brush to evenly apply butter, egg wash, or glaze on dough. Hold it gently and use smooth strokes. Avoid pressing too hard to prevent tearing the pastry. Clean the brush thoroughly after each use.
How Do I Clean A Pastry Brush Properly?
Rinse the brush under warm water immediately after use. Use mild soap and gently scrub the bristles. Avoid soaking wooden handles to prevent damage. Let the brush air dry fully before storing it.
Can I Use A Pastry Brush For Different Cooking Tasks?
Yes, pastry brushes are versatile. Use them for glazing, basting, spreading sauces, or greasing pans. Choose a brush with synthetic bristles for sticky or hot ingredients to ensure durability and easy cleaning.
What Materials Are Best For A Pastry Brush?
Silicone and natural bristles are common. Silicone brushes resist heat and are easy to clean. Natural bristles hold liquids well but require gentle care. Choose based on your cooking needs and cleaning preferences.
Conclusion
Using a pastry brush makes baking easier and more precise. You can spread butter, oil, or glaze smoothly. It helps create a golden, shiny finish on baked goods. Clean your brush well after each use to keep it ready. Practice a few times to get comfortable with the strokes.
Soon, you will enjoy better results in your baking. Simple tools can make a big difference in the kitchen. Keep your pastry brush handy for your next baking project.