
Have you ever struggled with draining liquid from a can without making a mess? Using a can strainer can make this simple task much easier and cleaner.
You’ll discover step-by-step how to use a can strainer like a pro. Whether you’re cooking a quick meal or preparing ingredients for a recipe, mastering this tool will save you time and frustration. Keep reading, and you’ll soon handle canned goods with confidence and ease.

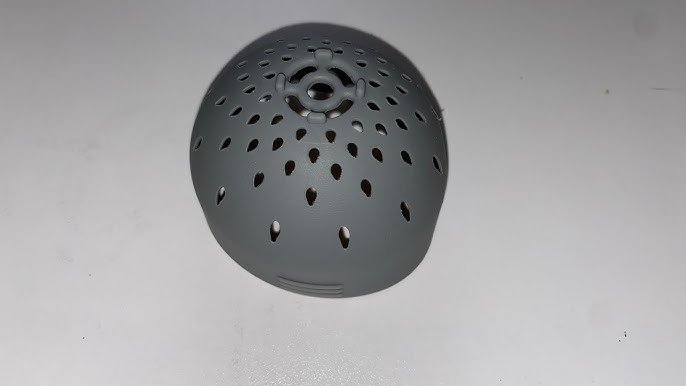
Credit: www.amazon.com
Choosing The Right Can Strainer
A can strainer helps remove solid bits when pouring liquid from a can. Picking the right one makes your work easier. It also keeps your food smooth and clean.
There are many types of can strainers. You should think about the material and size before buying. This guide will help you choose the best can strainer.
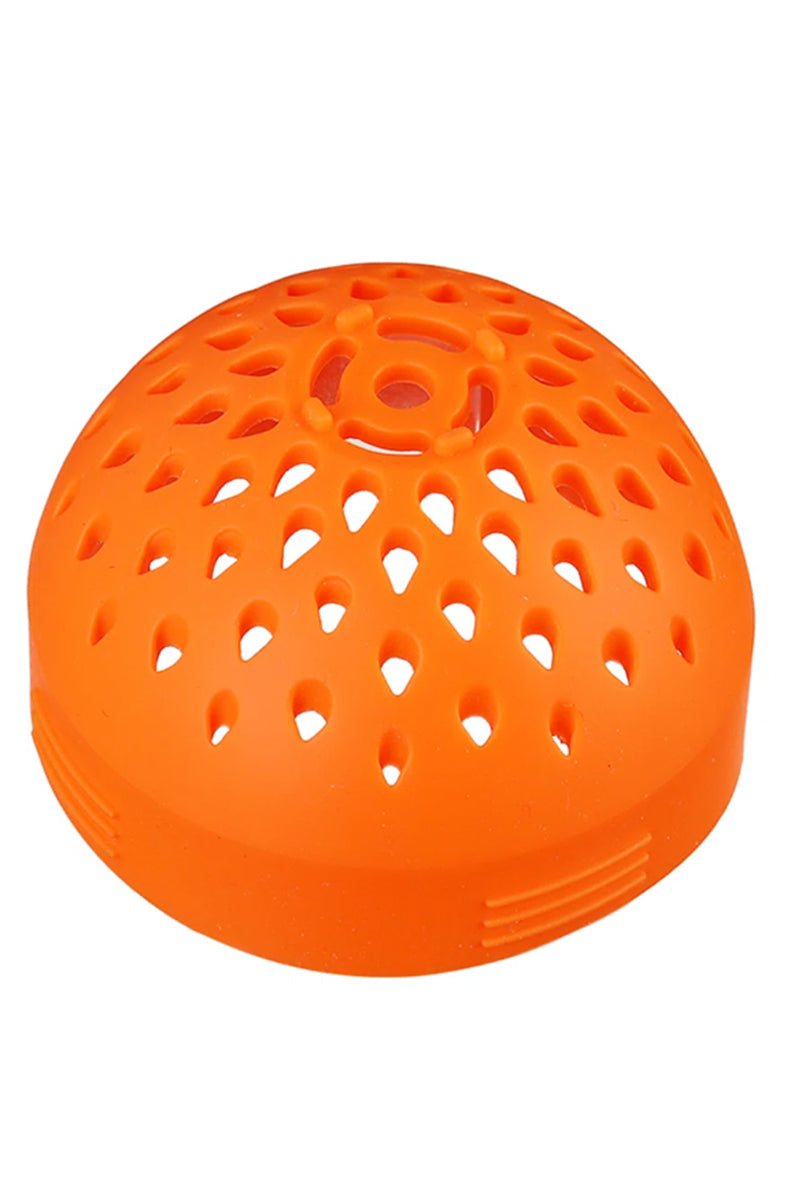
Types Of Can Strainers
Can strainers come in different styles for different needs. Some strainers have fine mesh, while others have larger holes. Each type works best for certain foods.
- Fine Mesh Strainers:Catch small particles like seeds or pulp.
- Perforated Strainers:Have bigger holes for draining liquids fast.
- Clip-On Strainers:Attach to cans for easy pouring.
- Handheld Strainers:Simple and easy to use by hand.
Material Considerations
Can strainers are made from different materials. Choose a material that is safe and easy to clean. Some materials last longer than others.
- Stainless Steel:Durable and rust-resistant. Good for hot foods.
- Plastic:Lightweight and affordable. Best for cold or dry use.
- Silicone:Flexible and easy to store. Works well for various can sizes.
- Nylon Mesh:Fine and soft. Useful for delicate straining tasks.
Size And Fit
Strainers come in many sizes. Pick one that fits your cans well. A good fit stops spills and works faster.
Measure your can’s diameter before buying. Some strainers fit only certain can sizes. Others adjust to many cans.
- Small strainers fit small cans like tuna or beans.
- Medium strainers work for soup or vegetable cans.
- Large strainers cover big cans like tomatoes or fruit.
- Adjustable strainers fit a range of can sizes.
Credit: gourmeteasyonline.com
Preparing The Can
Using a can strainer starts with preparing the can properly. This step helps you strain the contents safely and easily.
Follow simple actions to inspect and open the can before straining its contents.
Inspecting The Can
Check the can for any damage before opening it. Look for dents, rust, or bulges on the surface.
Damaged cans may have spoiled food inside. Avoid using cans that show signs of damage to stay safe.
- Look for dents on the top, bottom, and sides
- Check for rust or corrosion spots
- Make sure the can is not swollen or leaking
- Discard any can with suspicious damage
Opening The Can Safely
Use a clean can opener to open the can carefully. Avoid sharp edges to prevent cuts.
Open the lid slowly and remove it completely. This helps the strainer fit well and catch all solids.
- Wash your hands before handling the can
- Use a manual or electric can opener
- Open the lid fully without leaving sharp parts
- Wipe any spilled liquid before straining
Attaching The Strainer
Using a can strainer helps you filter liquids easily. Attaching it correctly ensures it works well.
This guide shows how to attach the strainer step by step. Follow these tips for best results.
Positioning The Strainer
Place the strainer over the can opening carefully. Make sure it covers the entire opening.
Align the strainer so the holes face outward. This lets the liquid pass through smoothly.
- Center the strainer on the can’s mouth
- Ensure no gaps are left around the edges
- Check that holes are not blocked
Securing The Strainer In Place
Hold the strainer firmly on the can. Use clips or locks if your strainer has them.
Make sure the strainer stays stable when pouring. This prevents spills and keeps the liquid clear.
- Press the edges to fit tightly
- Use any built-in fasteners if available
- Test by gently shaking to check stability
Straining The Contents
Using a can strainer helps separate liquids from solids inside a can. It makes cooking easier and cleaner.
Straining keeps unwanted liquid out of your dish. It also helps handle solid food gently.
Draining Liquids
Place the can strainer over a bowl or sink. Pour the can’s contents slowly into the strainer.
The holes in the strainer let liquids flow out. This leaves the solid food inside the strainer.
- Hold the strainer firmly to avoid spills.
- Pour slowly to prevent splashing.
- Let all the liquid drain before removing the strainer.
Handling Solid Contents
After draining, check the solid food in the strainer. Use a spoon to press gently if needed.
Handle solids carefully to avoid breaking them. You can transfer them directly to your dish.
- Do not press too hard to keep pieces whole.
- Use a spoon or spatula to scoop solids out.
- Clean the strainer after use to keep it ready.
Cleaning And Maintenance
Using a can strainer keeps your food fresh and safe. Cleaning it right helps it last longer.
Regular maintenance stops bacteria and food buildup. It also keeps the strainer working well.
Proper Cleaning Techniques
Clean the strainer right after use to stop food from drying on it. Use warm water and soap.
Use a soft brush or sponge to scrub every hole and edge carefully. Avoid harsh tools that can damage it.
- Rinse the strainer under warm running water
- Apply mild dish soap and scrub gently
- Use a brush to clean hard-to-reach holes
- Rinse again to remove all soap
- Dry completely before storing
Storing The Strainer
Store the strainer in a dry place to prevent rust and mold. Keep it away from damp areas.
Make sure the strainer is fully dry before putting it away. You can air dry or use a clean towel.
- Choose a dry, cool storage spot
- Keep the strainer separate from heavy items
- Do not stack wet strainers
- Check for moisture before storing
Troubleshooting Common Issues
Using a can strainer can be simple, but problems may come up. Knowing how to fix them saves time.
This guide covers two common problems: strainer slippage and incomplete straining. Learn easy tips to solve these issues.
Strainer Slippage
Strainer slippage happens when the strainer moves or falls off the can. This makes straining messy and slow.
To stop slippage, make sure the strainer fits tightly on the can. Clean the can’s rim before placing the strainer.
- Check the size of the strainer for your can
- Wipe the can rim to remove oil or dust
- Press the strainer firmly to secure it
- Use a rubber grip if the strainer slips often
Incomplete Straining
Incomplete straining happens when liquid or small particles stay in the can. This lowers the quality of your strained product.
To avoid this, use a strainer with the right mesh size. Pour slowly and stir gently to help liquid pass through.
- Choose a mesh size that fits your liquid’s texture
- Pour liquid slowly into the strainer
- Stir the contents gently while straining
- Clean the strainer if it clogs during use
Creative Uses For Can Strainers
Can strainers are simple tools that help separate liquids from solids. They are handy in many tasks beyond just straining canned food.
This guide shows creative ways to use can strainers both in the kitchen and outside of food preparation.
In The Kitchen
Can strainers help drain canned vegetables, beans, and fruits quickly. They prevent mess and save time.
Use a can strainer to rinse small grains like quinoa or rice. The fine mesh keeps the grains from spilling.
- Drain canned beans or vegetables easily
- Rinse small grains without losing any
- Strain pulp from freshly squeezed juice
- Separate yogurt from whey for thicker texture
Beyond Food Preparation
Can strainers work well in crafts and cleaning tasks. Their mesh catches small bits while letting water flow through.
Use a can strainer to hold soap or small toys in the shower. It keeps them dry and easy to find.
- Rinse small craft supplies like beads or buttons
- Drain paintbrushes after cleaning
- Hold soap bars to dry between uses
- Use as a small colander for washing delicate items

Credit: www.amazon.com
Frequently Asked Questions
What Is The Purpose Of A Can Strainer?
A can strainer removes liquid from canned foods efficiently. It helps separate solids and liquids without mess or waste. This tool is ideal for draining beans, vegetables, and fruits quickly. It improves cooking speed and keeps the kitchen clean.
How Do You Use A Can Strainer Properly?
Place the can strainer on top of the can opening. Press down gently to fit securely. Tilt the can to pour out liquid through the holes. Hold the strainer firmly to avoid spills. Rinse after use for easy cleaning.
Can A Can Strainer Fit All Can Sizes?
Most can strainers are adjustable or designed for common can sizes. However, very small or extra-large cans may not fit perfectly. Always check the product description to ensure compatibility. Using the right size ensures efficient draining without spills.
Is A Can Strainer Dishwasher Safe?
Many can strainers are made from stainless steel or durable plastic. These materials are usually dishwasher safe for easy cleaning. Always check the manufacturer’s instructions before placing the strainer in the dishwasher to avoid damage.
Conclusion
Using a can strainer helps you drain liquids quickly and easily. It keeps food from spilling into your sink. You save time and avoid messes. Strainers come in different sizes for many cans. Cleaning them is simple and fast. With practice, you’ll feel more confident using one.
This small tool makes cooking smoother and neater. Try it out next time you open a canned food. You’ll see how useful it can be. Simple steps bring better results in your kitchen.