
You’ve invested in a non-stick frying pan to make cooking easier and cleanup faster. But did you know that seasoning your pan can boost its performance and extend its life?
Seasoning creates a natural, protective layer that helps your food glide effortlessly and keeps your pan looking new longer. If you want to get the most out of your non-stick frying pan and avoid common cooking frustrations, keep reading. This simple step-by-step guide will show you exactly how to season your pan the right way—so every meal turns out perfect.
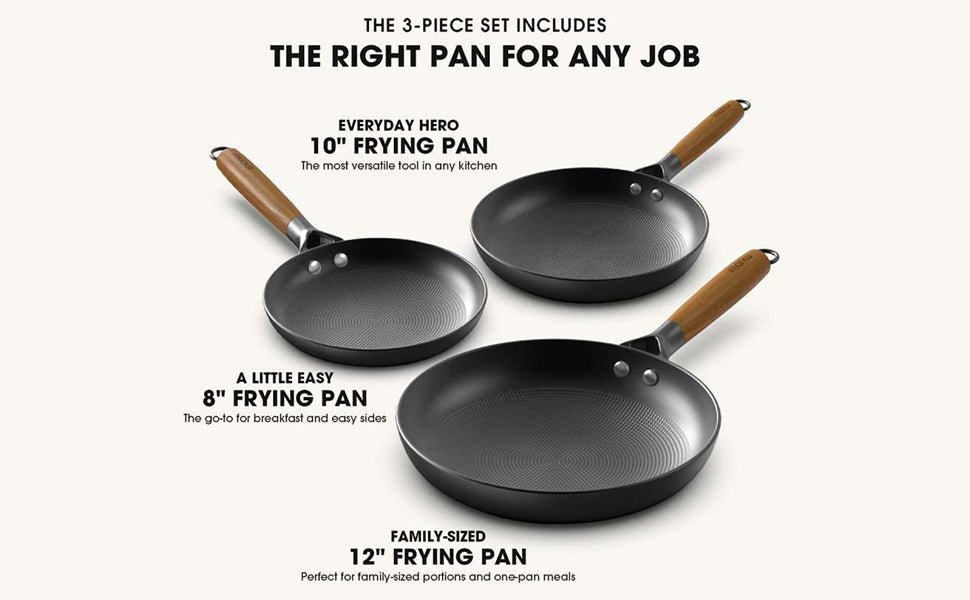
Choosing The Right Non-stick Pan
Choosing a good non-stick frying pan helps you cook better meals. It also makes cleaning easier and keeps food from sticking.
Look for a pan that fits your cooking style and lasts a long time. The right pan can improve your cooking experience.
Materials And Coatings
Non-stick pans come in different materials and coatings. Each type has its own benefits and care needs.
Common materials include aluminum and stainless steel. Aluminum heats quickly, while stainless steel is strong and durable.
- PTFE Coating:Most common non-stick surface. Easy to clean and cooks evenly.
- Ceramic Coating:Made from natural materials. Safe and free of chemicals.
- Anodized Aluminum:Hard surface that resists scratches and lasts longer.
Top Brands To Consider
Some brands make reliable non-stick frying pans. Choosing well-known brands can give you better quality and support.
- T-fal: Known for durable and affordable pans.
- Calphalon: Offers long-lasting pans with good coatings.
- GreenPan: Specializes in ceramic non-stick pans.
- All-Clad: High-end pans with strong materials.
Importance Of Seasoning
Seasoning non-stick frying pans helps improve their performance. It creates a protective layer on the pan’s surface.
This layer stops food from sticking and makes cleaning easier. Seasoning also helps the pan last longer.
Benefits Of Seasoning
Seasoning adds a smooth, non-stick layer that protects the pan. It improves cooking results and saves time.
A seasoned pan needs less oil for cooking. This makes meals healthier and reduces smoke while cooking.
- Prevents food from sticking
- Makes cleaning easier
- Uses less cooking oil
- Reduces smoke and burnt smells
Impact On Pan Longevity
Seasoning helps protect the pan’s surface from scratches and damage. It keeps the non-stick coating strong.
With regular seasoning, the pan lasts longer and stays effective. It saves money by delaying the need for a new pan.
- Protects against scratches
- Keeps non-stick coating intact
- Extends pan’s life
- Reduces need for replacements
Preparing Your Pan For Seasoning
Seasoning your non-stick frying pan helps keep it in good shape. It also improves the cooking surface. Proper preparation is important before you start the process.
Getting your pan ready means cleaning it well and having the right supplies. This ensures the seasoning will stick and work well.
Cleaning The Pan
Start by washing your pan with warm water and mild soap. This removes any dust, oil, or factory coating.
Use a soft sponge or cloth to avoid scratching the surface. Rinse the pan well and dry it completely with a clean towel.
Gathering Necessary Supplies
Having the right items ready makes seasoning easier and more effective. You do not need many supplies.
- Non-stick frying pan
- Soft cloth or paper towels
- Cooking oil with a high smoke point (like vegetable or canola oil)
- Oven or stove for heating
- Heat-resistant gloves (optional for safety)
:max_bytes(150000):strip_icc()/Simply-Recipes-Stainless-Steel-Pan-Like-Nonstick-LEAD-1-876e185a84ba4c2ab9f4426b0c764860.jpeg)
Credit: www.simplyrecipes.com
Step-by-step Seasoning Process
Seasoning a non-stick frying pan helps keep the surface smooth and prevents food from sticking. It also extends the life of the pan. Follow these simple steps to season your pan properly.
This process involves applying oil and heating the pan carefully. Each step is important for best results.
Applying The Oil
First, choose a cooking oil with a high smoke point, like vegetable or canola oil. Avoid oils that burn easily.
Use a paper towel or cloth to spread a thin layer of oil over the entire cooking surface. Make sure the layer is even and not too thick.
- Pick a high smoke point oil (vegetable, canola, or grapeseed)
- Pour a small amount of oil on the pan
- Use a paper towel to spread oil evenly
- Cover the whole cooking surface with a thin layer
Heating And Cooling The Pan
Place the oiled pan on the stove and heat it on medium for about 3 to 5 minutes. This helps the oil bond to the pan surface.
After heating, turn off the stove and let the pan cool completely. This cooling step allows the oil to set properly.
- Heat the pan on medium for 3 to 5 minutes
- Turn off the heat
- Allow the pan to cool fully before use
Maintenance Tips For Seasoned Pans
Seasoning non-stick frying pans helps keep their surface smooth and durable. Proper care keeps the seasoning intact and extends the pan’s life.
Follow simple steps to clean and avoid mistakes. This will keep your pans working well for a long time.
Regular Cleaning Tips
Clean your pan gently after each use. Avoid harsh scrubbing that can damage the seasoning.
- Use warm water and mild dish soap.
- Wipe with a soft sponge or cloth.
- Dry the pan immediately with a towel.
- Apply a light coat of oil after drying to keep the surface smooth.
Avoiding Common Mistakes
Some actions can ruin the seasoning layer. Avoid these to keep your pan in good shape.
| Mistake | Why to Avoid |
| Using metal utensils | Scratches the seasoning and exposes the pan surface. |
| Cooking on very high heat | Breaks down the seasoning oil and causes damage. |
| Putting the pan in the dishwasher | Harsh detergents remove the seasoning layer. |
| Letting food burn in the pan | Makes cleaning hard and can chip the seasoning. |
Credit: misen.com
When To Re-season Your Pan
Non-stick frying pans need care to keep their surface smooth. Over time, the coating can wear off. Re-seasoning restores the non-stick layer and protects your pan.
Knowing when to re-season your pan helps you cook better and extend the pan’s life. Watch for signs that show your pan needs attention.
Signs Your Pan Needs Re-seasoning
Look for changes in your pan’s surface and cooking performance. These signs mean it is time to re-season the pan to keep it working well.
- Food starts sticking to the surface more than usual.
- The pan’s surface looks dull or dry instead of smooth and shiny.
- There are visible scratches or worn spots on the coating.
- Cooking requires more oil than before to prevent sticking.
- The pan develops rust spots or discoloration.
Frequency Recommendations
How often you re-season your pan depends on use and care. Follow these simple guidelines to keep your pan in top shape.
| Use Level | Re-Seasoning Frequency |
| Light Use (1-2 times a week) | Every 3 to 6 months |
| Regular Use (3-5 times a week) | Every 1 to 3 months |
| Heavy Use (Daily) | Every 4 to 6 weeks |
Expert Tips For Prolonging Pan Life
Non-stick frying pans need special care to last longer. Proper use and storage keep their coating safe. This guide shares easy tips to help you protect your pans every day.
Follow these expert suggestions to maintain your non-stick pans. Small habits can make a big difference in how long your pans stay in good shape.
Storage Suggestions
Store your non-stick pans carefully to avoid scratches and damage. Use soft materials and avoid stacking pans directly on top of each other.
- Place a paper towel or cloth between pans when stacking
- Hang pans by their handles to save space and protect surfaces
- Keep pans in a dry area to prevent rust on metal parts
- Avoid storing pans with heavy lids inside to reduce pressure on the coating
Best Practices For Daily Use
Use your non-stick pan with care to keep the surface smooth. Avoid high heat and metal utensils that can harm the coating.
| Tip | Why It Helps |
| Use low to medium heat | Prevents coating from breaking down |
| Choose silicone, wooden, or plastic utensils | Stops scratches on the surface |
| Clean with soft sponges and mild soap | Protects the non-stick layer from damage |
| Season pan occasionally | Maintains the non-stick effect longer |

Credit: circulon.uk.com
Frequently Asked Questions
How Often Should I Season A Non-stick Frying Pan?
Season your non-stick frying pan every few months. Regular seasoning maintains the pan’s non-stick surface and extends its life. Avoid frequent seasoning to prevent buildup. Lightly oil the pan after cleaning for best results.
Can I Use Any Oil To Season Non-stick Pans?
Use oils with high smoke points like vegetable, canola, or grapeseed oil. Avoid low smoke point oils as they can burn and create residue. Proper oil choice ensures effective seasoning and protects the pan’s coating.
What Is The Best Method To Season A Non-stick Pan?
Heat the pan on low, apply a thin oil layer, then heat for 2-3 minutes. Let it cool naturally. This method helps oil bond to the surface, enhancing non-stick properties and durability.
Will Seasoning Improve My Non-stick Pan’s Performance?
Yes, seasoning fills microscopic pores and smooths the surface. This reduces food sticking and enhances cooking results. Regular seasoning keeps your pan efficient and easy to clean.
Conclusion
Seasoning your non-stick frying pan helps keep food from sticking. It also protects the pan and makes cooking easier. Use simple oil and heat steps to build a good layer. Repeat the process for the best results. Regular care keeps your pan working longer.
Try it soon and enjoy better cooking every day. Small steps make a big difference in your kitchen.