
Your kitchen sponge is one of the dirtiest items in your home, and if you’re not careful, it can spread harmful germs instead of cleaning them. But don’t worry—sanitizing your reusable kitchen sponges is easier than you think.
You’ll discover simple, effective ways to keep your sponges fresh and safe to use. By following these tips, you’ll protect your family from bacteria and make your kitchen a healthier place. Keep reading to learn how to take control of your sponge’s cleanliness today!
Importance Of Sanitizing Kitchen Sponges
Kitchen sponges help clean dishes, counters, and spills. They absorb lots of water and food bits. This makes them a place where germs grow fast.
Sanitizing sponges stops germs from spreading to your food and kitchen tools. It keeps your home safer and cleaner.
Why Kitchen Sponges Get Dirty Quickly
Sponges hold moisture and tiny food pieces. This creates a perfect spot for bacteria and mold to grow. Using a dirty sponge can spread germs instead of cleaning.
Health Risks From Dirty Sponges
Dirty sponges can carry harmful germs like Salmonella and E. coli. These germs can cause stomach sickness and infections. Sanitizing sponges lowers this risk.
How Often To Sanitize Kitchen Sponges
- Sanitize sponges every day or after heavy use.
- Replace sponges every two weeks to stay safe.
- Use separate sponges for dishes and counters.
Benefits Of Regular Sanitizing
| Benefit | Explanation |
| Reduces Germs | Kills bacteria and mold on sponges. |
| Prevents Illness | Stops germs from spreading to food and hands. |
| Extends Sponge Life | Keeps sponges usable longer and fresher. |
| Improves Kitchen Cleanliness | Maintains a healthier cooking environment. |
Signs Your Sponge Needs Cleaning
Reusable kitchen sponges help clean dishes and surfaces. They can hold germs and dirt after use. It is important to know when your sponge needs cleaning.
Knowing the signs helps prevent bacteria buildup. This keeps your kitchen safe and hygienic.
Unpleasant Odor
A bad smell is a clear sign your sponge is dirty. Sponges trap food and moisture. This causes bacteria to grow and create odors.
Visible Dirt And Stains
Look closely at your sponge. Dark spots or stains show dirt build-up. These marks mean it is time to clean or replace the sponge.
Sponge Feels Slimy Or Sticky
If your sponge feels slimy, it has bacteria and mold. A sticky texture also shows germs and food residue. These are signs to clean it thoroughly.
Reduced Cleaning Power
A sponge that does not clean well is less effective. Dirt and grease can clog the sponge. This stops it from working as it should.
- Food particles stuck in sponge holes
- Greasy or oily surface
- Spreading dirt instead of removing it
Use Time Exceeds One Week
Experts say to clean sponges often. Using a sponge for over seven days without cleaning can build germs. Regular cleaning keeps sponges safe to use.
Quick Microwave Method
Sanitizing reusable kitchen sponges in the microwave is a fast way to kill germs. This method uses heat to clean the sponge without harsh chemicals.
It is important to follow safety tips to avoid accidents. Use the microwave method carefully to protect yourself and your kitchen.
Safety Precautions
- Make sure the sponge is wet before microwaving. Dry sponges can catch fire.
- Use microwave-safe containers if you want to cover the sponge.
- Handle the sponge carefully after microwaving. It will be hot.
- Keep the microwave clean to avoid bad smells or stains.
- Do not microwave sponges with metal parts or scrubbers.
Step-by-step Instructions
- Wet the sponge completely with clean water.
- Place the sponge on a microwave-safe plate or bowl.
- Microwave on high for 1 to 2 minutes.
- Wait for the sponge to cool before removing it.
- Squeeze out excess water and let it dry in a clean place.

Credit: www.walmart.com
Boiling Water Technique
Cleaning reusable kitchen sponges keeps your kitchen safe. The boiling water technique kills germs and bacteria. It is an easy and natural way to sanitize sponges.
This method uses only heat and water. No chemicals are needed. You can do it at home with basic supplies.
Materials Needed
- A reusable kitchen sponge
- Large pot or saucepan
- Water
- Stove or heat source
- Tongs or heat-resistant gloves
Procedure
Follow these steps to sanitize your sponge using boiling water.
- Fill the pot with enough water to cover the sponge fully.
- Place the pot on the stove and bring the water to a boil.
- Carefully add the sponge to the boiling water using tongs or gloves.
- Let the sponge boil for 5 minutes to kill bacteria and germs.
- Remove the sponge carefully and squeeze out excess water.
- Allow the sponge to dry completely before reuse.
Bleach Solution Soak
Reusable kitchen sponges can hold many germs after use. Sanitizing them helps keep your kitchen clean and safe.
One effective way to sanitize sponges is by soaking them in a bleach solution. This method kills most bacteria and viruses.
Preparing The Solution
To make the bleach solution, use household bleach and water. The correct ratio is important for safety and effectiveness.
- Fill a container with one gallon of clean water.
- Add 3/4 cup of regular household bleach (5% concentration) to the water.
- Stir gently to mix the bleach evenly.
- Make sure the container is large enough to hold the sponge fully submerged.
Soaking Instructions
Follow these steps to soak your sponge safely and effectively in the bleach solution.
- Place the used sponge into the bleach solution.
- Let it soak for at least 5 minutes to kill germs.
- After soaking, remove the sponge carefully.
- Rinse the sponge well under running water to remove bleach residue.
- Wring out the sponge and let it air dry completely before reuse.
| Time in Solution | Purpose |
| 5 minutes | Kills most bacteria and viruses |
| More than 10 minutes | Not recommended; may damage sponge fibers |
Vinegar And Baking Soda Method
Reusable kitchen sponges can carry many germs after use. Cleaning them properly helps keep your kitchen safe. The vinegar and baking soda method is a simple way to sanitize sponges at home.
This method uses natural ingredients to remove dirt and kill bacteria. It is safe and does not require harsh chemicals. Follow the steps below to clean your sponges effectively.
Mixing Ingredients
You will need two common household items: white vinegar and baking soda. These ingredients work together to break down grime and kill germs.
- 1 cup of white vinegar
- 1/2 cup of baking soda
- Warm water
- A container large enough to hold the sponge
Cleaning Process
First, soak the sponge in vinegar for 5 minutes. Then, sprinkle baking soda on the sponge. It will start to fizz and lift dirt.
- Fill the container with warm water.
- Add the vinegar to the water and soak the sponge for 5 minutes.
- Remove the sponge and sprinkle baking soda on it evenly.
- Let the sponge sit for 10 minutes to allow fizzing action.
- Rinse the sponge thoroughly under running water.
- Squeeze out excess water and let it air dry.
Dishwasher Sanitization
Reusable kitchen sponges can harbor many germs. Sanitizing them regularly helps keep your kitchen clean. One easy way to sanitize sponges is using the dishwasher.
Dishwasher sanitization kills bacteria and removes food residue. It also extends the life of your sponges. Below are tips on selecting the right cycle and placing sponges properly.
Cycle Selection
Choosing the correct dishwasher cycle is important for effective sanitization. Use cycles that reach high temperatures and have a drying phase.
- Pick the “sanitize” or “heavy wash” cycle if available.
- Ensure the water temperature reaches at least 150°F (65°C).
- Select a cycle with a heated drying option to kill germs.
- Avoid quick or eco cycles as they may not sanitize well.
Placement Tips
How you place sponges in the dishwasher affects cleaning results. Proper placement allows water and heat to reach all sponge surfaces.
| Placement | Reason |
| Top rack | Sponges dry faster and get better heat exposure |
| Away from spray arms | Prevents blocking water flow to sponges and dishes |
| Flat or slightly tilted | Helps water drain off and reduces moisture retention |
| Separate from sharp utensils | Avoids damage to sponge surface |
Credit: www.walmart.com
Maintaining Sponge Hygiene
Reusable kitchen sponges can carry many germs if not cleaned properly. Keeping them sanitary helps stop the spread of bacteria.
Simple habits can keep your sponges fresh and safe for daily use.
Proper Drying Techniques
Drying your sponge quickly after use stops bacteria growth. Wet sponges hold germs and smell bad.
- Squeeze out all water after use.
- Place sponge in a well-ventilated area.
- Use a sponge holder that allows air flow.
- Avoid leaving sponges in the sink or on wet surfaces.
- Microwave damp sponges for one minute to kill bacteria.
Regular Replacement Schedule
Even with cleaning, sponges do not last forever. Replace them to keep your kitchen healthy.
| Time Used | Recommended Action |
| 1 Week | Check for smell and wear |
| 2 Weeks | Replace if heavily used |
| 4 Weeks | Replace in all cases |
Eco-friendly Alternatives
Sanitizing reusable kitchen sponges helps keep your kitchen clean. Choosing eco-friendly options protects the environment.
Eco-friendly sponges reduce waste and use natural materials. They last longer and are safer for your home.
Biodegradable Options
Biodegradable sponges break down naturally after use. They are made from plant fibers or other natural materials.
These sponges do not add plastic waste to landfills. They are a good choice for eco-conscious kitchens.
- Made from materials like cellulose, cotton, or coconut fibers
- Safe to compost at home
- Free from synthetic chemicals
- Break down quickly in soil
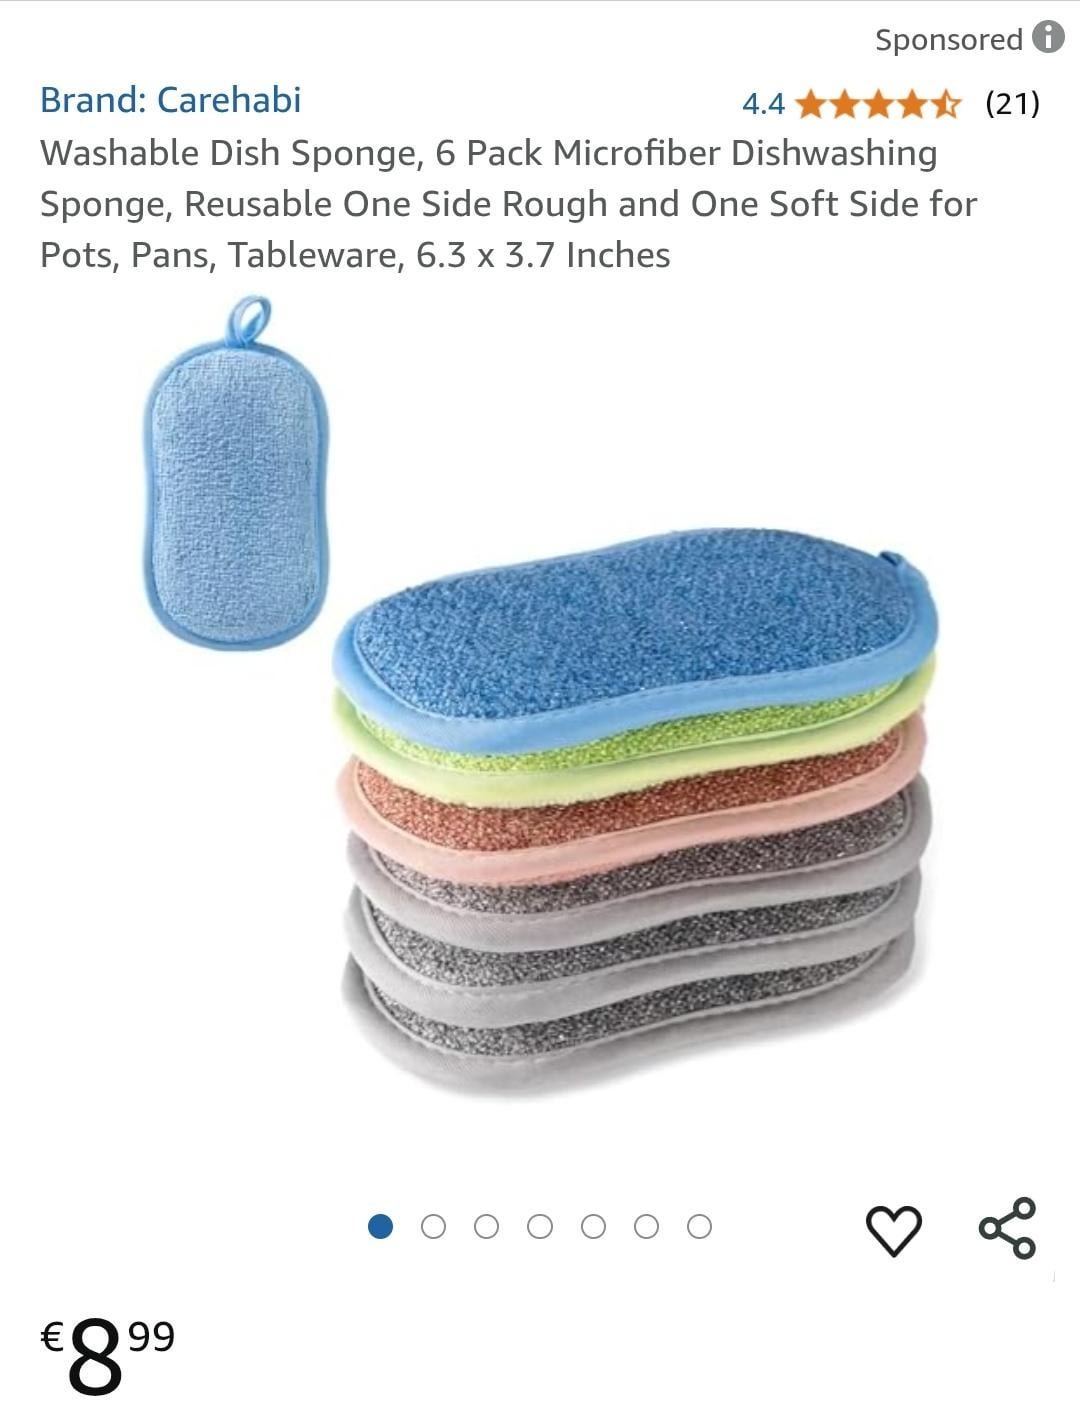
Reusable Sponge Alternatives
Reusable sponge alternatives last longer and clean well. They reduce the need to buy new sponges often.
Some alternatives include cloths and scrubbers made from sustainable materials. These can be washed and used many times.
- Silicone scrubbers are easy to clean and dry fast
- Microfiber cloths trap dirt and bacteria
- Natural fiber scrubbers made from hemp or jute
- Reusable dishcloths that can be machine washed

Credit: www.amazon.ca
Frequently Asked Questions
How Often Should I Sanitize Reusable Kitchen Sponges?
Sanitize kitchen sponges at least once a week to prevent bacteria buildup. Frequent sanitization keeps sponges safe and extends their usability.
What Is The Best Method To Sanitize Kitchen Sponges?
Microwaving damp sponges for two minutes effectively kills most bacteria. Alternatively, soaking in bleach or vinegar solutions also sanitizes well.
Can I Sanitize Kitchen Sponges In The Dishwasher?
Yes, placing sponges on the top rack during a hot dishwasher cycle disinfects them efficiently. This method is convenient and safe.
Are Homemade Sanitizing Solutions Effective For Sponges?
Yes, solutions with bleach or vinegar effectively sanitize sponges. They kill germs and are easy to prepare at home.
Conclusion
Sanitizing your reusable kitchen sponges keeps your kitchen clean and safe. Regular cleaning stops germs from spreading. Use simple methods like microwaving or soaking in vinegar. Change sponges often to avoid bad smells and bacteria buildup. Clean sponges last longer and work better.
Keep your kitchen healthy with these easy steps. A small effort makes a big difference in hygiene. Stay safe and enjoy a fresher kitchen every day.