

You love making quick, tasty sandwiches with your sandwich maker. But have you ever stopped to think about how to keep it working like new?
Taking care of your sandwich maker isn’t hard, and it can save you time, money, and frustration. You’ll discover simple, effective tips to clean, maintain, and protect your sandwich maker so it lasts longer and keeps giving you perfect sandwiches every time.
Ready to make your sandwich maker a kitchen hero for years to come? Let’s dive in!
Credit: timesofindia.indiatimes.com
Choosing The Right Location
Finding the perfect spot for your sandwich maker keeps it safe and easy to use. The right place helps the appliance last longer.
Consider space, power supply, and safety when picking a location. These factors affect how well your sandwich maker works.
Avoid Moist Or Wet Areas
Moisture can damage the sandwich maker and cause electrical problems. Keep it away from sinks and damp places.
Choose A Flat, Stable Surface
A flat surface stops the sandwich maker from tipping or sliding. Stability prevents accidents and damage to the appliance.
Keep Near A Power Outlet
Place the sandwich maker close to an electrical socket. Avoid using long extension cords for safety and convenience.
- Check if the outlet matches the plug type
- Make sure the outlet is not overloaded
- Keep cords away from water sources
Provide Enough Space Around
Leave room around the sandwich maker for air circulation. This helps prevent overheating during use.
| Recommended Space | Reason |
| At least 6 inches on each side | Allows heat to escape safely |
| Clear space above | Prevents fire hazards |
| Unobstructed front | Eases access and operation |
Cleaning After Every Use
Cleaning your sandwich maker after every use keeps it working well. It also stops old food from building up inside.
Simple cleaning steps help your sandwich maker last longer and stay safe to use.
Unplugging Safely
Always unplug the sandwich maker before cleaning. This stops any risk of electric shock or damage.
Wait for the appliance to cool down fully before you start cleaning. This keeps you safe and protects the machine.
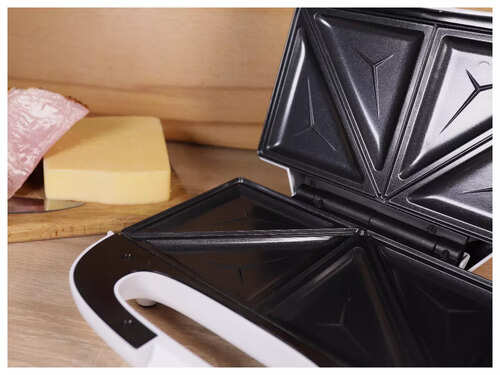
Removing Crumbs And Residue
After unplugging and cooling, remove crumbs and food bits from the plates. Use a soft brush or cloth to do this gently.
Do not use sharp tools that can scratch the non-stick surface. Wipe the plates with a damp cloth to clear any leftover residue.
- Use a soft brush to clean crumbs
- Wipe plates with a damp cloth
- Avoid sharp objects that cause damage
- Dry plates completely before storing
Deep Cleaning Techniques
Keeping your sandwich maker clean helps it last longer and work better. Dirt and grease can build up inside after many uses. Deep cleaning removes stuck food and harmful bacteria.
This guide shows easy ways to clean your sandwich maker deeply. Use simple kitchen items and gentle methods to protect your appliance.
Using Baking Soda And Vinegar
Baking soda and vinegar are natural cleaners. They help break down grease and remove odors from your sandwich maker. Use them carefully to avoid damage.
- Mix two tablespoons of baking soda with water to form a paste.
- Spread the paste on the heated plates after unplugging the maker.
- Let it sit for 10 minutes to loosen grime.
- Spray vinegar over the paste to create fizzing action.
- Wipe the plates with a soft cloth or sponge.
- Rinse the cloth and wipe away residue with clean water.
- Dry the plates thoroughly before storage.
Cleaning Non-stick Surfaces
Non-stick plates need gentle cleaning to keep the coating safe. Avoid harsh tools and strong chemicals. Use soft materials and mild cleaners only.
| Cleaning Step | Do | Don’t |
| Remove crumbs | Use a soft brush or cloth | Use sharp or metal tools |
| Wipe plates | Use warm soapy water with a sponge | Use abrasive scrubbing pads |
| Dry plates | Use a soft towel or air dry | Leave wet to avoid rust |
| Stubborn stains | Apply baking soda paste gently | Use bleach or strong chemicals |
Maintaining The Exterior
Keeping the outside of your sandwich maker clean helps it look good and last longer. Dirt and stains can build up if you do not clean it often.
Here are simple ways to take care of the exterior safely and easily.
Wiping With A Damp Cloth
Use a soft, damp cloth to clean the outside of your sandwich maker. This removes dust and light stains without scratching the surface.
- Unplug the sandwich maker and let it cool before cleaning.
- Moisten the cloth with water, not soaking wet.
- Gently wipe all exterior surfaces, including handles and buttons.
- Dry the surface with a clean, dry cloth after wiping.
Avoiding Harsh Chemicals
Do not use strong cleaners or abrasive materials on your sandwich maker. These can damage the finish or leave harmful residue.
| Do Not Use | Reason |
|---|---|
| Bleach or ammonia | Can discolor or corrode the surface |
| Abrasive sponges or steel wool | Scratch and damage the finish |
| Oven cleaners or solvents | Leave harmful chemical residue |
| Spraying water directly | May cause electrical damage |
Storing Properly
Keeping your sandwich maker in good shape starts with storing it right. Proper storage helps it last longer and stay clean.
Two key steps help you store your sandwich maker safely: letting it cool down fully and using a protective cover.
Cooling Completely
After using your sandwich maker, let it cool down before storing. This prevents damage to internal parts and avoids accidents.
- Unplug the sandwich maker and wait until it feels cool to touch.
- Do not try to clean it while it is still hot.
- Store it only when fully cooled to avoid moisture build-up.
Using A Protective Cover
A protective cover keeps dust and dirt away. It also prevents scratches and damage during storage.
| Type of Cover | Benefits |
|---|---|
| Soft Fabric Cover | Lightweight and easy to clean |
| Hard Plastic Cover | Offers strong protection from impacts |
| Custom Fit Sleeve | Snug fit, keeps moisture out |
Regular Inspection
Keeping your sandwich maker in good shape requires regular checks. This helps spot issues early. It also keeps the appliance safe to use.
Two key parts to inspect are the power cord and the hinges. Both affect the machine’s performance and safety.
Checking The Power Cord
Look for any cuts, cracks, or fraying on the power cord. A damaged cord can cause electric shocks or fire. Make sure the plug fits tightly in the socket.
- Check the entire length of the cord for damage.
- Do not use the sandwich maker if the cord is worn.
- Keep the cord away from hot surfaces and sharp edges.
- Unplug the appliance by holding the plug, not the cord.
Inspecting The Hinges
The hinges connect the top and bottom plates. They must open and close smoothly. Tight or loose hinges can cause uneven cooking.
| Hinge Condition | What to Do |
| Stiff or hard to open | Apply a small amount of food-safe lubricant |
| Loose or wobbly | Tighten screws or replace the hinge if needed |
| Rust or dirt build-up | Clean with a damp cloth and dry completely |
Handling Common Issues
Sandwich makers are easy to use, but sometimes problems occur. Knowing how to fix common issues helps keep your appliance working well.
This guide covers how to handle sticking problems and uneven heating in your sandwich maker.
Addressing Sticking Problems
Sticking happens when food does not release easily from the plates. This can make cleaning hard and damage the sandwich.
To avoid sticking, always clean the plates after use. Use a soft cloth and avoid harsh scrubbers. Also, lightly oil the plates before cooking.
- Clean plates after every use
- Use a soft, damp cloth to wipe plates
- Apply a small amount of cooking oil before cooking
- Do not use metal utensils that can scratch the surface
- Allow the sandwich maker to cool before cleaning
Fixing Uneven Heating
Uneven heating can cause some parts of your sandwich to burn while others stay cold. This affects taste and texture.
Check the power connection and let the sandwich maker preheat properly. Avoid overloading the plates with too much filling. Regularly inspect the heating elements for damage.
- Ensure the sandwich maker is plugged in securely
- Wait for the preheat light or time before cooking
- Do not overfill sandwiches to allow heat circulation
- Inspect heating plates for visible damage
- Contact a technician if heating remains uneven
Credit: www.breville.com
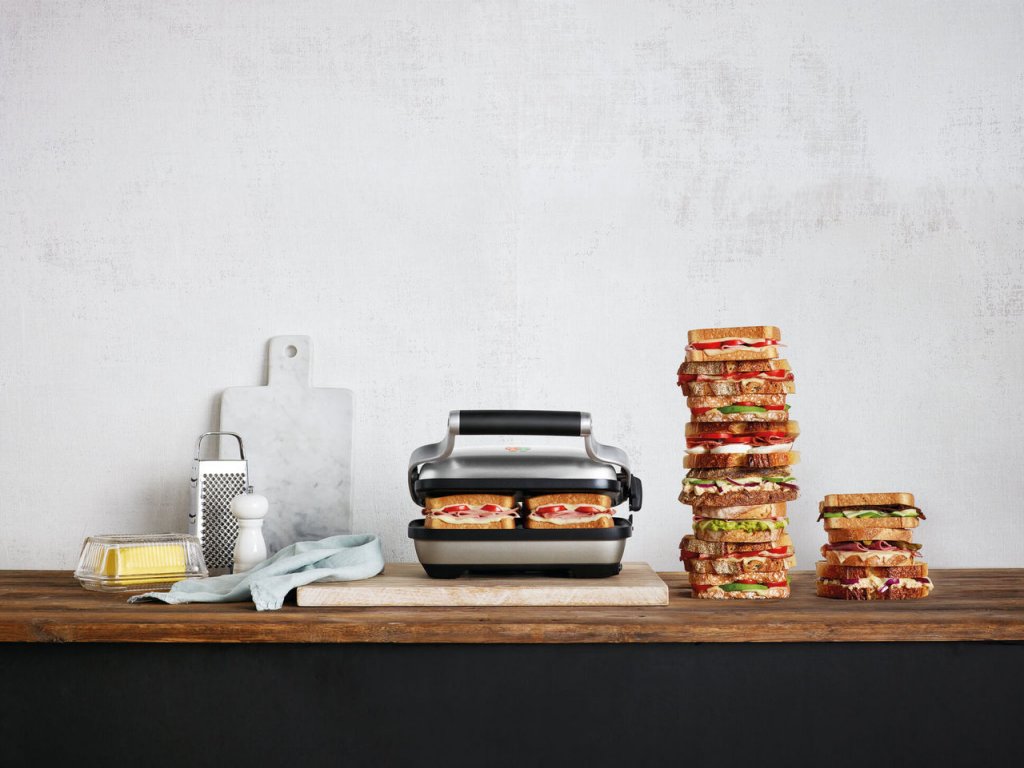
Using Recommended Accessories
Using the right accessories helps keep your sandwich maker clean and safe. It also makes cooking easier and improves results.
Choose accessories designed for your sandwich maker to avoid damage. These tools fit well and last longer.
Non-stick Cooking Sheets
Non-stick sheets prevent food from sticking to the plates. They make cleaning faster and keep your sandwich maker in good shape.
Heat-resistant Spatulas
Use heat-resistant spatulas to remove sandwiches safely. Metal tools can scratch the non-stick surface, so avoid them.
Cleaning Brushes And Cloths
Soft brushes and cloths clean crumbs and grease without harming the surface. Use them regularly to keep your sandwich maker spotless.
- Soft-bristle brush for crumbs
- Microfiber cloth for wiping
- Non-abrasive sponge for stains
Storage Covers And Mats
Storage covers protect your sandwich maker from dust when not in use. Heat-resistant mats prevent damage to countertops during cooking.
| Accessory | Purpose | Material |
| Non-Stick Cooking Sheets | Prevent sticking | Silicone or Teflon |
| Heat-Resistant Spatulas | Safe sandwich removal | Silicone or plastic |
| Cleaning Brushes | Remove crumbs and grease | Soft nylon bristles |
| Storage Covers | Dust protection | Fabric or plastic |
| Heat-Resistant Mats | Countertop protection | Silicone or rubber |
Following Manufacturer Guidelines
Following the manufacturer’s guidelines is important for keeping your sandwich maker in good shape. It helps prevent damage and makes sure the appliance works safely.
Each sandwich maker model may have specific instructions. Reading and following these directions can extend the life of your device.
Read The User Manual Carefully
The user manual explains how to use and care for your sandwich maker. It includes safety tips and cleaning advice. Always read it before first use.
Use Recommended Cleaning Methods
Manufacturers often suggest special cleaning steps to avoid damage. Follow these steps to keep the non-stick surface safe and working well.
- Unplug the sandwich maker before cleaning
- Use a soft cloth or sponge
- Avoid abrasive cleaners or metal tools
- Clean the plates gently after each use
Follow Usage Instructions
Use the sandwich maker only as the manual describes. Do not overload it or use it for other cooking tasks. This keeps the appliance safe and working well.
Store According To Manufacturer Advice
Proper storage helps avoid damage and dust build-up. The manual usually suggests keeping the device in a dry, cool place.
| Storage Tip | Reason |
| Keep unplugged | Prevent electrical hazards |
| Store in a dry place | Avoid rust and mold |
| Cover or close lid | Keep dust out |
| Do not stack heavy items | Prevent damage to plates |

Credit: www.amazon.ca
Frequently Asked Questions
How Often Should I Clean My Sandwich Maker?
Clean your sandwich maker after every use. This prevents food buildup and maintains hygiene. Regular cleaning extends its lifespan and ensures better taste.
What’s The Best Way To Remove Stuck Food?
Use a soft, damp cloth or sponge to wipe stuck food. Avoid abrasive tools to protect the non-stick surface. Clean gently when the maker is cool.
Can I Use Water To Clean The Sandwich Plates?
Yes, use warm, soapy water to clean removable plates. Never immerse the entire appliance in water. Always dry plates thoroughly before reassembling.
How Do I Prevent Sandwich Maker Odors?
Clean the plates regularly and wipe the lid. Use lemon juice or baking soda to neutralize persistent smells. Proper cleaning keeps your appliance fresh.
Conclusion
Keeping your sandwich maker clean helps it work well for a long time. Wipe the plates after each use to stop food from sticking. Use a soft cloth and mild soap to avoid damage. Check the cord and plug regularly for safety.
Store the sandwich maker in a dry place. Small steps make a big difference in its performance. Enjoy tasty sandwiches without worries by caring for your appliance. Simple habits protect your investment and save money on repairs. Remember, a clean sandwich maker means better food and happy meals.