
You love the smell of fresh bread baking in your kitchen, and your bread maker is your secret weapon. But have you ever wondered how to keep it working perfectly for years to come?
Taking care of your bread maker is easier than you think, and it can save you from costly repairs or replacements. You’ll discover simple, practical tips to maintain your bread maker. Follow these steps, and you’ll enjoy delicious homemade bread without any hassle every time you use it.
Ready to keep your bread maker in top shape? Let’s dive in!
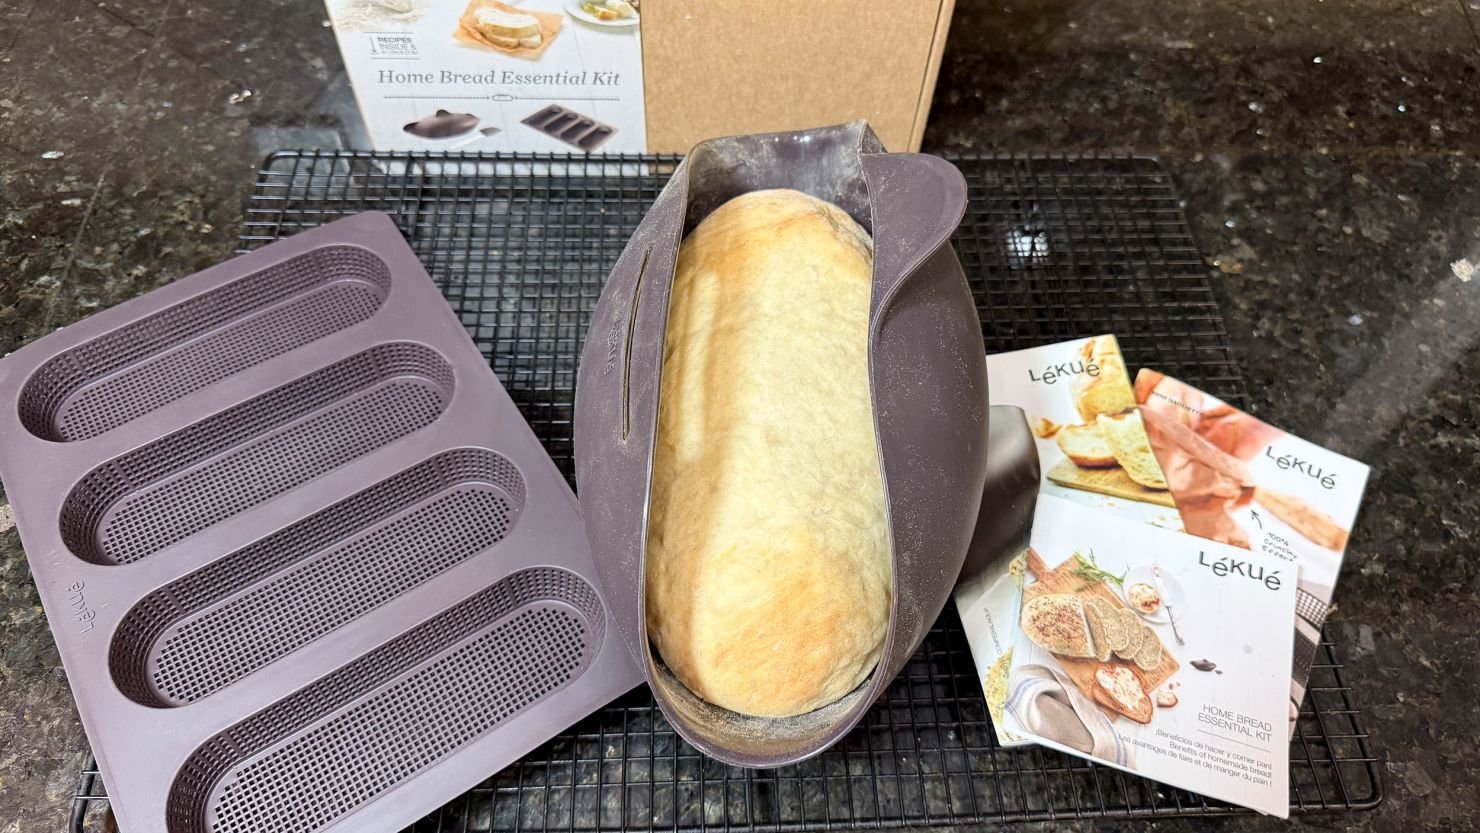
Credit: www.favfamilyrecipes.com
Choosing The Right Cleaning Tools
Keeping your bread maker clean is important for good bread and a long machine life. Using the right tools makes cleaning easier and safer.
Some tools can damage the bread maker parts. Choose tools that clean well but do not scratch or break the machine.
Soft Sponges And Cloths
Soft sponges and cloths clean the inside and outside without scratching. Avoid rough or abrasive scrubbers that can damage surfaces.
Microfiber cloths work well to remove crumbs and wipe away spills. Use a damp cloth to clean the bread pan and kneading blade gently.
Non-abrasive Brushes
Small, soft-bristled brushes help clean hard-to-reach spots. They remove dough stuck in corners without harming the parts.
- Use a pastry brush or small paintbrush
- Avoid metal or stiff-bristle brushes
- Brush crumbs from vents and blades carefully
Mild Dish Soap
Mild dish soap cleans without leaving harmful residues. Harsh chemicals can damage the bread maker’s coating.
Mix soap with warm water and use a soft cloth or sponge. Rinse well and dry completely before using the machine again.
Plastic Or Silicone Scrapers
Plastic or silicone scrapers remove stuck dough without scratching. Metal tools can damage the non-stick surfaces inside the bread maker.
- Use scrapers gently to avoid bending or breaking parts
- Do not use sharp knives or metal spatulas
- Keep scrapers clean and dry after use
Regular Cleaning Routine
Keeping your bread maker clean helps it last longer. It also makes sure your bread tastes fresh every time.
Follow a simple cleaning routine after each use and a deeper clean weekly. This keeps your machine working well.
Cleaning After Each Use
After baking, clean your bread maker to remove crumbs and dough. This stops buildup and bad smells.
- Unplug the machine and let it cool down.
- Remove the bread pan and kneading blade.
- Wash the pan and blade with warm, soapy water.
- Wipe the inside of the machine with a damp cloth.
- Dry all parts completely before reassembling.
Weekly Deep Cleaning
Once a week, do a deep clean to remove hidden dirt and oil. This keeps your bread maker in top shape.
| Part | Cleaning Method | Tips |
| Bread Pan | Soak in warm, soapy water for 10 minutes, then scrub gently. | Use a soft sponge to avoid scratches. |
| Kneading Blade | Clean with a small brush to remove dough stuck in crevices. | Check for wear or damage regularly. |
| Machine Interior | Use a damp cloth with mild detergent to wipe inside carefully. | Avoid water near electrical parts. |
| Exterior | Wipe with a soft cloth and mild cleaner. | Keep vents free from dust. |
Proper Storage Practices
Keeping your bread maker in good shape needs the right storage. Proper storage helps the machine last longer.
Storing your bread maker correctly also keeps it clean and ready to use anytime.
Ideal Storage Conditions
Store your bread maker in a dry, cool place. Avoid places with high heat or moisture.
- Keep the machine away from direct sunlight
- Choose a flat, stable surface for storage
- Cover the bread maker with a cloth or plastic cover
- Make sure it is unplugged and cooled before storing
Avoiding Common Storage Mistakes
Many users store their bread makers incorrectly. This can cause damage or reduce its life.
| Common Mistake | Why It Is Harmful |
| Storing in a damp area | Can cause rust and electrical issues |
| Leaving it plugged in | Risks electrical damage or accidents |
| Stacking heavy items on top | May damage the shape and parts |
| Not cleaning before storage | Attracts pests and causes odors |

Credit: www.ypc.co.uk
Inspecting For Wear And Tear
Regular checks help keep your bread maker working well. Look for signs of damage or wear often.
Finding problems early can stop bigger issues later. Inspect parts carefully every few uses.
Checking The Kneading Blades
The kneading blades mix and knead the dough inside the bread maker. They face a lot of pressure and movement.
Look for cracks, chips, or bending on the blades. Make sure they spin freely without noise or resistance.
- Remove the blades carefully before inspection
- Check for rust or metal wear
- Test blade rotation by hand
- Replace blades if they are damaged or stuck
Examining The Baking Pan
The baking pan holds the dough and the bread as it cooks. It must be clean and free of damage.
Check the inside and outside of the pan for scratches, dents, or burnt spots. These can affect baking quality.
- Look for peeling non-stick coating
- Ensure the pan fits securely in the machine
- Clean the pan after each use to avoid buildup
- Replace the pan if it is warped or damaged
Handling Electrical Components
Maintaining the electrical parts of your bread maker is important for safety and performance. Careful handling helps prevent damage and extends the machine’s life.
Focus on two main areas: the power cord and the control panel. Each needs special attention to keep your bread maker working well.
Caring For The Power Cord
The power cord connects your bread maker to electricity. It must stay in good condition to avoid shocks or fire hazards.
- Do not pull the cord to unplug the machine. Hold the plug firmly instead.
- Avoid bending or twisting the cord sharply.
- Keep the cord away from hot surfaces or sharp objects.
- Check the cord regularly for cuts or frays. Replace if damaged.
- Store the cord loosely coiled to prevent tangling.
Maintaining The Control Panel
The control panel lets you set baking options. Keep it clean and dry to ensure it works correctly.
| Action | Reason |
| Wipe gently with a soft, damp cloth | Removes dust without harming buttons |
| Avoid using harsh chemicals | Prevents damage to sensitive electronics |
| Do not press buttons too hard | Protects against wear and malfunction |
| Keep the panel dry | Prevents short circuits and corrosion |
Preventing Odor Build-up
Using a bread maker often can cause smells to stay inside the machine. These odors can affect the taste of your bread.
Cleaning and airing out your bread maker helps keep it fresh and odor-free.
Using Natural Deodorizers
Natural deodorizers remove smells without harsh chemicals. They are safe and easy to use inside your bread maker.
Try placing natural items inside the machine when not in use. These absorb odors and leave a fresh scent.
- Baking soda: Place a small bowl inside the bread maker overnight.
- Activated charcoal: Use charcoal packets to absorb bad smells.
- Dry coffee grounds: Put a small amount in a bowl to refresh the air.
- Vanilla extract: Dab a cotton ball with vanilla and leave it inside.
Ventilation Tips
Good airflow stops moisture and odors from building up inside the bread maker. Always let the machine dry well.
After baking, open the lid and unplug the machine. Keep it open to allow air to move freely inside.
- Open the bread maker lid after use to air it out.
- Store the machine in a dry, well-ventilated place.
- Use a small fan or open window to improve airflow nearby.
- Clean the machine regularly to prevent mold and odors.
Troubleshooting Common Issues
Using a bread maker is easy, but sometimes problems happen. Knowing how to fix common issues helps you bake better bread.
This guide explains how to handle two frequent problems: overheating and uneven baking.
Dealing With Overheating
Overheating can stop your bread maker from working properly. It may shut off or burn the bread.
Check if the machine is in a well-ventilated place. Clean any dust from vents and around the machine.
- Make sure the bread maker is not near heat sources.
- Do not cover the machine while it runs.
- Clean the air vents regularly.
- Unplug the machine for 30 minutes if it overheats.
Addressing Uneven Baking
Uneven baking means some parts of the bread are cooked more than others. This happens if ingredients are not mixed well or the machine is not level.
Always measure ingredients carefully. Make sure the bread maker sits on a flat surface before starting.
- Check that the kneading blade is attached properly.
- Mix ingredients evenly before adding them.
- Use the correct baking program for your bread type.
- Keep the bread maker on a stable, flat surface.
Using Quality Ingredients
Good ingredients help your bread maker work well. Using fresh and right items makes better bread.
Pay attention to what you put in the machine. This keeps your bread tasty and the machine safe.
Choosing The Right Flour
Select flour that fits the bread you want. Different breads need different flour types.
- Use bread flour for chewy texture.
- All-purpose flour works for most breads.
- Whole wheat flour adds more fiber and flavor.
- Store flour in a cool, dry place.
Avoiding Expired Ingredients
Expired ingredients can spoil bread and harm your machine. Always check dates before use.
| Ingredient | Signs of Expiry | Storage Tips |
| Flour | Off smell, clumps | Keep sealed and dry |
| Yeast | No rise in dough | Store in fridge after opening |
| Sugar | Hard lumps | Keep in airtight container |
Regular Maintenance Checks
Keeping your bread maker in good shape helps it work longer. Regular checks stop problems early.
Simple tasks done often keep your machine clean and safe. This guide covers what to check each month.
Monthly Inspection Checklist
Check your bread maker every month to catch issues early. Look at all parts and clean as needed.
- Examine the power cord for cracks or damage
- Clean the kneading paddle and bread pan after each use
- Check the heating element for dust or residue
- Make sure the lid seals tightly and is free of crumbs
- Test the control panel buttons to ensure they work properly
- Look inside the machine for any signs of rust or wear
- Run a short baking cycle with just water to check function
Updating The User Manual
Keep your user manual updated with your notes. Write down any changes or repairs you do.
This helps you remember fixes and maintenance tips for future use. It also helps new users.
- Note any unusual sounds or smells during use
- Record dates when you clean or replace parts
- Add tips that improve baking results
- Include contact info for service centers
- Keep track of warranty and purchase dates
Credit: www.favfamilyrecipes.com
Professional Servicing
Maintaining your bread maker ensures it works well for many years. Sometimes, professional help is needed to keep it in top shape.
This guide explains when to seek expert service and how to find good service centers.
When To Seek Professional Help
Look for these signs that your bread maker needs professional attention:
- The machine stops mid-cycle without reason.
- Unusual noises or smells come from the device.
- The bread does not bake evenly or at all.
- Buttons or controls do not respond properly.
- Visible damage to the power cord or plug.
Ignoring these issues can cause more damage or be unsafe. A trained technician can fix these problems safely.
Finding Reliable Service Centers
Choose a service center carefully to get the best care for your bread maker. Consider these factors:
| Factor | What to Check |
|---|---|
| Certification | Technicians should be certified by the manufacturer. |
| Experience | Look for centers with years of appliance repair experience. |
| Customer Reviews | Read feedback from other customers for reliability. |
| Warranty | Ask if repairs come with a service warranty. |
| Location | Choose a center close to reduce wait and transport time. |
Frequently Asked Questions
How Often Should I Clean My Bread Maker?
Clean your bread maker after every use. Remove crumbs and dough residue promptly. This prevents mold and keeps the machine functioning well.
What Parts Of The Bread Maker Need Regular Maintenance?
Focus on the baking pan, kneading blade, and lid. Wipe them with a damp cloth after each use. Avoid abrasive cleaners to prevent damage.
Can I Use Water To Clean The Bread Maker’s Interior?
Never immerse the bread maker in water. Use a damp cloth to clean the interior. This protects the electrical components from damage.
How Do I Prevent My Bread Maker From Smelling?
Clean the bread maker regularly and remove leftover crumbs. Air it out by leaving the lid open after use. Use a mild detergent for odor control.
Conclusion
Keeping your bread maker clean helps it work well for years. Clean the pan and paddle after each use. Wipe the outside with a soft cloth. Avoid using strong chemicals or soaking parts in water. Store your bread maker in a dry place.
Regular care stops problems before they start. Small steps make a big difference in baking fresh bread. Enjoy homemade bread with less hassle and more fun!