
Designing a kitchen that works perfectly for you means more than just picking pretty cabinets and countertops. If you spend time cooking, cleaning, and entertaining, your kitchen needs to keep up with all those tasks without slowing you down.
That’s where multiple work zones come in. By creating separate areas for prepping, cooking, cleaning, and even storing, you can move through your kitchen with ease and enjoy a smoother, more organized routine. Ready to transform your kitchen into a space that truly fits your lifestyle?
Keep reading, and you’ll discover simple, smart ways to design multiple work zones that make every moment in your kitchen easier and more enjoyable.
Assessing Your Space
Designing a kitchen with multiple work zones starts by looking closely at your space. You need to understand how your kitchen is laid out. Then you can decide where to place each work zone for the best flow.
Measuring your kitchen accurately helps avoid mistakes. Knowing the size and shape lets you plan the zones to fit your needs well.
Understanding Kitchen Layouts
Kitchen layouts affect how you divide your space into work zones. Common layouts include L-shape, U-shape, galley, and open plan. Each layout offers different possibilities for placing cooking, cleaning, and storage areas.
- L-shape:Two connected walls form an L. Good for small to medium kitchens.
- U-shape:Three walls create a U. Offers lots of space for multiple zones.
- Galley:Two parallel walls. Efficient for narrow kitchens.
- Open plan:Part of a larger room. Allows flexible zone placement.
Measuring Dimensions
Measure your kitchen carefully before planning zones. Note the length, width, and height. Include doors, windows, and appliance spaces. These details guide the placement of counters and storage.
| Measurement | What to Measure | Why It Matters |
| Length | Wall to wall distance | Defines how much space you have for counters and zones |
| Width | Distance from front to back | Helps decide aisle space and appliance placement |
| Height | Floor to ceiling | Important for tall cabinets and lighting |
| Door and Window Sizes | Width and height of openings | Affects cabinet and zone layout |
| Appliance Spaces | Space for fridge, stove, dishwasher | Ensures appliances fit well in zones |
Credit: resi.co.uk
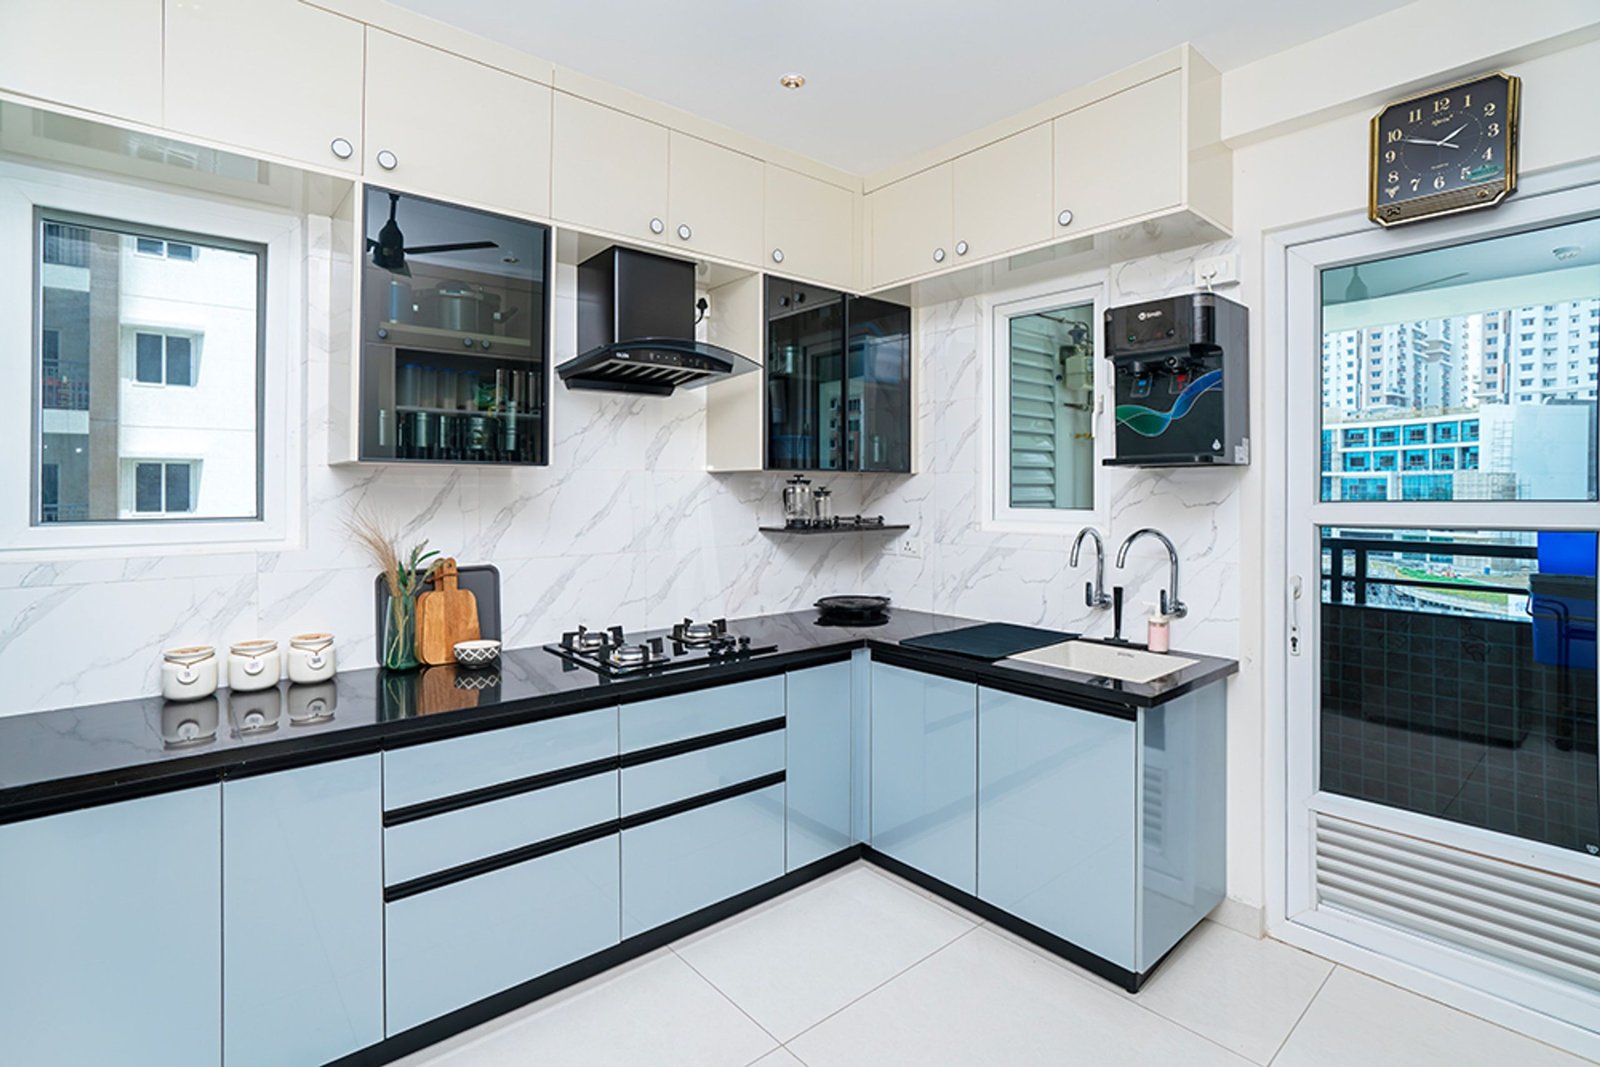
Identifying Work Zones
Designing a kitchen with clear work zones helps improve efficiency. Each zone serves a different purpose. Knowing these zones is key to a smooth kitchen workflow.
Work zones divide the kitchen into areas for cooking, preparing, cleaning, and storing. This organization saves time and reduces clutter.
Cooking Zone
The cooking zone is where heat is applied to food. It usually includes the stove, oven, and microwave. Place pots, pans, and cooking utensils nearby for easy access.
Preparation Zone
The preparation zone is for chopping, mixing, and assembling ingredients. It needs a clear countertop and access to knives, cutting boards, and mixing bowls.
- Keep knives sharp and within reach
- Use a large, clean surface for prep work
- Store cutting boards nearby
- Have measuring tools close to this zone
Cleaning Zone
The cleaning zone includes the sink, dishwasher, and trash area. Keep cleaning supplies and dish racks in this zone. It should be easy to clean and well-lit.
| Item | Location | Purpose |
|---|---|---|
| Sink | Center of cleaning zone | Wash dishes and food |
| Dishwasher | Near sink | Clean dishes automatically |
| Trash bin | Close to prep and cleaning zones | Dispose of waste quickly |
| Cleaning supplies | Under sink or nearby cabinet | Store soaps and sponges |
Storage Zone
The storage zone holds food, dishes, and cookware. It includes the refrigerator, pantry, and cabinets. Organize items by use and size for easy finding.
Use this simple layout for storage:
- Refrigerator for perishables
- Pantry for dry goods
- Lower cabinets for pots and pans
- Upper cabinets for plates and glasses
Choosing Appliances And Fixtures
Designing a kitchen with multiple work zones means picking the right tools. Appliances and fixtures must support different tasks well.
Good choices help keep each zone organized and make cooking easier for everyone.
Selecting The Right Appliances
Choose appliances that fit the size and purpose of each work zone. Small zones need compact tools, while big zones can hold large appliances.
- Pick energy-efficient models to save power.
- Use quiet appliances in zones near living areas.
- Choose multi-use appliances to save space.
- Match appliance style with kitchen design.
- Place ovens and microwaves at comfortable heights.
Integrating Fixtures Efficiently
Fixtures like sinks and faucets should fit the zone’s tasks and flow well with other parts. Think about how each fixture supports cooking and cleaning.
| Fixture | Best Zone | Tip |
| Double Sink | Prep Area | Use one side for washing, one for rinsing |
| Pull-Out Faucet | Cleaning Zone | Easy to reach all corners |
| Garbage Disposal | Cleanup Zone | Helps handle waste quickly |
| Under-Sink Water Filter | Beverage Zone | Provides clean water for drinks |
Optimizing Workflow
Designing a kitchen with multiple work zones helps make cooking easier. Each zone serves a different task. This setup saves time and reduces clutter.
Optimizing workflow means planning how people move and work in the kitchen. Good design keeps everything within reach and cuts down unnecessary steps.
Creating A Functional Layout
Divide the kitchen into zones like cooking, cleaning, and prep. Place related tools and appliances nearby. This helps keep each zone organized and efficient.
- Cooking zone: stove, oven, pots, and pans
- Cleaning zone: sink, dishwasher, trash bins
- Preparation zone: counter space, knives, cutting boards
- Storage zone: fridge, pantry, cabinets
Make sure each zone has enough space. Avoid crowding to keep the kitchen safe and easy to use.
Streamlining Movement Between Zones
Plan paths between zones so people can move smoothly. Keep walkways clear and avoid crossing busy areas. This reduces accidents and saves time.
| Zone | Distance to Next Zone | Recommended Walkway Width |
|---|---|---|
| Cooking to Cleaning | 3 to 5 feet | 36 inches |
| Preparation to Cooking | 2 to 4 feet | 36 inches |
| Storage to Preparation | 3 to 6 feet | 42 inches |
Use clear zones and paths to guide movement. Keep frequently used items close to reduce back-and-forth trips.
Incorporating Ergonomics
Designing a kitchen with multiple work zones needs careful planning. Ergonomics helps make the space comfortable and safe.
Good ergonomic design reduces strain and improves efficiency while cooking or cleaning.
Choosing Comfortable Heights
Select counter and workspace heights that fit your body size. This helps prevent back and neck pain.
Use different heights for different zones. For example, a lower area works well for chopping, while a higher spot suits standing tasks.
- Standard countertop height is 36 inches
- Lower prep areas can be 30-34 inches
- Taller users might need higher counters
- Consider adjustable or custom heights
Enhancing Accessibility
Arrange work zones to make all tools and appliances easy to reach. Keep frequently used items within arm’s length.
Use pull-out shelves and drawers. These help you access items without bending or stretching too much.
- Place sinks, stoves, and counters close together
- Use wide walkways to move freely
- Install handles that are easy to grip
- Make sure lighting is bright and even
Credit: www.livspace.com
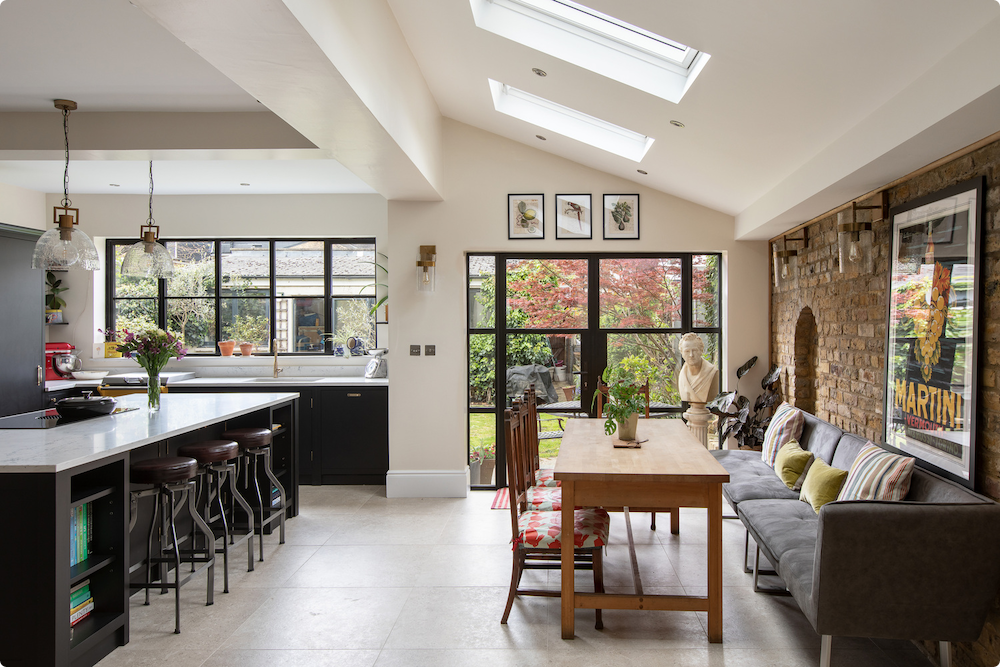
Enhancing Aesthetics
Designing a kitchen with multiple work zones can improve how you use the space. You also want the kitchen to look good and feel welcoming.
Choosing the right colors and materials helps blend the zones smoothly. Balancing style with function makes your kitchen both pretty and practical.
Selecting Colors And Materials
Pick colors that tie all the zones together. Use materials that are easy to clean and match your kitchen’s mood. This creates a calm and unified look.
- Use soft neutral colors for large surfaces like walls and cabinets
- Add pops of color in smaller areas such as backsplashes or accessories
- Choose durable materials like quartz or granite for countertops
- Include natural elements like wood for warmth
- Mix textures to add interest but keep a consistent palette
Balancing Function And Style
Make sure each work zone fits its purpose and looks attractive. The kitchen should feel organized and easy to move around.
| Work Zone | Material Choice | Style Tip |
| Cooking Area | Heat-resistant quartz countertop | Matte finish to hide stains |
| Prep Zone | Wooden butcher block | Natural wood grain adds warmth |
| Cleaning Zone | Stainless steel sink and backsplash | Reflective surfaces brighten space |
| Storage Zone | Glossy cabinets | Light colors make area feel larger |
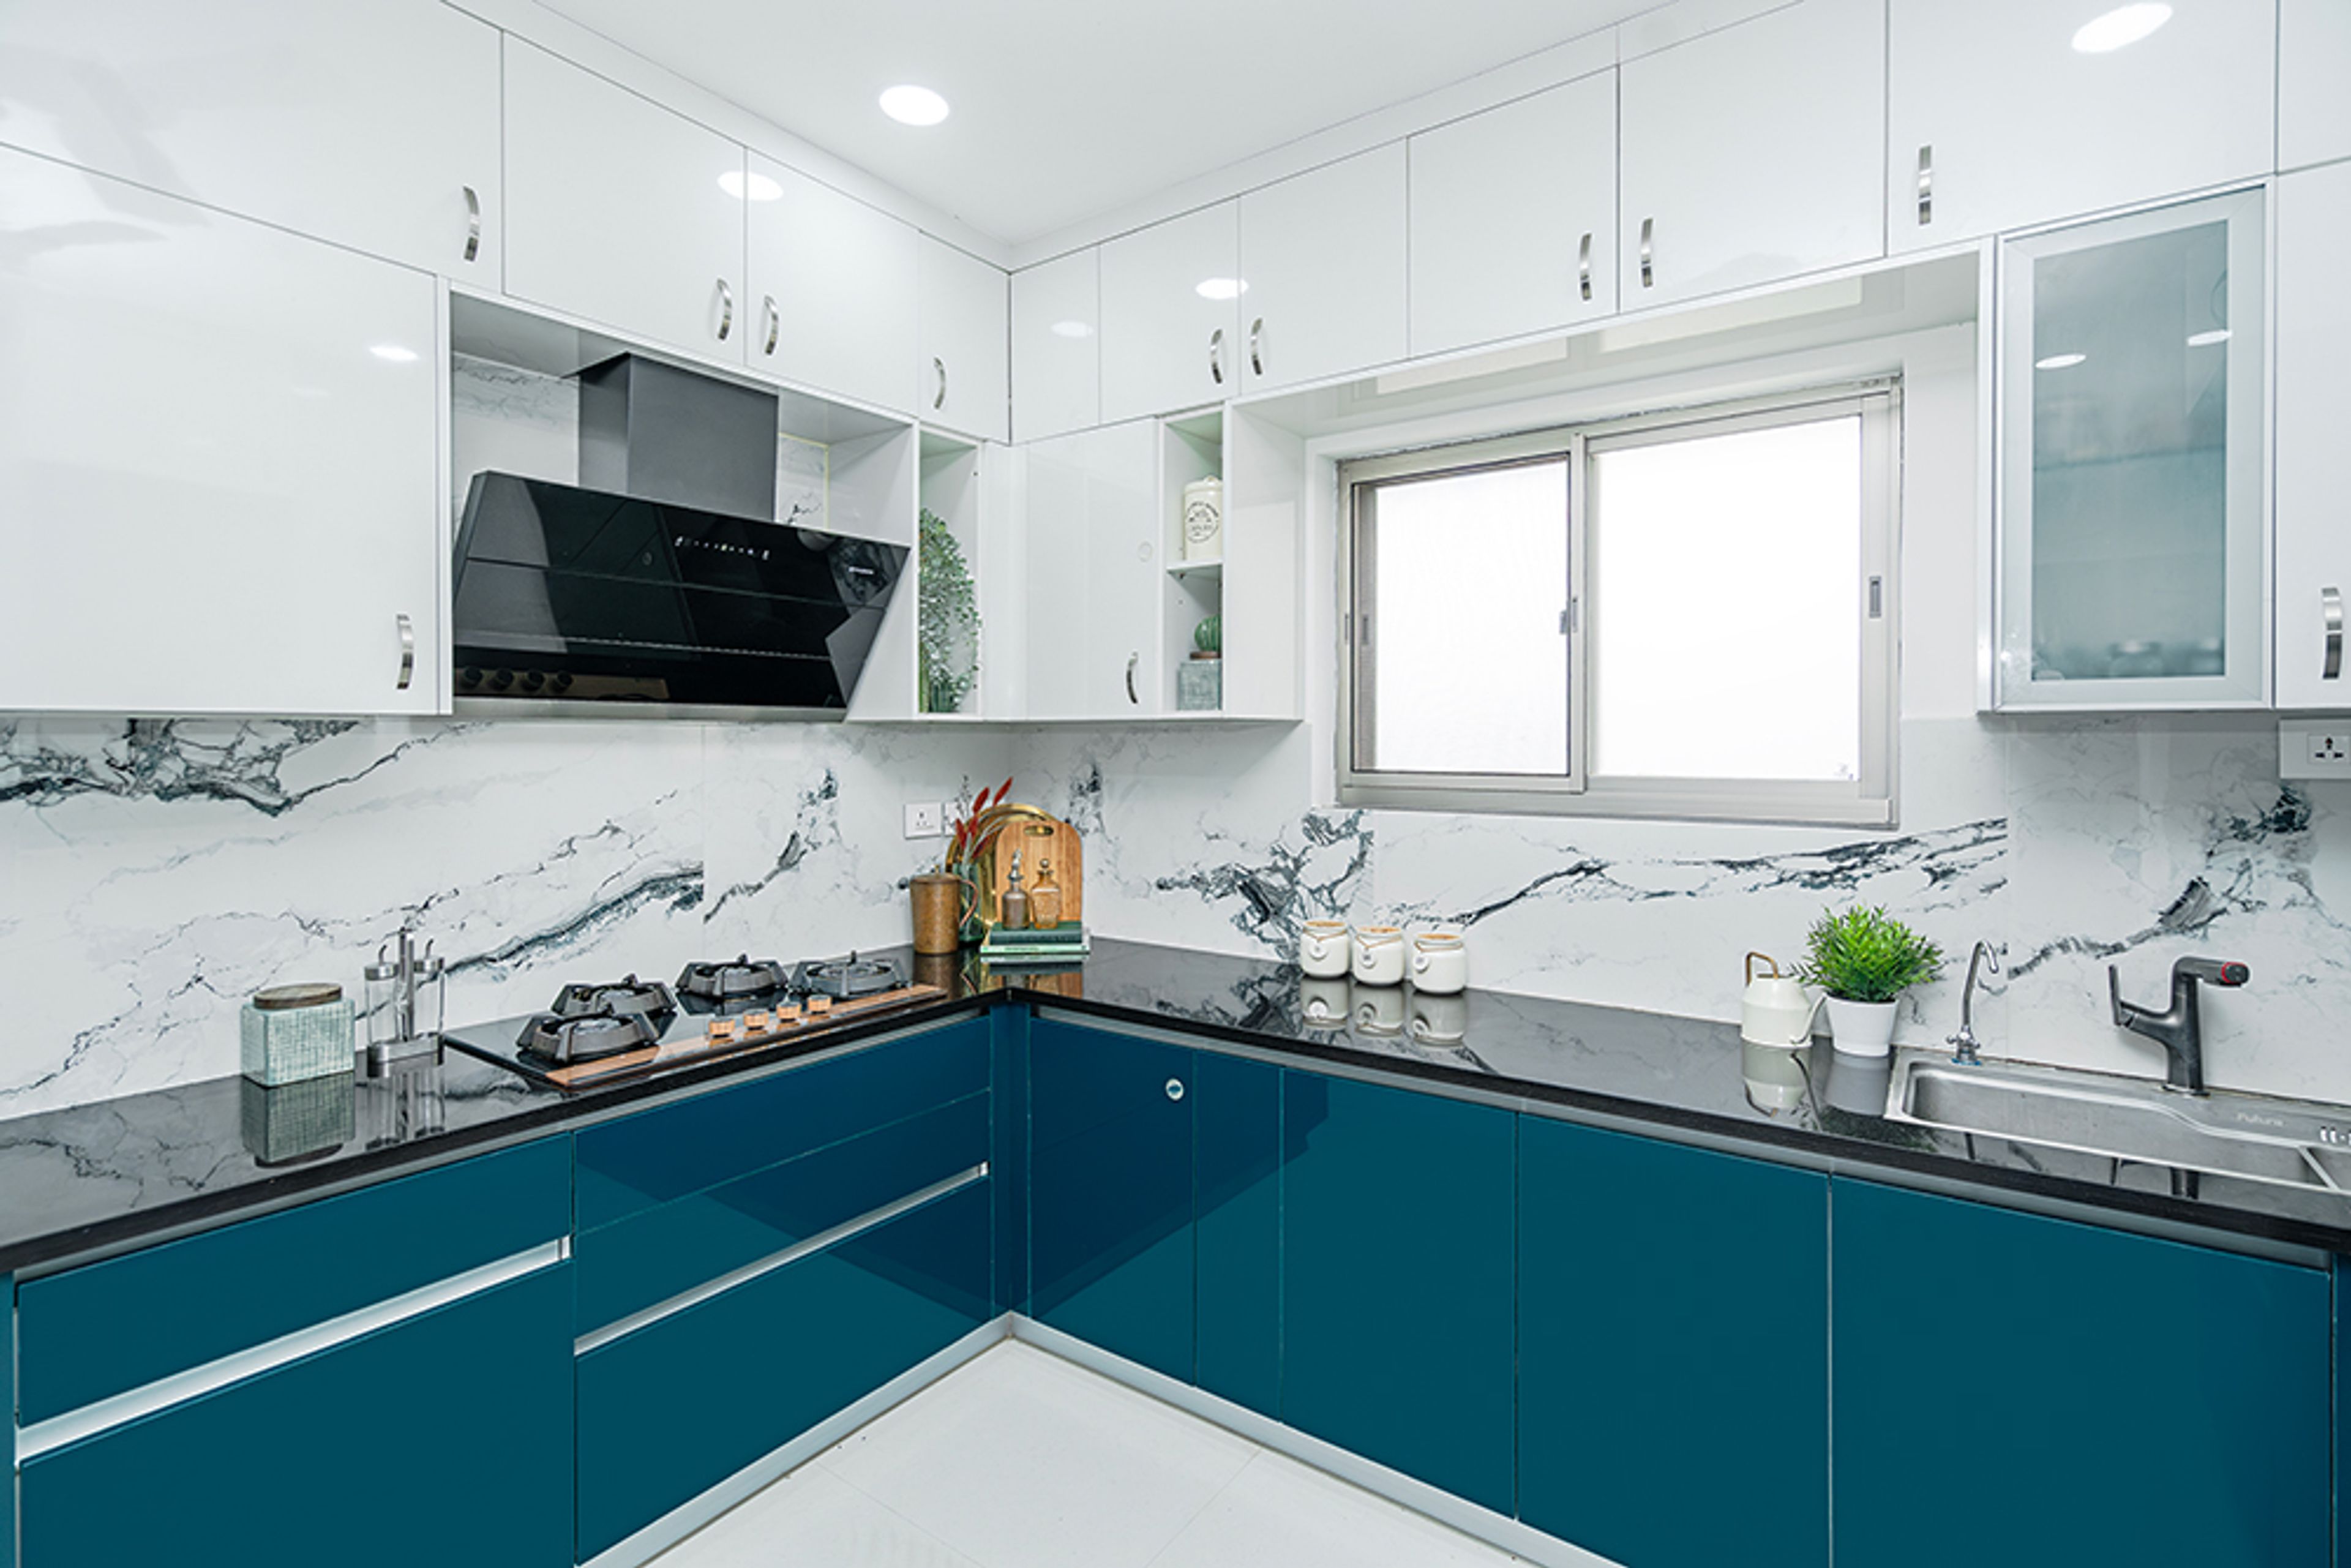
Lighting And Ventilation
Good lighting and ventilation make your kitchen safe and comfortable. They help you work better and keep the air fresh.
Designing a kitchen with multiple work zones needs careful planning of light and air flow. This keeps every area functional and pleasant.
Maximizing Natural Light
Natural light brightens your kitchen and saves energy. Use windows and open spaces to bring sunlight inside.
- Place work zones near windows to get more daylight.
- Use light colors on walls and cabinets to reflect light.
- Install glass doors or skylights to increase brightness.
- Keep window treatments minimal to avoid blocking light.
Ensuring Adequate Ventilation
Ventilation removes cooking smells and keeps air healthy. Plan vents and fans for each work zone.
| Work Zone | Recommended Ventilation | Tips |
| Cooking Area | Range hood or exhaust fan | Place fan above stove |
| Cleaning Zone | Window or extractor fan | Use moisture-resistant vents |
| Prep Area | Open windows or ceiling fan | Keep airflow clear |
Budgeting And Planning
Designing a kitchen with multiple work zones needs careful budgeting and planning. A clear budget helps you make smart choices.
Planning each zone in the kitchen ensures you use space well and keep costs under control.
Estimating Costs
Start by listing all materials, appliances, and labor needed for each work zone. This helps you see where money goes.
| Item | Estimated Cost |
| Cabinets and Storage | $3,000 |
| Countertops | $2,500 |
| Appliances | $4,000 |
| Lighting | $800 |
| Labor | $2,000 |
| Plumbing and Electrical | $1,200 |
Prioritizing Features
Decide which kitchen zones and features are most important. Focus your budget on these areas first.
- Cooking zone with quality stove and oven
- Cleaning zone with efficient sink and dishwasher
- Preparation zone with ample counter space
- Storage zone with easy-to-reach cabinets
- Lighting that supports each work area

Credit: www.livspace.com
Frequently Asked Questions
What Are The Key Work Zones In A Kitchen?
Key kitchen work zones include cooking, cleaning, food prep, and storage. Each zone should be clearly defined. This improves workflow and efficiency in the kitchen. Proper zoning reduces clutter and speeds up meal preparation.
How To Optimize Space In Multiple Kitchen Work Zones?
Optimize space by using vertical storage and multi-functional furniture. Keep frequently used items within easy reach. Use clear labeling and designated drawers for each zone. This keeps the kitchen organized and maximizes usability across zones.
Why Is Zoning Important In Kitchen Design?
Zoning enhances kitchen flow by separating tasks like cooking and cleaning. It reduces cross-traffic and improves safety. Proper zones make the kitchen more efficient and enjoyable to use. This also helps when multiple people cook simultaneously.
How To Plan Lighting For Multiple Kitchen Zones?
Use task lighting for prep and cooking areas to ensure visibility. Add ambient lighting for overall brightness. Consider under-cabinet lights for work surfaces. Proper lighting enhances safety and functionality in each zone.
Conclusion
Designing a kitchen with work zones makes cooking easier and fun. Separate areas help keep tasks clear and organized. Everyone can work without bumping into each other. Plan zones for prep, cooking, cleaning, and storage. Use counters, cabinets, and appliances wisely.
A well-planned kitchen saves time and reduces stress. Start small and adjust your layout as needed. Enjoy a kitchen that fits your daily needs perfectly.