
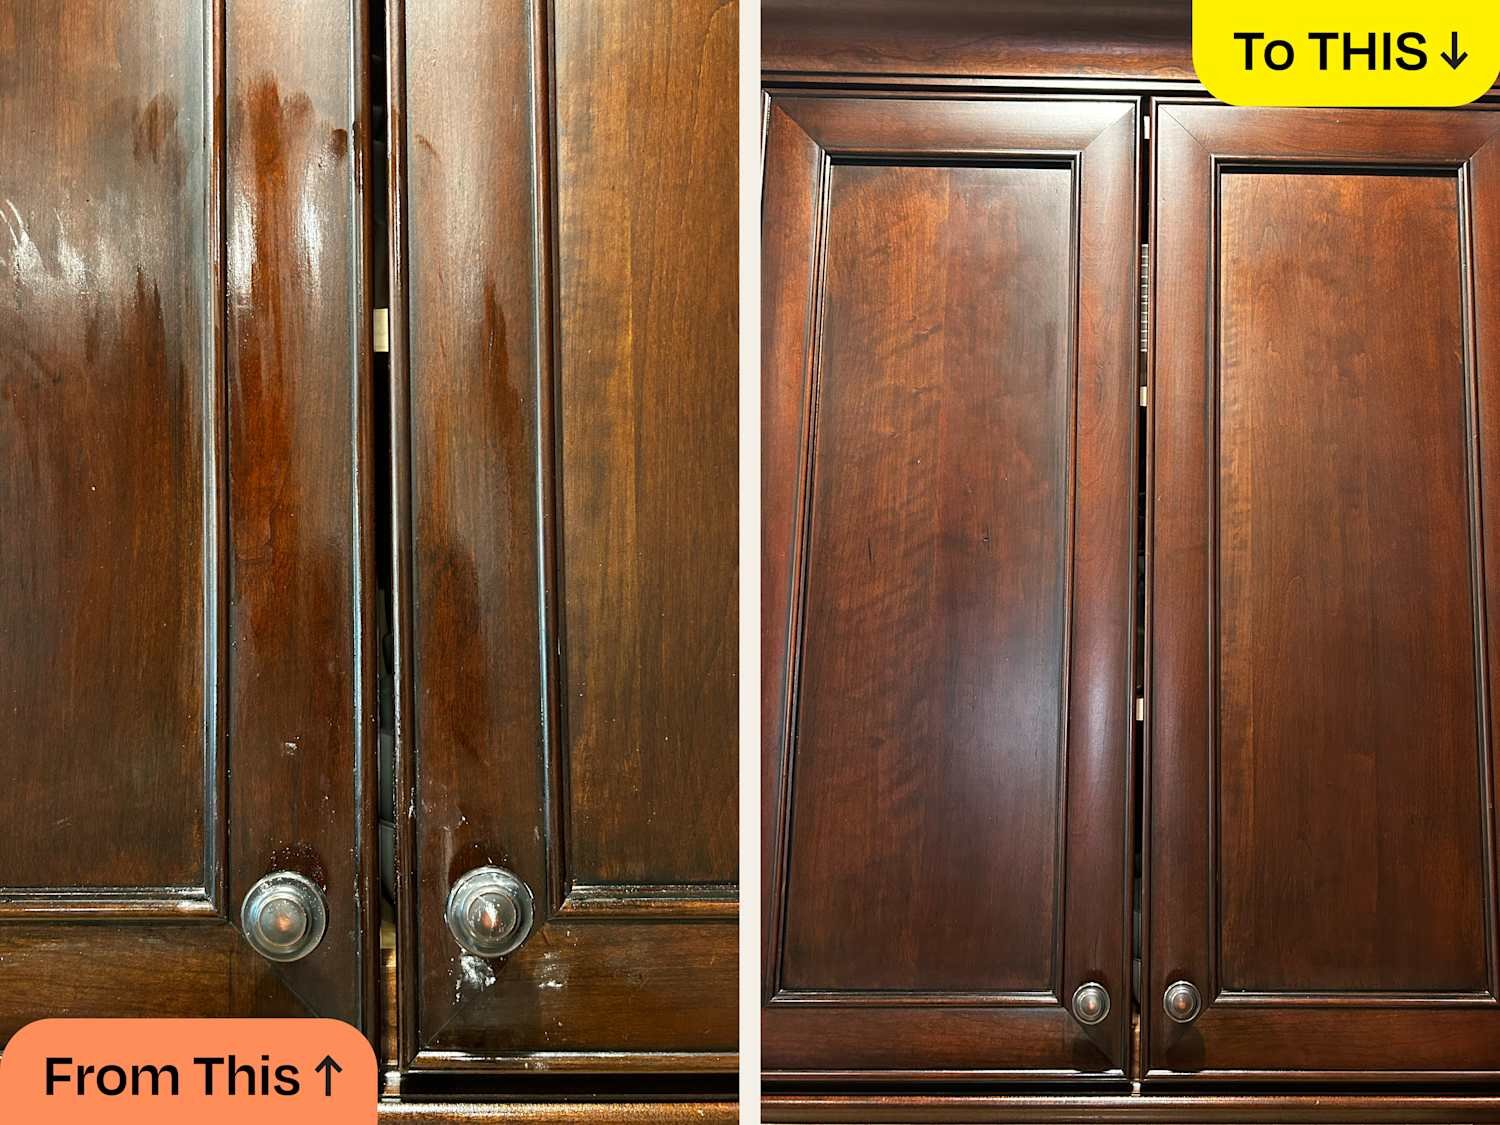
Are your wooden cabinets looking dull, sticky, or covered in grime? You know how much a clean cabinet can brighten up your entire room, but getting them spotless can feel like a tough task.
What if you could learn simple, effective steps to clean your wooden cabinets thoroughly without damaging the wood or wasting time? You’ll discover easy-to-follow tips that will bring back the shine and freshness of your cabinets. Keep reading—you’re just a few steps away from transforming your cabinets and making your space look brand new.
Credit: www.thekitchn.com
Gather Necessary Supplies
Cleaning wooden cabinets well needs the right supplies. This helps protect the wood and remove dirt safely.
Before you start, gather all materials. This makes the cleaning process smooth and effective.
Cleaning Solutions
Choose a gentle cleaning solution that is safe for wood. Avoid harsh chemicals that can damage the finish.
You can use mild dish soap mixed with water or a special wood cleaner. Always test on a small area first.
- Mild dish soap and warm water
- Wood-specific cleaning products
- White vinegar diluted with water (for tough spots)
- Avoid bleach or ammonia-based cleaners
Soft Cloths And Sponges
Use soft cloths or sponges to clean wooden cabinets. Rough materials can scratch the surface.
Microfiber cloths work well to trap dust and dirt. Use sponges that are gentle and non-abrasive.
- Microfiber cloths for dusting and wiping
- Soft sponges for cleaning stains
- Old towels or cotton cloths for drying
Protective Gear
Wear gloves to protect your hands from cleaning solutions. Some cleaners can irritate your skin.
Use eye protection if you mix cleaning liquids. Keep the area well-ventilated during cleaning.
- Rubber or latex gloves
- Safety glasses if using strong solutions
- Mask if you are sensitive to fumes
- Open windows or use fans for fresh air
Prepare The Cabinets
Cleaning wooden cabinets starts with good preparation. Taking time to get ready helps avoid damage.
Prepare the area and cabinets well to clean thoroughly and safely.
Empty The Cabinets
Take everything out of the cabinets. Remove all items from shelves and drawers.
Empty cabinets give you full access to clean every corner and surface.
Remove Hardware
Take off handles, knobs, and hinges if possible. This helps clean around and under them.
Removing hardware prevents damage and lets you clean parts separately.
- Use a screwdriver to remove screws
- Place hardware in a safe spot
- Keep screws and parts together
Protect Surrounding Areas
Cover nearby surfaces to avoid damage. Use cloths or plastic sheets to protect walls and floors.
Protect appliances and counters from cleaning liquids and dust.
- Place drop cloths on floors
- Use painter’s tape to cover edges
- Keep cleaning tools close by
Dust And Wipe Down
Cleaning wooden cabinets starts with dusting and wiping them down. This removes dirt and prevents buildup.
Regular dusting keeps your cabinets looking fresh and helps protect the wood finish.
Use A Microfiber Cloth
A microfiber cloth is soft and gentle on wood surfaces. It picks up dust without scratching the cabinet.
Use a clean, dry microfiber cloth to wipe the cabinet doors, shelves, and frames carefully.
- Start from the top and work down
- Use light pressure to avoid damage
- Wash the cloth regularly to remove trapped dust
Focus On Corners And Crevices
Dust and dirt often collect in corners and crevices of wooden cabinets. These areas need special attention.
Use the edge of your cloth or a soft brush to reach tight spaces and remove hidden dust.
- Check cabinet door edges and hinges
- Clean along moldings and trim
- Use small brushes for narrow gaps

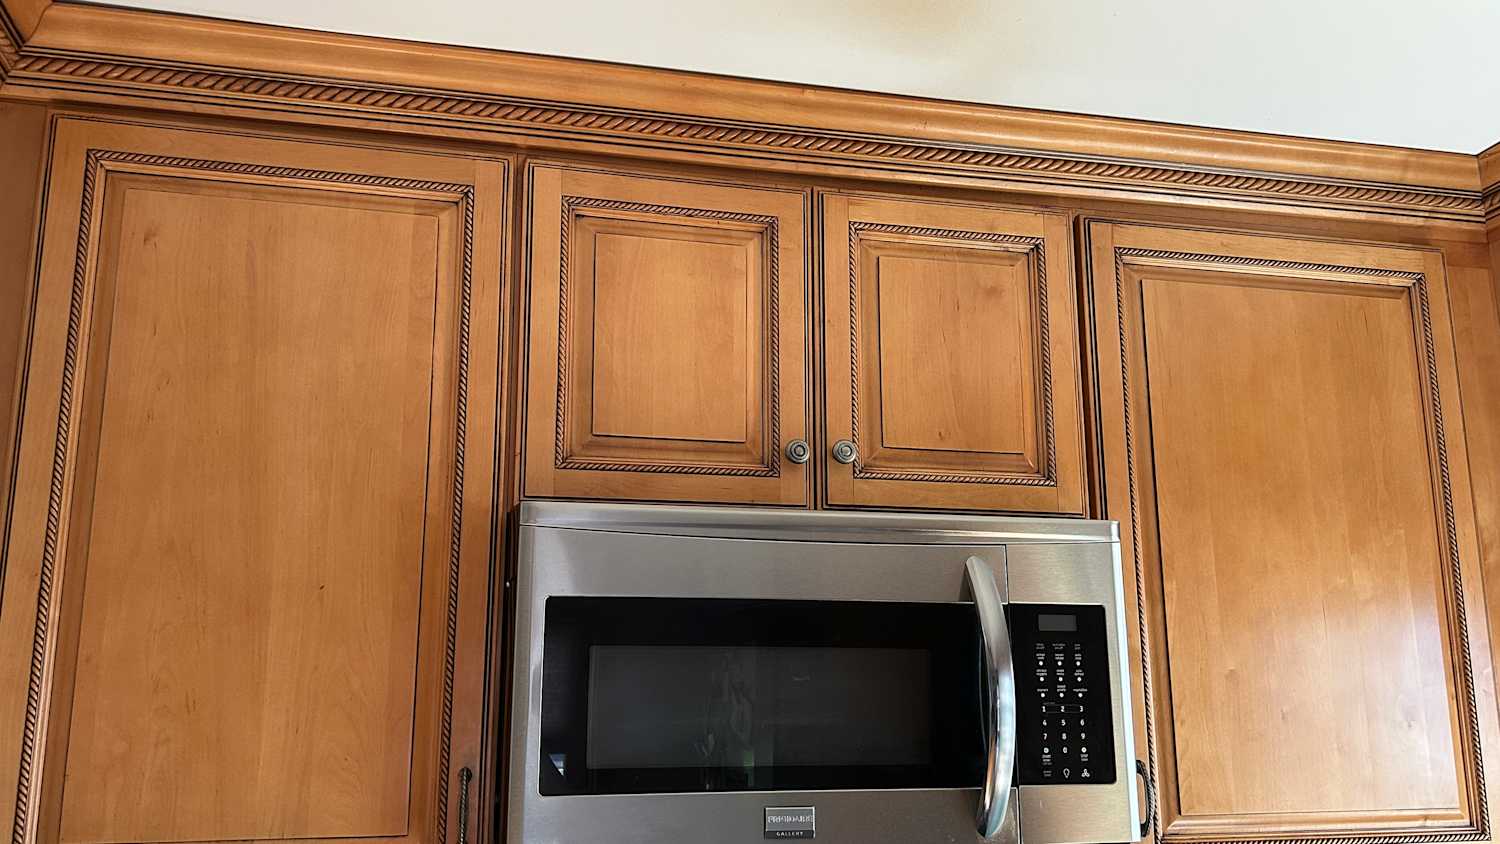
Credit: www.express.co.uk
Apply Cleaning Solution
Cleaning wooden cabinets well keeps them looking fresh and lasting longer. Using the right cleaning solution helps remove dirt and grease safely.
Apply the cleaner carefully so you do not damage the wood finish. Follow simple steps to clean effectively.
Choose The Right Cleaner
Pick a cleaner made for wood surfaces. Avoid harsh chemicals that can strip the finish or cause damage.
Gentle soap mixed with water or special wood cleaners work best. Do not use bleach or ammonia-based products.
- Mild dish soap and warm water
- Wood-specific cleaning sprays
- Vinegar diluted in water (use sparingly)
- Avoid abrasive cleaners or pads
Test On A Hidden Spot
Before using any cleaner, test it on a small hidden area. This prevents damage to visible parts of your cabinets.
Apply the cleaner and wait a few minutes. Check for any color change or finish damage before cleaning all surfaces.
Scrub And Remove Grime
Cleaning wooden cabinets well keeps them looking nice and lasting longer. Dirt and grime build up over time and need careful removal. Using the right tools and methods helps protect the wood.
This guide focuses on scrubbing wooden cabinets gently and removing tough grime safely. Follow these tips to clean your cabinets without damage.
Use A Soft-bristled Brush
A soft-bristled brush reaches dirt in corners and grooves without scratching the wood. It works better than rough sponges or hard brushes that can harm the finish.
- Choose a brush with soft, natural bristles.
- Dip the brush in a mild soap and water solution.
- Gently scrub the surface, paying attention to crevices.
- Wipe off loosened dirt with a clean, damp cloth.
- Dry the cabinet with a soft towel to avoid water spots.
Address Stubborn Stains
Some stains need more care to remove. Use gentle cleaners and test in a small spot first. Avoid harsh chemicals that may strip the wood finish.
| Type of Stain | Cleaning Method |
| Grease or Oil | Sprinkle baking soda, let sit 15 minutes, then wipe with damp cloth. |
| Water Rings | Rub gently with a mixture of equal parts baking soda and water. |
| Ink or Marker | Use a cotton ball with rubbing alcohol, dab carefully. |
| Food Stains | Clean with mild soap and warm water; avoid soaking wood. |

Credit: www.express.co.uk
Rinse And Dry
Cleaning wooden cabinets well means rinsing off any cleaner left on the surface. This step stops damage and keeps the wood safe.
After rinsing, drying the cabinets fully is important. Water can cause wood to warp or stain if not dried properly.
Remove Residual Cleaner
Use a clean, damp cloth to wipe away all cleaner residue from the cabinet surfaces. Make sure to rinse the cloth often to avoid spreading dirt.
- Dip a soft cloth in warm water and wring out excess water.
- Wipe all cabinet surfaces gently to remove cleaner traces.
- Change the water if it becomes dirty during rinsing.
- Check corners and edges carefully for leftover cleaner.
Dry Thoroughly
Dry the wood completely with a soft, dry towel. This helps prevent water damage and keeps cabinets looking good.
| Drying Tips | Reason |
| Use a microfiber cloth | Absorbs water well without scratching wood |
| Dry cabinet edges and corners first | These spots hold moisture longer |
| Allow cabinets to air dry for 10 minutes | Ensures any hidden moisture evaporates |
| Keep room ventilated during drying | Speeds up drying and prevents mold |
Polish And Protect
Wooden cabinets can look new for years with the right care. Polishing and protecting them keeps their shine and strength. This guide explains how to apply wood polish and choose protective coatings.
Regular maintenance helps prevent damage from spills, heat, and daily use. Follow these easy steps to keep your cabinets beautiful and lasting longer.
Apply Wood Polish
Wood polish adds shine and nourishes the surface of your cabinets. It also helps hide minor scratches and water marks. Use a soft cloth to apply the polish evenly.
- Choose a polish made for wooden furniture
- Test on a small hidden area first
- Apply a small amount with a clean, soft cloth
- Rub gently in the direction of the wood grain
- Wipe off excess polish to avoid buildup
- Let it dry before touching or closing cabinet doors
Consider Protective Coatings
Protective coatings shield cabinets from moisture, stains, and heat. They create a barrier that keeps wood safe and easy to clean. Choose the right coating based on your cabinet’s finish and use.
| Coating Type | Benefits | Best For |
| Polyurethane | Strong protection, water and heat resistant | Kitchen cabinets and high-use areas |
| Wax | Adds shine, easy to apply, less durable | Low-use cabinets and decorative wood |
| Lacquer | Fast drying, smooth finish | Modern cabinets with smooth surfaces |
| Shellac | Natural finish, good for antiques | Vintage or antique wooden cabinets |
Reassemble And Organize
After cleaning your wooden cabinets, it is time to put everything back in place. This step helps keep your kitchen neat and your cabinets looking great.
Organizing your items properly will make your cabinets easier to use and maintain. Follow the tips below for reassembling and organizing.
Reattach Hardware
Start by reattaching the cabinet hardware such as handles, knobs, and hinges. Make sure each piece is tightened securely to avoid any loose fittings.
- Use a screwdriver to fix screws firmly in place.
- Check each hinge for smooth movement before closing the door.
- Replace any damaged hardware to keep cabinets functional.
- Clean hardware if needed before reattaching to maintain shine.
Return Items To Cabinets
Once the hardware is secure, return your items to the cabinets. Organize by grouping similar items together for easy access.
| Item Type | Suggested Location | Tips |
| Plates and Bowls | Lower shelves | Stack neatly to save space |
| Glasses and Cups | Upper shelves | Place rims down for safety |
| Spices and Condiments | Near cooking area | Use racks or organizers for easy reach |
| Cookware | Lower cabinets | Store lids separately to avoid clutter |
Maintain Cleanliness
Wooden cabinets add warmth and beauty to any room. Keeping them clean helps keep their shine and strength.
Regular care stops dirt buildup and protects the wood from damage. Simple cleaning steps make your cabinets look great.
Regular Dusting
Dust can settle on wooden cabinets and dull their finish. Wiping them often removes dust and stops scratches.
Use a soft cloth or microfiber duster to clean all surfaces gently. Dusting once a week keeps cabinets fresh.
- Use a dry or slightly damp cloth
- Avoid rough materials that can scratch wood
- Clean corners and edges carefully
- Do not use too much water
Periodic Deep Cleaning
Deep cleaning removes grease and grime that regular dusting misses. It keeps wood healthy and bright.
Use a mild soap mixed with warm water and a soft cloth. Clean small sections and dry them quickly to avoid damage.
- Mix a few drops of mild dish soap with water
- Wipe cabinet surfaces gently with a soft cloth
- Rinse the cloth and wipe again to remove soap
- Dry the wood immediately with a clean towel
- Clean handles and hinges carefully
Frequently Asked Questions
How Often Should I Clean Wooden Cabinets?
Clean wooden cabinets every two weeks to prevent dirt buildup. Regular wiping with a damp cloth keeps them looking fresh. Deep cleaning can be done monthly using appropriate wood cleaners to maintain their finish and durability.
What Is The Best Cleaner For Wooden Cabinets?
Use a mild dish soap mixed with warm water for daily cleaning. Avoid harsh chemicals that can damage wood finishes. For tough stains, a vinegar and water solution works well without harming the wood.
Can I Use Vinegar To Clean Wooden Cabinets?
Yes, diluted vinegar is safe for cleaning wooden cabinets. Mix one part vinegar with two parts water for an effective cleaner. Avoid using full-strength vinegar as it can damage the wood over time.
How Do I Remove Grease From Wooden Cabinets?
Apply a mixture of baking soda and water to greasy spots. Gently scrub with a soft cloth and rinse with warm water. This method effectively cuts grease without harming the wood finish.
Conclusion
Cleaning wooden cabinets takes care and patience. Use gentle cleaners and soft cloths. Avoid harsh chemicals that can damage the wood. Regular cleaning keeps cabinets looking fresh and new. Small steps make a big difference over time. Remember to dry surfaces well after cleaning.
This helps prevent water damage and stains. Keep a routine to maintain your cabinets’ beauty. Your kitchen will feel cleaner and more inviting. Simple care protects your investment for many years. A little effort brings lasting shine and warmth to your space.