
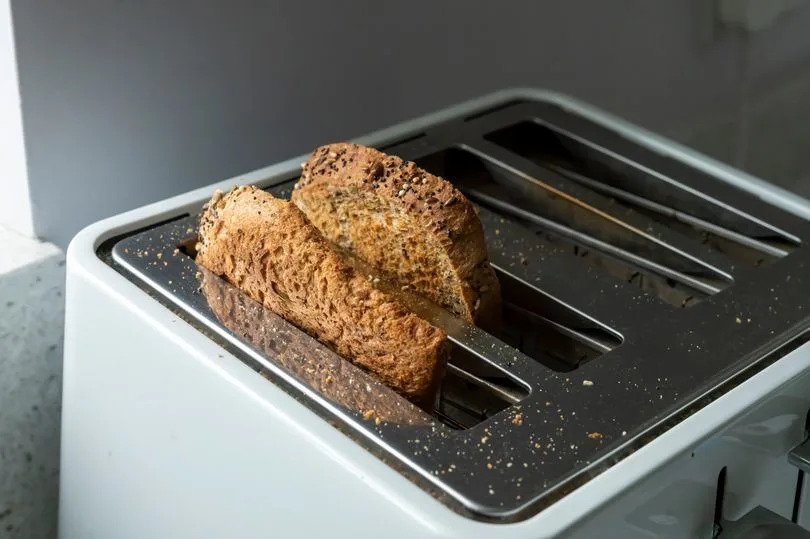
Your toaster works hard every morning, but those tiny crumbs it leaves behind can cause more trouble than you think. If you’ve ever noticed burnt smells or uneven toasting, crumb buildup might be the culprit.
Cleaning your toaster crumbs effectively isn’t just about keeping your kitchen tidy—it’s about making your toaster last longer and work better. You’ll discover simple, quick ways to get rid of those stubborn crumbs and keep your toaster in top shape.
Ready to make your breakfast routine smoother? Let’s dive in!
Credit: www.maid2match.com.au
Gathering Necessary Supplies
Cleaning toaster crumbs is easy with the right supplies. Having everything ready saves time and effort.
Use gentle tools to avoid damage. Keep your toaster clean and safe to use.
A Soft Brush Or Toothbrush
A soft brush helps remove crumbs from hard-to-reach places. A toothbrush works well for small crevices.
Brush gently to avoid scratching the toaster’s surface or damaging its parts.
A Small Vacuum Cleaner
A small vacuum cleaner can suck up loose crumbs easily. Use one with a narrow nozzle for better access.
This tool helps clean crumbs without spreading them around or making a mess.
A Damp Cloth Or Sponge
A damp cloth or sponge cleans the toaster’s outside and crumb tray. Use only a little water to avoid damage.
Wipe gently and dry the toaster after cleaning to prevent rust.
A Tray Or Plate To Catch Crumbs
Place a tray or plate under the toaster while cleaning. It catches falling crumbs and keeps your counter clean.
Empty the tray or plate after cleaning to avoid crumb buildup.
Optional: A Toothpick Or Wooden Stick
A toothpick or wooden stick helps remove crumbs stuck in tight spots. Use it carefully to avoid damage.
This tool is useful for crumbs that a brush cannot reach easily.

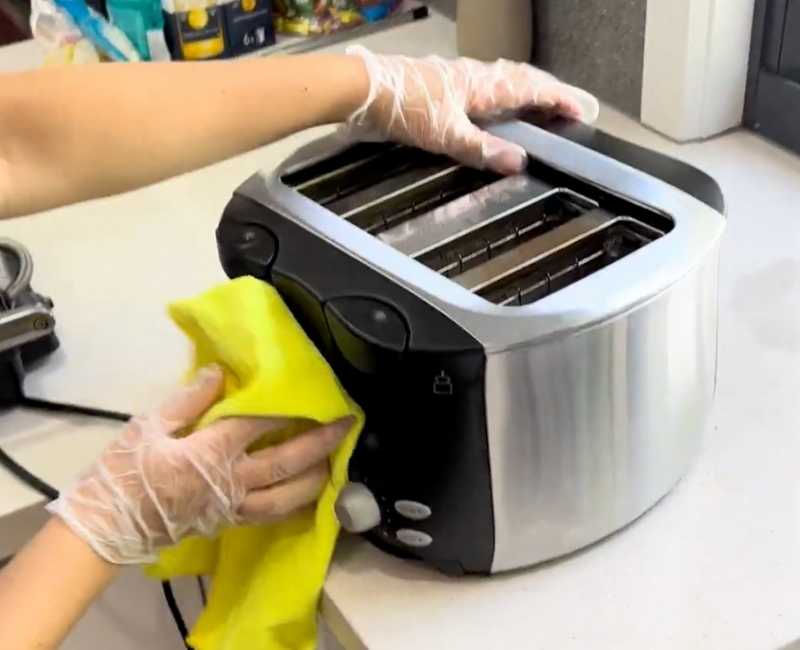
Credit: www.youtube.com
Unplugging The Toaster
Cleaning toaster crumbs is safer when the toaster is unplugged. This prevents electric shocks and accidents.
Always unplug the toaster before you start cleaning. This step protects you and your appliance.
Locate The Power Cord
Find the toaster’s power cord at the back or side. It usually plugs into a wall socket.
Make sure you have a clear path to the plug. This helps you unplug it easily without pulling the cord.
Pull The Plug, Not The Cord
Hold the plug firmly to pull it from the socket. Do not pull the cord itself.
Pulling the cord can damage it and cause sparks or electric shocks.
Wait Before Cleaning
After unplugging, wait a few minutes. This lets the toaster cool down.
Cleaning a hot toaster can burn your hands or damage parts inside.
Check For Damage
Look at the plug and cord for cracks or frays. Do not use the toaster if damaged.
Report any damage before cleaning to avoid electric hazards.
Removing And Cleaning The Crumb Tray
Cleaning your toaster regularly keeps it working well. The crumb tray catches crumbs to stop messes. Removing and washing it stops crumbs from building up.
Follow simple steps to find, clean, and dry the crumb tray safely. This helps your toaster last longer and stay clean.
Locating The Crumb Tray
Most toasters have a crumb tray at the bottom or side. Look for a small panel or drawer you can pull out. It is usually flat and thin.
If you cannot find it, check your toaster’s manual. The tray slides out easily for cleaning.
Washing The Tray
Take the crumb tray out carefully. Empty all crumbs into the trash. Wash the tray with warm water and mild soap.
Use a soft sponge or cloth to clean it well. Avoid harsh scrubbers that can damage the tray’s surface.
Drying The Tray Properly
After washing, dry the crumb tray completely. Use a clean towel or let it air dry. Make sure no water is left before putting it back.
Wet trays can cause damage or electrical problems. Always check the tray is dry before sliding it into the toaster.
Shaking Out Loose Crumbs
Toasters collect crumbs that can burn or cause odors. Shaking out loose crumbs is a simple way to keep your toaster clean. This method helps remove crumbs without much effort.
Always unplug your toaster before cleaning. This step ensures safety while you shake out the crumbs.
Gently Inverting The Toaster
Turn your toaster upside down over a trash bin or sink. Gently shake it to let loose crumbs fall out. Use a soft tap on the sides to release stubborn crumbs inside.
- Unplug the toaster from the power outlet.
- Hold the toaster firmly upside down.
- Shake gently to avoid damage.
- Tap the sides softly if crumbs do not fall out.
- Empty the crumbs from the bin or sink.
Using A Brush For Stubborn Crumbs
Some crumbs stick inside the toaster slots. Use a soft brush to remove these crumbs. Brushes can reach places shaking cannot clean well.
| Brush Type | Use |
|---|---|
| Soft-Bristle Brush | Remove crumbs without scratching |
| Small Paintbrush | Reach narrow slots and corners |
| Old Toothbrush | Clean crumbs stuck on heating elements |
After brushing, shake the toaster again to clear out loosened crumbs. Repeat if needed for a thorough clean.
Cleaning The Toaster Exterior
Keeping your toaster’s outside clean helps it look good and last longer. Dirt and crumbs can build up on the surface over time.
Regular cleaning is simple and keeps your kitchen tidy. Use gentle methods to avoid damage.
Wiping With A Damp Cloth
Start cleaning by unplugging the toaster. Use a soft, damp cloth to wipe the outside gently. This removes dust and light dirt.
- Use warm water to dampen the cloth
- Wipe all sides, including knobs and buttons
- Dry the surface with a clean towel after wiping
Using A Mild Cleaner For Stains
For tough stains, use a mild cleaner safe for kitchen appliances. Avoid harsh chemicals that can damage the finish.
| Cleaner Type | Use Instructions |
| Mild Dish Soap | Mix with water, apply with cloth, then rinse |
| Baking Soda Paste | Mix with water, scrub gently, wipe clean |
| Vinegar Solution | Dilute with water, apply, then dry well |
Dealing With Stuck-on Crumbs
Cleaning toaster crumbs can be tricky when they stick inside. These crumbs can burn or block the toaster’s parts.
Using the right tools helps remove these crumbs safely and easily. Avoid damage to your toaster while cleaning.
Using A Toothbrush Or Small Brush
A toothbrush or small brush reaches crumbs stuck in corners and crevices. It helps loosen and lift crumbs without scratching.
- Use a dry toothbrush with soft bristles.
- Gently brush inside the toaster slots and crumb tray.
- Brush crumbs into a dustpan or onto a paper towel.
- Repeat if crumbs remain stuck.
- Clean the brush after use to remove crumbs.
Avoiding Sharp Objects
Sharp objects can damage toaster parts or cause injury. Avoid using knives or metal tools to remove crumbs.
| Why Avoid Sharp Objects | Safe Alternatives |
|---|---|
| May scratch heating elements | Use soft brushes or cloths |
| Can damage toaster interior | Use compressed air to blow crumbs out |
| Risk of electric shock if toaster plugged in | Always unplug toaster before cleaning |
Reassembling The Toaster
After cleaning your toaster crumbs, you need to put the toaster back together. This step is important to keep the toaster working well.
Reassembling the toaster takes care and attention. Follow the right order to avoid damage and ensure safety.
Check All Parts Are Clean And Dry
Before putting your toaster back, make sure every part is clean and dry. Wet parts can cause electrical problems or rust.
Put Internal Components Back Carefully
Start by placing the internal parts like crumb trays and heating elements carefully. Avoid bending or forcing any piece.
Secure The Outer Shell
Once the inside parts are in place, put the outer shell back on. Make sure it fits well and lines up with buttons and slots.
Test The Toaster Safely
After reassembling, plug in the toaster and test it without bread first. Check if it heats and works as expected.
- Ensure crumb tray is inserted correctly.
- Fit heating elements without damage.
- Align outer shell with internal parts.
- Tighten screws or clips securely.
- Plug in and test the toaster.
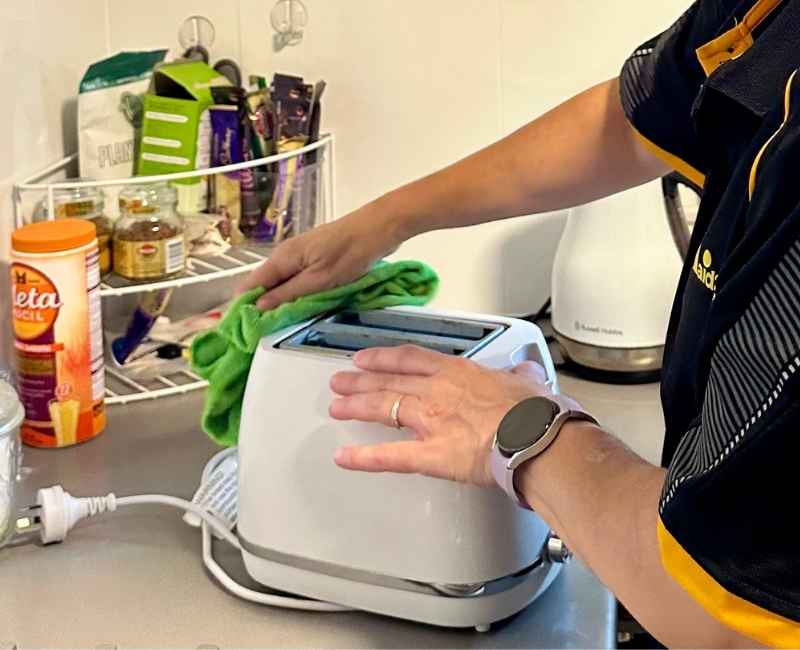
Credit: www.maid2match.com.au
Regular Maintenance Tips
Cleaning toaster crumbs regularly keeps your kitchen neat and safe. It also helps your toaster work better for longer.
Simple habits make crumb cleanup easier. You only need a few minutes and the right routine.
Setting A Cleaning Schedule
Choose how often to clean your toaster based on how much you use it. A set schedule stops crumbs from building up too much.
- Empty the crumb tray weekly for daily users.
- Wipe the toaster outside once a week.
- Deep clean inside the toaster every month.
- Check for stuck crumbs after each use.
Preventing Future Buildup
Stopping crumbs from piling up saves time. Use these tips to keep your toaster cleaner longer.
| Tip | How It Helps |
|---|---|
| Use a crumb catcher mat | Catches crumbs before they fall on the counter |
| Toast over the sink | Easy crumb cleanup after toasting |
| Shake crumbs gently | Prevents crumbs from getting stuck inside |
| Clean crumbs before each use | Keeps toaster fresh and working well |
Frequently Asked Questions
How Often Should I Clean Toaster Crumbs?
Clean toaster crumbs at least once a week. Frequent cleaning prevents buildup and reduces fire risk. It also keeps your toaster functioning well and smelling fresh.
What Tools Are Best For Cleaning Toaster Crumbs?
Use a soft brush or a small handheld vacuum. Avoid water inside the toaster to prevent damage. A crumb tray, if available, makes cleaning easier and safer.
Can I Use Water To Clean Toaster Crumbs?
Avoid using water inside the toaster. Water can damage electrical components. Instead, unplug the toaster and wipe the exterior with a damp cloth only.
How To Remove Stuck Crumbs From Toaster Slots?
Turn the toaster upside down and gently shake it. Use a soft brush to loosen crumbs carefully. Avoid sharp objects that can damage heating elements.
Conclusion
Cleaning toaster crumbs keeps your appliance safe and working well. Regular care stops burnt smells and messes in your kitchen. Use simple tools like a brush or cloth for quick cleaning. Remember to unplug your toaster before starting. Small steps make a big difference in cleanliness.
Keep your toaster crumb-free to enjoy fresh, tasty toast every day. A clean toaster means better toast and less hassle. Easy to do, and it saves time later. Try it regularly for best results.