

You’ve invested in a smart blender to make your kitchen tasks easier and your meals healthier. But keeping it clean can sometimes feel like a hassle.
Imagine if cleaning your smart blender was as simple as pressing a button. What if you could avoid sticky residue, strange smells, and clogged blades without spending extra time or effort? You’ll discover easy, effective ways to clean your smart blender so it stays fresh, works perfectly, and lasts longer.
Let’s get started and make cleaning your smart blender something you actually look forward to!
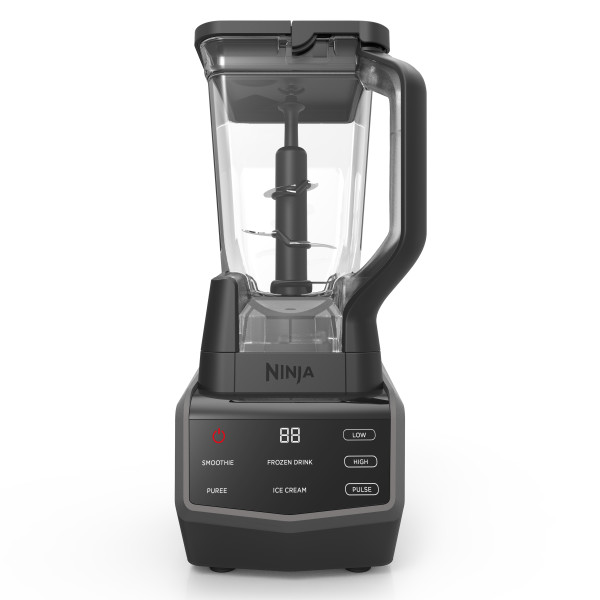
Credit: support.ninjakitchen.ca
Understanding Smart Blenders
Smart blenders are kitchen devices with advanced technology. They can blend, chop, and cook food with ease.
These blenders often connect to apps. This allows users to control them remotely and access recipes.
What Makes A Blender Smart?
Smart blenders have built-in sensors and motors. They adjust speed and time for perfect blending.
Many models include touchscreen controls or app links. This makes them easier to use and program.
Common Features Of Smart Blenders
These blenders offer features not found in regular models. They help improve cooking results.
- Pre-set blending programs for smoothies, soups, and sauces
- Automatic cleaning functions for easy maintenance
- Voice control or app integration
- Powerful motors for tough ingredients
- Safety locks and sensors to prevent accidents
Benefits Of Using Smart Blenders
Smart blenders save time and effort in the kitchen. They blend food quickly and evenly.
They also reduce guesswork by offering guided recipes and automatic settings. This helps users get consistent results.
Why Proper Cleaning Is Important
Smart blenders have complex parts that need care. Cleaning them keeps them working well and safe to use.
Regular cleaning prevents food buildup and bad odors. It also extends the blender’s lifespan.
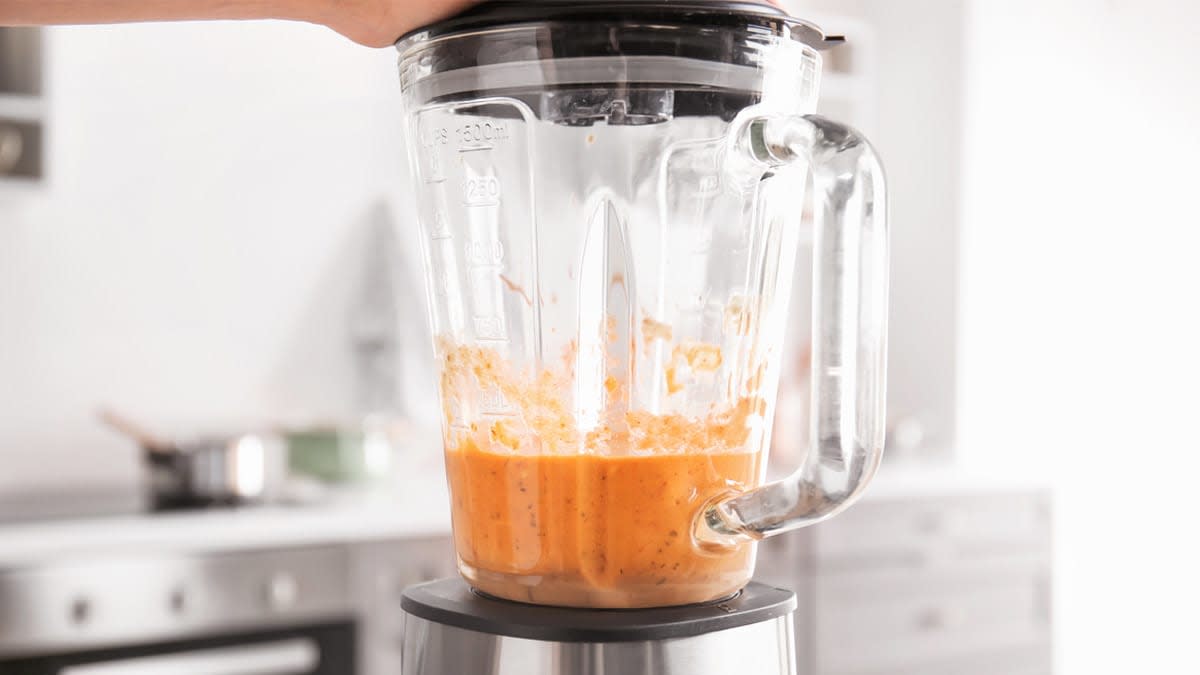
Credit: www.consumerreports.org
Essential Cleaning Tools
Cleaning your smart blender regularly keeps it working well. Using the right tools makes cleaning easy and effective.
This guide lists important tools to clean your smart blender safely and quickly.
Soft Sponge Or Brush
A soft sponge or brush helps remove food particles without scratching the blender jar. Choose one that fits well inside the container.
- Use non-abrasive sponges to protect surfaces
- Brushes with long handles reach deep corners
- Soft bristles clean without damage
Mild Dish Soap
Mild dish soap removes grease and residue without harming the blender parts. Avoid harsh chemicals that can damage seals or electronics.
- Choose gentle, fragrance-free soap
- Use small amounts to avoid buildup
- Rinse well after washing
Microfiber Cloth
A microfiber cloth dries and polishes your blender without leaving lint. It also helps clean the base and control panel carefully.
- Soft texture avoids scratches
- Absorbs moisture quickly
- Easy to wash and reuse
Bottle Brush
A bottle brush cleans narrow parts like the blender lid or spout. It reaches spots where a sponge cannot fit.
- Flexible handle for hard-to-reach areas
- Soft bristles to protect surfaces
- Compact size for convenience
Cleaning Tablets Or Vinegar
Cleaning tablets or white vinegar help remove odors and stains inside the blender jar. They are useful for deep cleaning.
- Use cleaning tablets made for blenders
- Dilute vinegar with water before use
- Rinse thoroughly after cleaning
Preparing The Blender For Cleaning
Cleaning a smart blender starts with proper preparation. This step helps keep the blender safe and clean.
Follow simple actions before washing to protect the blender parts and avoid damage.
Unplug And Disassemble
Always unplug the blender from the power outlet. This stops accidents and electric shocks.
Next, take apart the blender. Remove the jar, lid, and any other removable parts.
- Unplug the blender to ensure safety
- Remove the blender jar from the base
- Take off the lid and any other parts
- Set parts on a clean surface
Removing The Blades
Carefully remove the blades from the blender jar. Blades can be sharp and need careful handling.
Check your blender guide for how to take out the blades safely without breaking them.
- Hold the jar firmly
- Twist or unscrew the blade assembly
- Use a cloth if blades are hard to grip
- Keep blades away from children
Cleaning The Blender Jar
Keeping your smart blender jar clean is important for good taste and hygiene. Regular cleaning stops food from sticking and prevents smells.
Smart blenders have strong blades, so cleaning the jar carefully helps keep them sharp and safe to use.
Soaking And Scrubbing
Fill the blender jar with warm water and a drop of dish soap. Let it soak for 10 to 15 minutes to loosen food bits.
Use a soft sponge or brush to scrub inside the jar. Pay attention to corners and around the blades to remove all residue.
- Use warm, soapy water
- Soak for 10-15 minutes
- Scrub with a soft brush or sponge
- Clean near the blades carefully
Tackling Tough Stains
For stubborn stains, fill the jar halfway with warm water. Add a tablespoon of baking soda or vinegar to help break down stains.
Run the blender on low speed for 30 seconds. Let the mixture sit for a few minutes, then scrub and rinse thoroughly.
- Add baking soda or vinegar to warm water
- Blend on low speed for 30 seconds
- Let sit to loosen stains
- Scrub and rinse well
Cleaning The Blades Safely
Cleaning smart blender blades is important to keep your appliance working well. The blades can be sharp, so you must be careful.
Follow safe steps to clean the blades without hurting yourself or damaging the blender.
Using A Brush
Use a soft brush to clean the blades safely. This helps remove food stuck on the blades without touching them directly.
Choose a brush with stiff bristles and a long handle. This keeps your hands away from the sharp edges.
- Hold the blender base firmly.
- Gently scrub each blade with the brush.
- Clean all sides of the blades carefully.
- Do not use your fingers to avoid cuts.
Rinsing And Drying
After brushing, rinse the blades with warm water. This removes loosened food and soap.
Dry the blades well to prevent rust and damage. Use a clean towel or let them air dry.
- Rinse under running water carefully.
- Avoid soaking the blender base in water.
- Dry blades completely before reassembling.
- Store the blender in a dry place.
Wiping Down The Base
Cleaning your smart blender’s base keeps it looking good and working well. Dirt and spills can build up over time.
Wiping the base regularly helps avoid damage and keeps buttons easy to use.
Avoiding Water Damage
Never use too much water when cleaning the base. Water can get inside and harm the blender.
Use a damp cloth instead of spraying water directly on the base. This keeps moisture out of electrical parts.
- Unplug the blender before cleaning
- Use a soft, damp cloth
- Do not submerge the base in water
- Dry the base with a clean towel after wiping
Cleaning The Control Panel
Control panels are sensitive. Clean them gently to avoid damage.
Use a soft cloth to wipe buttons and screens. Avoid using harsh chemicals or scrubbing hard.
- Unplug before cleaning
- Use a microfiber or soft cloth
- Lightly dampen cloth with water or mild cleaner
- Wipe gently without pressing too hard
- Dry immediately with a soft, dry cloth
Reassembling The Blender
After cleaning your smart blender, putting it back together is important. This helps keep it working well and safe to use.
Follow the right steps to reassemble the parts carefully. Make sure everything fits correctly and works smoothly.
Ensuring Proper Fit
Check each part before fitting it back. Make sure the blades, jar, and lid match the base properly.
Align the pieces carefully. Avoid forcing parts into place to prevent damage.
- Place the jar on the base firmly but gently
- Secure the blade assembly tightly to avoid leaks
- Attach the lid so it fits snugly without gaps
- Lock any safety switches or clips as required
Testing Functionality
Test the blender after reassembly to ensure it works well. This helps find any mistakes early.
Run a short blend cycle with water. Listen for unusual sounds and check for leaks.
- Start with low speed to test motor function
- Watch for shaking or loose parts
- Stop immediately if you hear grinding or see leaks
- Make adjustments if the blender does not work properly
Maintaining Your Smart Blender
Keeping your smart blender clean helps it work well for a long time. Regular care prevents buildup and keeps it safe to use.
Smart blenders have special parts. Cleaning and checking these parts regularly is important for good performance.
Regular Cleaning Schedule
Clean your smart blender after every use to stop food from sticking. This keeps the blades sharp and the jar clear.
Use warm water and mild soap. Avoid harsh cleaners that can damage the blender’s sensors and screen.
- Rinse the jar and lid immediately after use
- Use a soft brush to clean around blades safely
- Wipe the base with a damp cloth, not wet
- Remove and clean any detachable parts weekly
- Dry all parts completely before reassembling
Checking For Wear And Tear
Look at your blender parts often to find damage early. This prevents bigger problems later.
Check the jar, blades, seals, and power cord. Replace parts that show cracks or wear.
- Inspect blades for dullness or bending
- Check seals for cracks or leaks
- Look for cracks in the jar or lid
- Make sure the power cord is not frayed
- Test buttons and touch screens for responsiveness

Credit: www.amazon.com
Frequently Asked Questions
How Often Should I Clean My Smart Blender?
Clean your smart blender after every use to prevent residue buildup. Regular cleaning maintains performance and ensures hygiene. Quick rinses and thorough washes keep blades sharp and the container fresh.
Can I Put Smart Blender Parts In The Dishwasher?
Yes, most smart blender parts are dishwasher safe. Always check the manufacturer’s instructions. Place detachable parts on the top rack for best results and longer durability.
What’s The Best Method To Clean Blender Blades Safely?
Use a brush or sponge with warm soapy water to clean blades. Avoid direct hand contact to prevent cuts. Rinse thoroughly and dry completely to prevent rust or damage.
How Do I Remove Stubborn Stains In Smart Blenders?
Blend a mixture of baking soda and water for 30 seconds. Let it sit for 10 minutes, then rinse thoroughly. This method helps lift stains without harsh chemicals.
Conclusion
Cleaning smart blenders keeps them working well and lasting longer. Regular care stops food from sticking and smells from building up. Quick cleaning after each use saves time and effort later. Use gentle soap and water, avoiding harsh tools that could damage parts.
Remember to clean all pieces, including the lid and blades. A clean blender means better tasting drinks and healthier blends. Keep your smart blender fresh and ready for every use. Simple steps make a big difference in its performance and life.