

Is your kitchen exhaust fan looking greasy and clogged? A dirty fan not only slows down airflow but can also trap harmful odors and grease, making your kitchen less safe and less pleasant.
You might think cleaning it is tough or requires harsh chemicals, but what if you could do it thoroughly using natural ingredients you already have at home? In this guide, you’ll discover simple, effective ways to clean your kitchen exhaust fan naturally, saving you money and protecting your family from harmful toxins.
Keep reading to learn how to bring back your fan’s power and freshness with easy, eco-friendly steps you can start today.
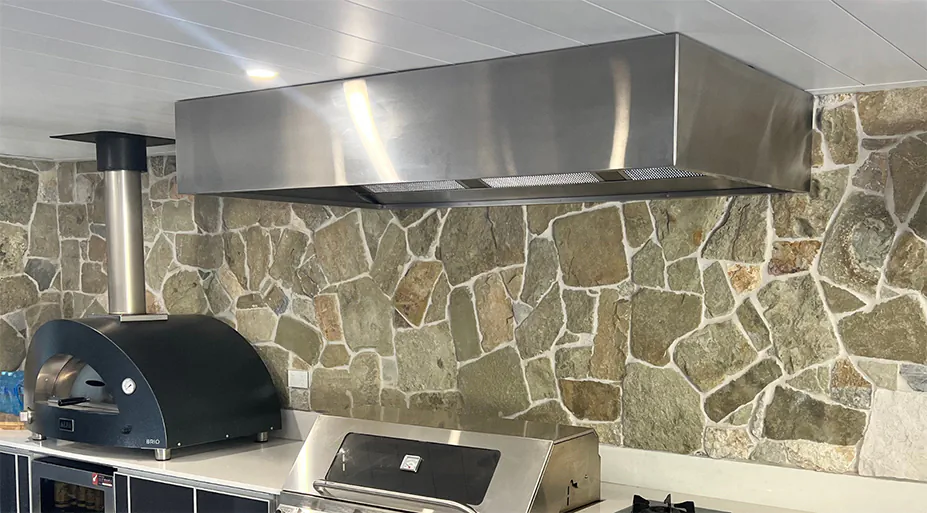
Credit: www.sydneyrangehoods.com.au
Benefits Of Natural Cleaning
Cleaning your kitchen exhaust fan naturally helps keep your home safe and fresh. It removes grease and dirt without harsh chemicals.
Using natural methods protects your health and the environment. It also saves money on cleaning products.
Safer For Your Family
Natural cleaning avoids toxic chemicals that can cause allergies or breathing problems. It keeps the air clean and healthy.
Eco-friendly Choice
Natural ingredients break down easily and do not pollute water or soil. This helps protect wildlife and nature.
Cost-effective Cleaning
Common natural items like vinegar, baking soda, and lemon cost less than commercial cleaners. They are easy to find at home.
- White vinegar removes grease and kills bacteria.
- Baking soda scrubs off tough grime.
- Lemon juice cuts odors and adds shine.
Improved Appliance Life
Natural cleaning avoids harsh chemicals that can damage metal parts. This helps your exhaust fan last longer and work better.
Non-toxic Residue
| Cleaning Method | Residue Type | Effect on Health |
| Natural Cleaning | Biodegradable | Safe for people and pets |
| Chemical Cleaners | Toxic | Can cause irritation and allergies |
Credit: www.nobroker.in
Materials Needed
Cleaning your kitchen exhaust fan naturally helps keep your kitchen fresh. You will need some simple materials that are safe and easy to find.
These natural ingredients and tools work well to remove grease and dirt without harsh chemicals.
Essential Oils
Essential oils add a fresh scent and have natural antibacterial properties. Lemon, tea tree, or eucalyptus oils are good choices.
White Vinegar
White vinegar helps break down grease and kills germs. It is an effective and natural cleaner for your fan parts.
Baking Soda
Baking soda scrubs away tough stains and neutralizes odors. It is gentle but powerful for cleaning kitchen exhaust fans.
- Use baking soda as a paste mixed with water
- Apply it on greasy fan blades and filters
- Let it sit for 10-15 minutes before rinsing
Lemon Juice
Lemon juice brightens surfaces and removes grease naturally. It also leaves a fresh citrus scent after cleaning.
Cleaning Tools
| Tool | Use |
| Soft Brush | To scrub fan blades and grills |
| Microfiber Cloth | For wiping surfaces clean |
| Bucket | To mix cleaning solutions |
| Spray Bottle | For applying vinegar or lemon juice |
| Gloves | To protect your hands during cleaning |
Preparation Steps
Cleaning a kitchen exhaust fan naturally keeps your kitchen fresh and safe. Proper preparation is key to an effective cleaning process.
Before starting, gather all tools and materials. Follow these steps carefully to avoid damage or injury.
Safety Precautions
Safety is the top priority. Wear gloves and a mask to protect your hands and lungs from grease and dust.
- Use protective eyewear to prevent debris from entering your eyes.
- Ensure the working area is well-lit and ventilated.
- Keep children and pets away from the cleaning zone.
- Use a sturdy ladder or stool if the fan is high up.
Disconnecting Power
Always disconnect power before cleaning to avoid electric shock. Locate the fan’s circuit breaker or unplug the unit.
- Find the main electrical panel in your home.
- Switch off the breaker that controls the kitchen exhaust fan.
- Confirm the power is off by testing the fan’s buttons or switches.
- Use a voltage tester if available to double-check.
Removing Exhaust Fan Parts
Take off the fan covers and filters carefully to clean them well. Use the right tools to avoid damage.
| Part | Removal Tip |
| Fan Cover | Unscrew gently with a screwdriver |
| Filters | Slide or lift out carefully |
| Blades | Hold firmly and pull or unscrew |
| Motor Housing | Do not remove unless necessary |
Cleaning The Fan Blades
Kitchen exhaust fan blades gather grease and dirt from cooking fumes. Cleaning them keeps the fan working well and the air fresh.
This guide shows how to clean fan blades naturally and safely using simple ingredients.
Removing Grease
Start by wiping the fan blades with a cloth dipped in warm, soapy water. This loosens thick grease layers.
- Use mild dish soap mixed with warm water.
- Wear gloves to protect your hands.
- Gently scrub the blades to avoid damage.
- Rinse the cloth often to remove collected grease.
Using Baking Soda Paste
Baking soda paste helps remove stubborn grease and stains naturally. Make a paste with baking soda and water.
Apply the paste evenly on each blade and let it sit for 10 minutes.
Use a soft brush or sponge to scrub the blades gently.
Rinse with warm water to remove all baking soda residue.
Rinsing And Drying
After cleaning, rinse the fan blades with clean water to remove soap and baking soda.
| Drying Method | Description |
| Air Dry | Leave blades in open air until fully dry |
| Cloth Dry | Wipe blades gently with a soft, dry cloth |
Make sure blades are completely dry before reinstalling to prevent rust or damage.
Cleaning The Fan Filter
Cleaning the kitchen exhaust fan filter helps keep your kitchen fresh and safe. The filter collects grease and dust. You need to clean it regularly to keep air flowing well.
Using natural methods is safe and easy. Vinegar is a great cleaner that removes grease without harsh chemicals. Let’s look at how to clean your fan filter with vinegar and scrubbing.
Soaking In Vinegar Solution
Soaking the filter in vinegar helps break down grease and dirt. Use white vinegar mixed with hot water for best results. The filter should soak long enough to loosen grime but not damage the material.
- Fill a basin with 2 cups of white vinegar and 2 cups of hot water.
- Place the fan filter fully into the solution.
- Let it soak for 30 to 60 minutes.
- Check the filter; if still dirty, soak a bit longer.
- Remove the filter carefully after soaking.
Scrubbing And Rinsing
After soaking, scrub the filter to remove loosened grease. Use a soft brush or sponge to avoid damage. Rinse the filter well to remove vinegar and dirt.
| Tools Needed | Purpose |
| Soft brush or sponge | Scrub grease and dirt gently |
| Warm water | Rinse filter clean |
| Clean cloth or towel | Dry the filter after rinsing |
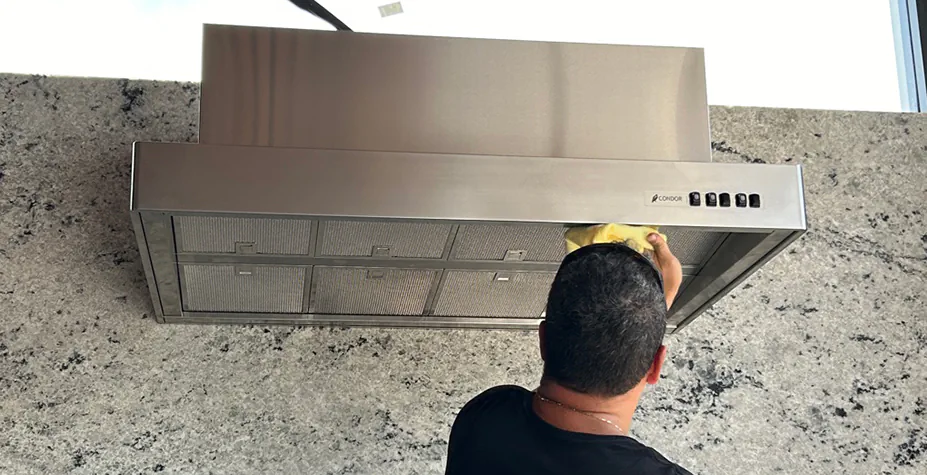
Credit: www.sydneyrangehoods.com.au
Cleaning The Housing And Exterior
Cleaning the kitchen exhaust fan housing and exterior is important for good air flow. Dirt and grease can build up quickly on these parts.
Using natural cleaners is a safe and simple way to remove grime without harsh chemicals. This helps keep your kitchen fresh and healthy.
Using Lemon Juice
Lemon juice is a natural cleaner that cuts through grease and grime well. It also leaves a fresh scent on the fan housing.
Mix lemon juice with warm water to create a cleaning solution. Use a soft cloth to wipe the fan’s exterior gently.
- Mix 1 part lemon juice with 2 parts warm water
- Dampen a cloth with the solution
- Wipe the fan housing and exterior surfaces
- Use a dry cloth to remove excess moisture
Wiping With Essential Oils
Essential oils add natural cleaning power and a pleasant smell. Oils like tea tree or eucalyptus help fight bacteria.
Add a few drops of essential oil to water. Use this mix to wipe down the exhaust fan housing and exterior parts carefully.
- Fill a spray bottle with water
- Add 5-10 drops of essential oil
- Spray a cloth lightly with the mixture
- Wipe all exterior surfaces of the fan
- Dry with a clean cloth afterward
Reassembling The Exhaust Fan
After cleaning your kitchen exhaust fan naturally, it’s time to put it back together. Reassembling the fan correctly ensures it works well and lasts longer.
Take your time to fit each part carefully. This helps avoid damage and keeps the fan running smoothly.
Ensuring Proper Fit
Check all parts for dirt or damage before fitting. Clean any leftover grime to help pieces connect properly.
- Align the fan blades with the motor shaft.
- Secure screws tightly but do not overtighten.
- Make sure the fan cover fits snugly without gaps.
- Check that all seals and gaskets sit in place.
- Test that the fan blades spin freely by hand.
Testing The Fan
Once assembled, test the fan to ensure it runs properly and quietly. Testing helps spot any issues early.
| Test | What to Check | Result |
| Power On | Fan starts without delay | Pass/Fail |
| Noise Level | Fan runs quietly without rattling | Pass/Fail |
| Blade Movement | Blades spin smoothly without wobbling | Pass/Fail |
| Airflow | Strong airflow from exhaust | Pass/Fail |
Maintenance Tips
Keeping your kitchen exhaust fan clean helps it work well and last longer.
Using natural methods protects your health and the environment.
Regular Cleaning Schedule
Clean your kitchen exhaust fan often to stop grease buildup and bad smells.
- Turn off the fan and unplug it before cleaning.
- Remove the fan cover and soak it in warm, soapy water.
- Use a soft brush to scrub away grease and dirt.
- Wipe the fan blades gently with a cloth dipped in vinegar.
- Dry all parts completely before putting them back together.
- Repeat this cleaning every 1 to 3 months depending on use.
Avoiding Harsh Chemicals
Harsh chemicals can damage your fan and harm your health.
| Natural Cleaner | Why Use It | How To Use |
| White Vinegar | Breaks down grease | Dilute with water and wipe parts |
| Baking Soda | Removes odors and stains | Make a paste with water and scrub |
| Lemon Juice | Keeps parts fresh and clean | Apply juice and rinse with water |
Frequently Asked Questions
How Often Should I Clean My Kitchen Exhaust Fan Naturally?
Clean your kitchen exhaust fan every 3 to 6 months. Regular cleaning prevents grease buildup and improves airflow. Natural cleaning methods keep it eco-friendly and safe. Consistent maintenance extends the fan’s lifespan and enhances kitchen hygiene.
What Natural Ingredients Work Best For Exhaust Fan Cleaning?
Vinegar, baking soda, and lemon are effective natural cleaners. Vinegar cuts grease, baking soda scrubs grime, and lemon adds freshness. These ingredients are safe, affordable, and eco-friendly. They efficiently remove buildup without harsh chemicals.
Can I Clean The Exhaust Fan Without Removing It?
Yes, you can clean the fan without removal. Use a damp cloth with natural cleaners to wipe accessible parts. For deeper cleaning, remove the cover carefully. Regular surface cleaning keeps your fan efficient and fresh.
Why Is Natural Cleaning Better For Kitchen Exhaust Fans?
Natural cleaning avoids harmful chemicals that damage the fan and environment. It reduces indoor air pollution and prevents allergic reactions. Natural methods are safer for your family and pets. Plus, they save money and protect your kitchen surfaces.
Conclusion
Cleaning your kitchen exhaust fan naturally keeps it working well. It removes grease and dirt without harsh chemicals. Using simple ingredients like vinegar and baking soda saves money. Regular cleaning also helps your kitchen stay fresh and safe. Try these easy steps to keep your fan clean and healthy.
A clean fan means better air and less smoke. Small effort, big difference. Give your kitchen a natural clean today.