
Is your fridge water dispenser looking a bit grimy or tasting off? You might not realize it, but a dirty dispenser can affect the quality of the water you drink every day.
Cleaning your fridge water dispenser is easier than you think, and it can make a big difference in the taste and safety of your water. You’ll discover simple steps to get your dispenser sparkling clean and working like new. Keep reading—you’ll be surprised how quick and satisfying this task can be!
Preparation And Tools
Cleaning your fridge water dispenser keeps it fresh and safe to use. Getting ready before you start makes the process easier.
Gather the right tools and follow simple steps to clean the dispenser well.
Gather Necessary Supplies
Use these supplies to clean your fridge water dispenser effectively and safely.
- Clean cloth or sponge
- Mild dish soap
- White vinegar or baking soda
- Small brush or toothbrush
- Bucket or bowl
- Gloves to protect your hands
Unplug The Fridge
Always unplug your fridge before cleaning to avoid electric shock or damage.
Empty The Dispenser
Cleaning your fridge water dispenser starts with emptying it. Removing leftover water helps stop mold and bad smells.
Follow simple steps to safely empty the dispenser and prepare it for cleaning.
Remove Water Reservoir
First, find the water reservoir inside or behind the fridge door. Carefully take it out by lifting or sliding it free.
- Turn off the water supply to avoid leaks.
- Hold the reservoir firmly to prevent spills.
- Gently pull or lift the reservoir out of its slot.
- Place the reservoir on a clean surface.
Dispose Of Remaining Water
After removing the reservoir, pour out any water left inside. Dispose of it safely in the sink or drain.
| Action | Details |
| Pour water out | Use a sink or drain to empty the reservoir fully. |
| Check for debris | Look inside for dirt or particles and remove them. |
| Dry the reservoir | Use a clean cloth to wipe inside and outside dry. |
Disassemble Components
Cleaning your fridge water dispenser requires taking it apart first. This helps you reach all parts that collect dirt and germs.
Start by carefully removing the main pieces. This guide shows how to detach the nozzle, tray, and remove the filter.
Detach Nozzle And Tray
The nozzle is where the water comes out. It can get dirty with buildup or mold, so it needs cleaning.
The tray catches drips and spills. It often holds water and crumbs, so take it off for cleaning too.
- Look for clips or screws holding the nozzle and tray in place.
- Gently pull the nozzle straight out to avoid damage.
- Lift the tray up or slide it out, depending on the model.
- Keep the parts in a clean container until you finish cleaning.
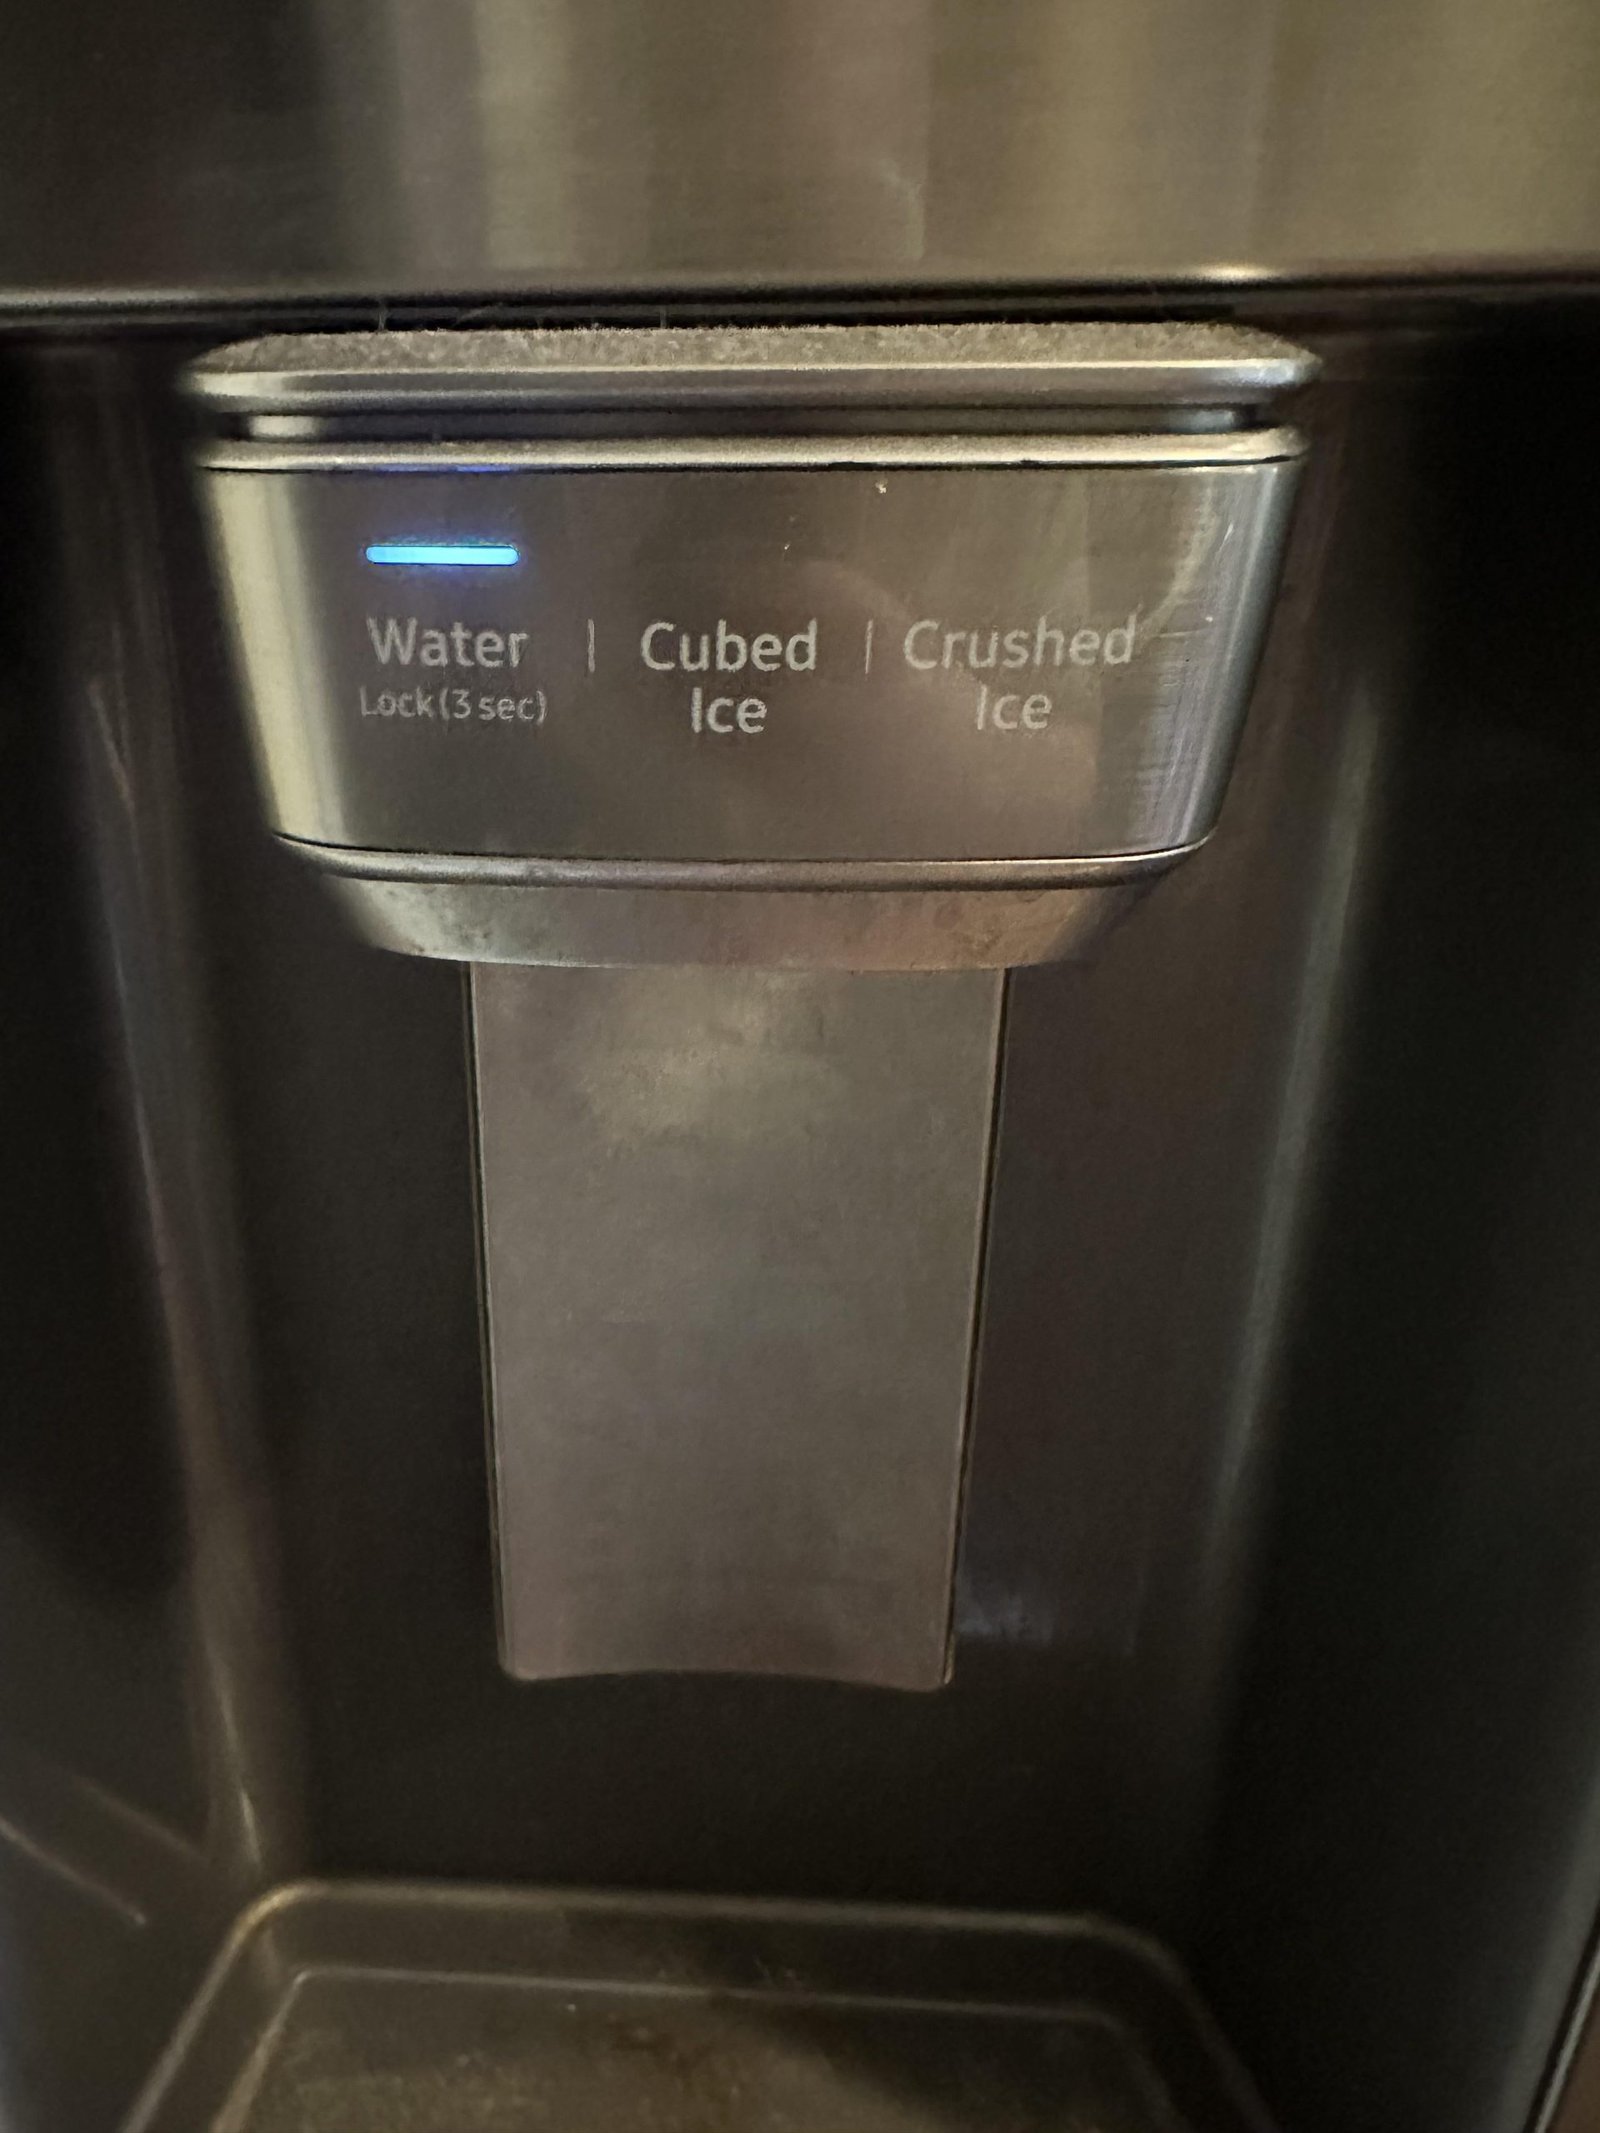
Remove Filter
The water filter cleans your drinking water. It needs removal to clean or replace it.
Filters are usually inside the dispenser or at the fridge’s back. Check your manual if unsure.
- Turn off the water supply to the fridge.
- Press the release button or twist the filter counterclockwise.
- Pull the filter straight out carefully.
- Set the filter aside for cleaning or replacement.

Credit: www.reddit.com
Clean The Dispenser Parts
Cleaning the fridge water dispenser keeps it fresh and safe to use. Dirt and bacteria can build up inside the parts.
Regular cleaning removes germs and stops bad smells. Take apart the dispenser parts carefully before cleaning.
Wash With Soap And Water
Use warm water and mild soap to clean the dispenser parts. This removes dirt and light stains quickly.
Gently scrub with a soft cloth or sponge. Avoid using harsh scrubbers that can damage the parts.
- Remove the drip tray and nozzle cover
- Wash parts with warm soapy water
- Rinse all parts with clean water
- Dry parts completely before reassembling
Use Vinegar Solution For Stubborn Stains
White vinegar helps remove tough stains and mineral deposits. It is safe and natural for cleaning.
Soak a cloth in vinegar solution and wipe the stained parts. Let the solution sit for a few minutes if needed.
- Mix equal parts white vinegar and water
- Apply solution to stained areas
- Let it sit for 5 to 10 minutes
- Scrub gently with a soft brush or cloth
- Rinse with clean water and dry well
Sanitize The Water Lines
Cleaning your fridge water dispenser is important for safe drinking water. Sanitizing the water lines removes germs and buildup inside the tubes.
This guide shows how to flush the lines with vinegar and rinse them well with clean water.
Flush With Vinegar Solution
Use white vinegar to clean inside the water lines. The vinegar kills bacteria and removes mineral deposits.
- Mix one cup of white vinegar with one cup of water.
- Pour the solution into the water reservoir or line.
- Run the dispenser until the vinegar flows through the system.
- Let the solution sit in the lines for 10 to 15 minutes.
- Repeat the process if the lines are very dirty.
Rinse Thoroughly With Water
After flushing with vinegar, rinse the water lines well. This removes any vinegar taste and leftover dirt.
| Rinse Step | Action |
| 1 | Fill the reservoir with clean water |
| 2 | Run the dispenser until water flows clear |
| 3 | Repeat twice to ensure full rinsing |
| 4 | Wipe the dispenser nozzle with a clean cloth |
Reassemble The Dispenser
After cleaning your fridge water dispenser, you need to put it back together. This step is important to make sure the dispenser works well and stays clean.
Take your time to reassemble the parts carefully. Follow the instructions below for the nozzle, tray, and filter.
Reattach Nozzle And Tray
Start by putting the nozzle back in its place. Make sure it fits tightly to avoid leaks. The nozzle directs water into your glass or bottle.
Next, reattach the tray under the nozzle. The tray catches drips and spills. Push it in gently until it clicks or fits snugly.
- Align the nozzle with its slot.
- Press the nozzle firmly but gently.
- Slide the tray under the nozzle.
- Check for a secure fit to avoid leaks.
Replace Filter
The water filter removes impurities and keeps water fresh. After cleaning, put a new filter in place. This helps your dispenser work better.
Insert the new filter according to your fridge’s instructions. Usually, you twist it in or push it firmly until it locks.
- Remove the old filter carefully.
- Take the new filter out of its packaging.
- Insert the new filter into the holder.
- Turn or push it until it locks in place.
- Run water for a few minutes to clear air and loose particles.
Test The Dispenser
After cleaning your fridge water dispenser, testing it ensures it works well. Checking flow and leaks keeps your dispenser safe and clean.
Testing helps spot any problems early. It also confirms that the cleaning process was successful.
Run Water To Check Flow
Turn on the dispenser and let water run for a minute. This clears any leftover cleaning solution and checks the water flow.
- Press the dispenser lever gently.
- Watch the water flow speed and strength.
- Listen for unusual noises.
- Repeat if water flow seems weak or uneven.
Ensure No Leaks
Check all connections and the dispenser area for any water leaks. Leaks may cause damage or mold if left unchecked.
| Check Point | What to Look For | Action If Found |
| Water line connection | Drips or wet spots | Tighten connection or replace parts |
| Dispenser nozzle | Water dripping after use | Clean nozzle and test again |
| Under dispenser area | Pooling water | Dry area and monitor for return leaks |

Credit: www.angi.com
Maintenance Tips
Keeping your fridge water dispenser clean is important for good taste and health. Dirt and germs can build up inside the dispenser.
Regular care helps your dispenser work well and last longer. Follow simple cleaning and filter tips to maintain it.
Regular Cleaning Schedule
Clean your fridge water dispenser every two weeks. This stops mold and bacteria from growing inside.
Use warm soapy water and a soft cloth to wipe the dispenser parts. Rinse well with clean water.
- Remove the drip tray and clean it separately
- Wipe the nozzle and outer surfaces
- Use a small brush for hard-to-reach spots
- Dry all parts before reassembling
Filter Replacement Frequency
Change the water filter every six months or as the fridge manual advises. Old filters can reduce water quality.
Regular filter replacement keeps water fresh and removes impurities. Some filters have indicators to show when to replace.
- Check the filter status monthly
- Have a spare filter ready for quick replacement
- Follow manufacturer instructions for your filter type
- Flush water after installing a new filter

Credit: shopping.yahoo.com
Frequently Asked Questions
How Often Should I Clean My Fridge Water Dispenser?
Clean your fridge water dispenser every 3 to 6 months. Regular cleaning prevents bacteria buildup and ensures fresh, safe water. If you notice unusual taste or odor, clean it immediately to maintain hygiene and dispenser efficiency.
What Materials Do I Need To Clean The Dispenser?
You need a clean cloth, mild dish soap, white vinegar, and a small brush. These materials help remove dirt, mold, and mineral deposits effectively without damaging the dispenser parts.
Can I Use Bleach To Clean The Water Dispenser?
Bleach is not recommended as it can leave harmful residues. Use mild soap or vinegar for safe, effective cleaning. Always rinse thoroughly to avoid any chemical taste or health risks.
How Do I Clean The Water Dispenser Nozzle?
Remove the nozzle if possible, soak it in vinegar for 10 minutes, then scrub gently with a brush. Rinse well with warm water before reattaching to remove bacteria and mineral buildup.
Conclusion
Cleaning your fridge water dispenser keeps water fresh and safe. Regular care stops build-up and bad smells. Use simple tools and mild cleaner for best results. A clean dispenser helps your fridge work well longer. Try to clean it every few months.
Small effort, big difference. Stay healthy and enjoy fresh water daily. Easy steps make cleaning quick and stress-free. Keep your fridge dispenser sparkling and ready to use.