
You use your blender every day to whip up smoothies, sauces, and soups. But when was the last time you cleaned it thoroughly?
If your blender isn’t spotless, old food residue can build up, affecting the taste of your next blend and even your health. Don’t worry—cleaning your blender deeply is easier than you think. You’ll learn simple, effective steps to get your blender sparkling clean every time.
Keep reading, and you’ll never struggle with a sticky, smelly blender again.
Credit: www.kitchenaid.ca
Essential Tools For Cleaning
Cleaning your blender properly keeps it safe and working well. Using the right tools makes the job easier and faster.
Here are the important tools you need to clean your blender thoroughly and keep it in good shape.
Soft Sponge Or Brush
A soft sponge or brush helps remove food bits without scratching the blender jar. Use a brush to reach corners and blades safely.
Dish Soap
Mild dish soap cuts through grease and food stains. It cleans without harming the blender’s materials or leaving strong smells.
Warm Water
Warm water helps loosen stuck food and soap suds. It works better than cold water for cleaning and rinsing.
Cleaning Cloth Or Towel
A soft cloth or towel dries the blender parts after washing. It prevents water spots and keeps the blender ready to use.
Cleaning Tools Checklist
- Soft sponge or brush
- Mild dish soap
- Warm water
- Cleaning cloth or towel
- Optional: Toothbrush for blades
Credit: en.brilio.net
Preparing The Blender
Cleaning your blender well starts with the right preparation. Taking time to prepare it makes cleaning easier.
In this section, you will learn how to get your blender ready before washing it.
Unplugging And Disassembling
Always unplug the blender before cleaning. This keeps you safe from electric shocks.
Take the blender apart by removing the jar, lid, and blade assembly. This helps clean all parts properly.
- Unplug the blender from the power source
- Remove the blender jar from the base
- Take off the lid and any removable seals
- Carefully detach the blade assembly if possible
Initial Rinse
Rinse all removable parts with warm water to remove leftover food. This stops residue from sticking.
Do not rinse the blender base. Wipe it with a damp cloth instead to protect the motor.
- Rinse the jar, lid, and blade with warm water
- Use your hands or a soft brush to remove loose bits
- Avoid soaking parts with electrical components
- Dry the parts with a clean towel or air dry
Cleaning The Blade And Base
Keeping your blender clean is important for safety and taste. Focus on cleaning the blade and base carefully.
Blender blades can get stuck with food, and the base can gather dust. Clean both parts regularly.
Soaking The Blade
Remove the blade from the blender carefully. Soak it in warm soapy water for 10 to 15 minutes.
This loosens stuck food and makes cleaning easier. Use a soft brush to clean around the blades.
- Fill a bowl with warm water and dish soap
- Place the blade in the bowl to soak
- Use a brush to scrub the blade edges gently
- Rinse with clean water and dry thoroughly
Wiping The Base
Unplug the blender base before cleaning. Use a damp cloth to wipe the outside carefully.
Clean any spills or dust around buttons and vents. Avoid getting water inside the base to protect the motor.
- Unplug the blender from power
- Use a soft, damp cloth for wiping
- Clean around buttons and edges
- Dry the base with a dry cloth
Cleaning The Jar
Cleaning your blender jar well keeps it fresh and ready to use. Dirt and food bits can stick inside. Proper cleaning stops bad smells and germs.
This guide covers two easy ways to clean your blender jar. You can use soap and water or handle tough stains safely.
Using Soap And Water
Soap and warm water remove most food particles from the jar. This method is simple and effective for daily use.
- Fill the jar halfway with warm water
- Add a few drops of dish soap
- Place the jar on the blender base
- Run the blender for 30 seconds
- Pour out the soapy water
- Rinse the jar well with clean water
- Dry with a clean cloth or air dry
Handling Stubborn Stains
Some stains need extra care. Use natural cleaners or scrubbing to remove tough marks.
| Type of Stain | Cleaning Method |
| Fruit stains | Use baking soda paste and scrub gently |
| Oil or grease | Mix vinegar and water, soak for 10 minutes |
| Hard water spots | Rub with lemon juice, then rinse |
Dealing With Odors
Blenders can keep smells from strong ingredients like garlic or spinach. These odors can stay even after washing.
Cleaning your blender well removes bad smells and keeps it fresh. Try simple ways to clean and freshen it.
Lemon And Vinegar Method
Lemon and vinegar help break down smells in your blender. They also clean the blades and container well.
Fill the blender halfway with warm water. Add one cup of vinegar and juice of one lemon.
- Turn on the blender for 30 seconds to mix.
- Let the mixture sit for 10 minutes to work on odors.
- Pour out the mixture and rinse with clean water.
- Wipe the lid and base with a damp cloth.
Baking Soda Solution
Baking soda is a natural deodorizer that removes bad smells from your blender. It also cleans stains.
Mix two tablespoons of baking soda with warm water in the blender. Blend for 20 seconds to clean.
- Let the solution sit for 15 minutes inside the blender.
- Use a sponge to scrub any remaining spots.
- Rinse the blender with warm water until clean.
- Dry the blender before storing to keep it fresh.

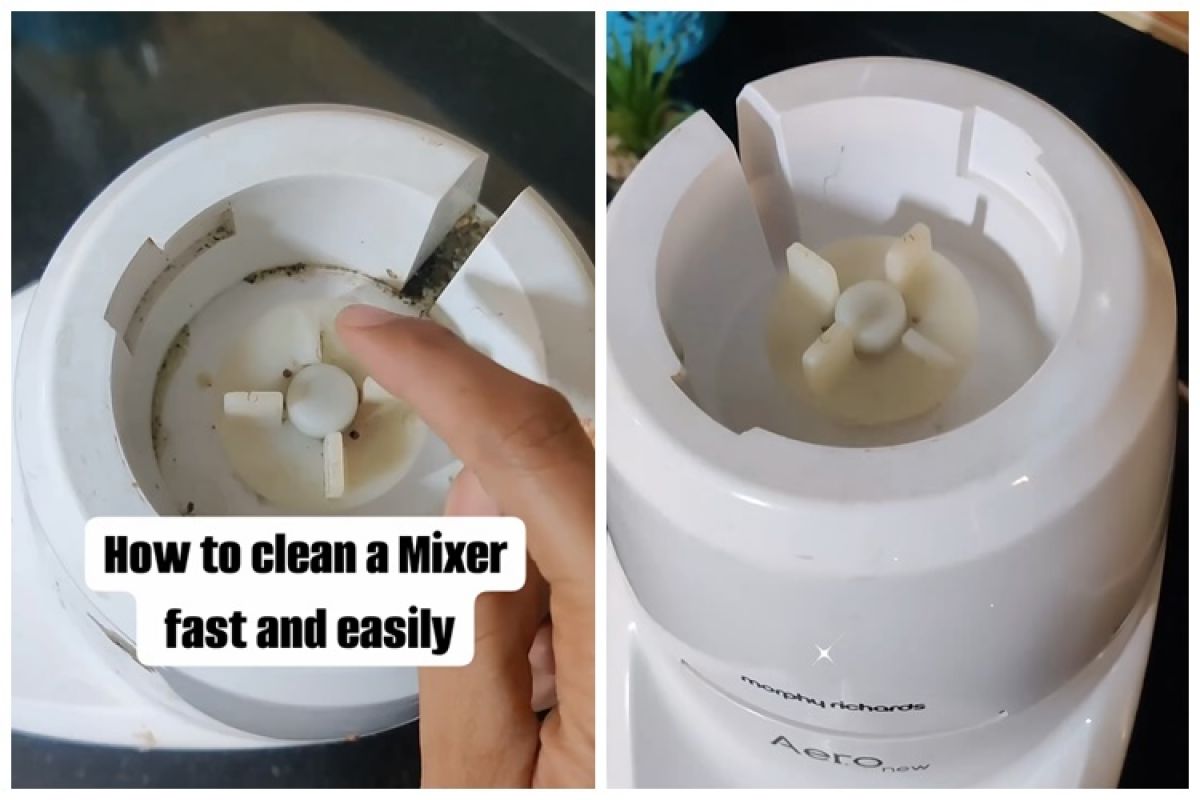
Credit: www.youtube.com
Drying And Reassembling
Cleaning your blender thoroughly is important for hygiene. After washing, drying and putting it back together correctly keeps it safe to use.
This guide helps you dry your blender parts properly and reassemble them without damage.
Air Drying Tips
Air drying is the best way to keep blender parts clean and dry. It stops moisture from getting trapped inside.
Place all parts on a clean towel or drying rack. Leave space around each piece to let air flow.
- Use a drying rack to keep parts upright
- Avoid stacking parts to prevent moisture buildup
- Dry blender jar, lid, blades, and gasket separately
- Let parts air dry for at least 2 hours
- Wipe parts with a dry cloth if needed
Reassembling Safely
Put the blender back together only when all parts are completely dry. This prevents mold and damage.
Check each part for cracks or wear before reassembling. Replace damaged parts for safety.
- Start with the blender base and jar
- Attach the gasket and blades carefully
- Secure the blade assembly tightly but do not over-tighten
- Place the lid and any removable parts last
- Test the blender for proper function before use
Regular Maintenance Tips
Cleaning your blender often keeps it working well. Dirt and food can build up quickly.
Regular care helps stop smells and keeps your blender safe to use.
Frequency Of Cleaning
Clean your blender right after each use. This stops food from drying inside.
Do a deep clean once a week. This removes hidden dirt and stains.
- Rinse immediately after blending
- Use warm soapy water for daily cleaning
- Disassemble parts for weekly deep cleaning
- Check blades and seals during deep cleaning
Preventive Measures
Use these tips to keep your blender clean longer. They help avoid tough stains and smells.
Handle your blender with care. This stops damage that can trap dirt.
- Always rinse blender parts after use
- Avoid blending sticky or hard ingredients without water
- Store blender with lid off to air dry
- Use a brush to clean around blades carefully
- Replace worn seals to prevent leaks and buildup
Frequently Asked Questions
How Do I Clean A Blender Quickly And Effectively?
Add warm water and dish soap to the blender jar. Blend on high for 30 seconds. Rinse thoroughly with clean water and air dry for best results.
Can I Use Vinegar To Clean My Blender?
Yes, vinegar is excellent for deep cleaning. Mix equal parts vinegar and water, blend for 30 seconds, then rinse well to remove odors and stains.
How Often Should I Clean My Blender Blades?
Clean blender blades after each use to prevent buildup. Regular cleaning ensures optimal performance and extends blade life.
Is It Safe To Put Blender Parts In A Dishwasher?
Most blender parts are dishwasher-safe, but check the manufacturer’s guide. Place small parts on the top rack to avoid damage.
Conclusion
Cleaning your blender well keeps it working longer and tasting fresh. Quick steps make the job easy and fast. Regular cleaning stops bad smells and old food bits. Use warm water and soap for best results. Don’t forget to clean the blades carefully.
A clean blender helps make better smoothies and meals. Try these tips today to keep your blender spotless. Simple care makes a big difference every day.