
Your blender works hard to make your favorite smoothies, sauces, and soups. But if you don’t clean its parts thoroughly, leftover food can build up, causing bad smells and even damaging your appliance.
You might think cleaning a blender is quick and easy, but missing a step can leave behind hidden grime. You’ll discover simple, effective ways to clean every blender part completely. By the end, your blender will look and smell fresh—ready to whip up your next delicious creation without any hassle.
Keep reading to learn how to make your blender spotless and last longer!
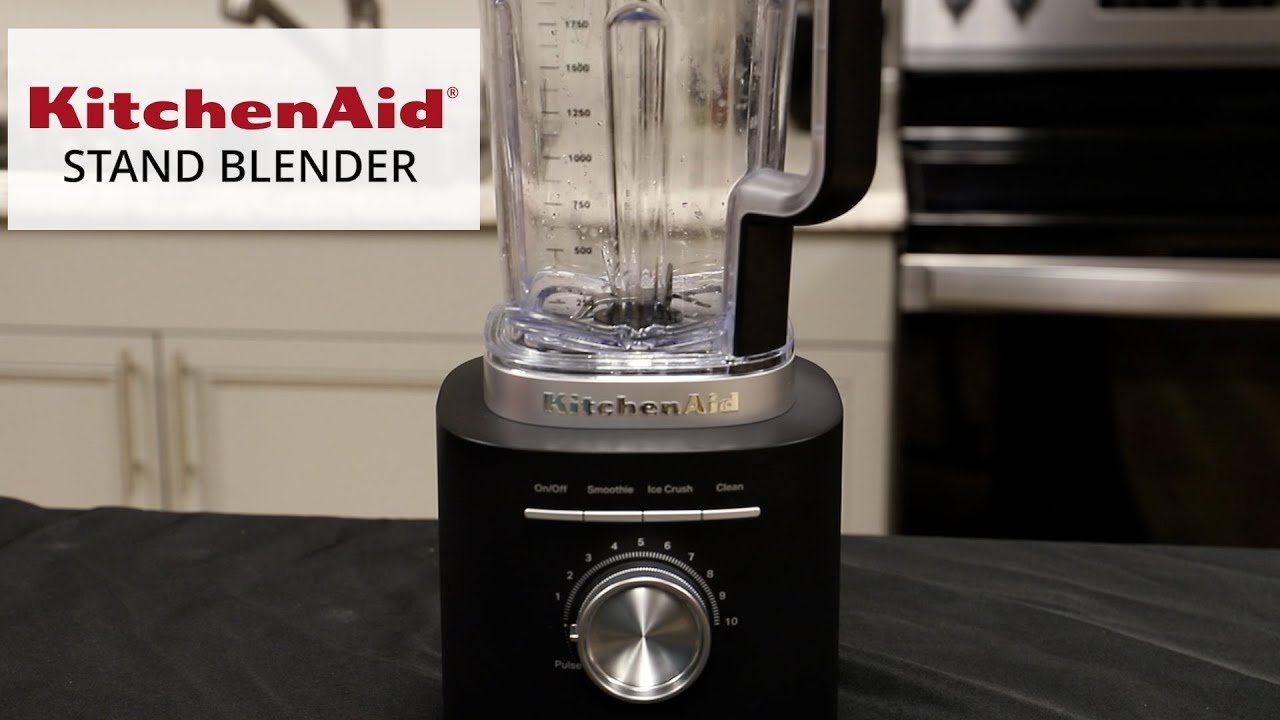
Credit: www.kitchenaid.ca
Essential Tools For Cleaning
Cleaning blender parts well helps keep your blender working right. Using the right tools makes cleaning easy and fast.
This guide shows you the important tools you need to clean blender parts thoroughly and safely.
Soft Sponge Or Dishcloth
Use a soft sponge or dishcloth to clean blender parts gently. This prevents scratches on the blades and container.
Make sure the sponge is clean and free from harsh chemicals that might damage the blender.
Small Brush Or Toothbrush
A small brush or old toothbrush helps clean hard-to-reach places like blade edges and crevices.
Brushes remove stuck food and dirt that sponges cannot reach easily.
Mild Dish Soap
Use mild dish soap to clean blender parts safely. Strong soaps can damage plastic or metal parts.
Mix soap with warm water for effective cleaning without harming the materials.
Warm Water
Warm water helps to break down food and grease on blender parts. It also makes soap more effective.
Do not use boiling water as it might warp plastic parts or affect seals.
Drying Cloth Or Towel
Use a clean drying cloth or towel to dry blender parts after washing. This helps prevent water spots and rust.
Make sure all parts are completely dry before reassembling the blender to avoid mold growth.
)
Credit: www.pulse.ng
Disassembling The Blender
Cleaning a blender thoroughly starts with taking it apart. Separating the parts helps you clean every corner. This prevents food buildup and keeps the blender working well.
Be careful when disassembling. Some parts are sharp or fragile. Follow the instructions to avoid damage.
Unplug The Blender
Always unplug the blender before disassembling. This stops the blender from turning on by mistake. It keeps you safe from accidents.
Remove The Blender Jar
Lift the blender jar off the motor base. Handle it gently to avoid spills or cracks. This is the main part to clean.
Take Off The Lid And Cap
Remove the lid and the small cap on top. These parts trap liquids and food. Cleaning them well stops odors and mold.
- Lift the lid carefully
- Twist or pull off the cap
- Check for any seals or gaskets
Separate The Blade Assembly
Unscrew or unlock the blade from the jar base. Blades are sharp, so handle with care. Cleaning blades prevents food stuck on edges.
Remove The Gasket Or Seal
Take out the rubber gasket that sits around the blade. This part can trap dirt and smells. Clean it separately for best results.
Check The Motor Base
The motor base holds the blender’s power. Do not immerse it in water. Wipe it with a damp cloth to remove spills or dust.
Cleaning The Blender Jar
Cleaning the blender jar is important for hygiene and taste. Dirt and food bits can stick to the jar walls and blades.
Regular cleaning keeps the blender working well and avoids bad smells or stains.
Removing Stubborn Residues
Some food bits stick tightly to the jar or blades. To remove these, fill the jar with warm water and a drop of dish soap.
Run the blender for 30 seconds to loosen the residues. Use a soft brush to clean any leftover spots carefully.
- Fill jar with warm soapy water
- Blend for 30 seconds
- Use a soft brush to scrub stuck bits
- Rinse with clean water
Deodorizing Techniques
Blender jars can keep smells from strong ingredients like garlic or onion. Use natural deodorizing methods to freshen the jar.
Mix equal parts water and white vinegar in the jar. Let it sit for 10 minutes, then rinse well.
- Mix water and white vinegar
- Let the mixture sit for 10 minutes
- Rinse the jar thoroughly with water
- Dry the jar before storing
Scrubbing The Blades
Cleaning blender blades needs care and attention. Scrubbing helps remove stuck food and grime.
Proper cleaning keeps your blender safe and working well for a long time.
Safety Tips For Handling Blades
Blades are sharp and can cut you easily. Handle them with care during cleaning.
- Always unplug the blender before removing blades.
- Wear protective gloves to avoid cuts.
- Hold the blades by their base, not the edges.
- Keep blades away from children during cleaning.
- Use a brush with a long handle to scrub safely.
Effective Scrubbing Methods
Use the right tools and cleaning agents to scrub blades well. This removes food bits and prevents odor.
| Tool | Use |
|---|---|
| Soft-bristle brush | Removes stuck food without scratching blades |
| Dish soap | Breaks down grease and food residues |
| Baking soda paste | Eliminates stains and odors |
| Toothbrush | Reaches small crevices on the blades |
| Warm water | Helps loosen dried food before scrubbing |
Scrub each blade gently. Rinse with clean water. Dry with a towel before reassembling.
Washing The Lid And Gasket
Cleaning the blender lid and gasket is important for hygiene. These parts catch food and liquid spills. Dirt can hide in small spaces.
Regular washing stops smells and keeps your blender safe to use. You need to clean these parts carefully every time.
Ensuring A Proper Seal
The gasket helps the lid seal tightly on the blender jar. This stops leaks during blending. Check the gasket for cracks or damage.
Wash the gasket and lid with warm soapy water. Use a soft brush to clean inside the gasket groove. Rinse well and dry completely.
- Remove gasket from lid if possible
- Use mild dish soap and warm water
- Scrub gasket groove gently with brush
- Rinse all soap off thoroughly
- Dry lid and gasket before reassembling
Preventing Mold And Mildew
Moisture left in the lid or gasket can cause mold and mildew. Clean and dry these parts after each use. Mold can cause bad smells and health issues.
Store the lid and gasket separately if possible. Keep them in a dry place. Check regularly for any signs of mold growth.
- Wash lid and gasket right after use
- Use vinegar or baking soda to remove smells
- Dry parts completely with a towel
- Store parts apart to allow air flow
- Inspect for mold regularly and clean as needed

Credit: froothie.eu
Sanitizing The Base Unit
Cleaning the blender base unit is important to keep it safe and working well. The base has electrical parts, so you must be careful while cleaning it.
This guide shows how to clean the base unit without damaging it or risking an electric shock.
Electrical Component Care
Never immerse the base unit in water or any liquid. Use a dry or slightly damp cloth to clean the electrical parts safely.
- Unplug the blender before cleaning.
- Use a soft cloth to wipe the control buttons and switches.
- Avoid spraying water or cleaner directly on the base.
- Check for any food spills near the vents and clean gently.
- If needed, use a cotton swab to reach small crevices.
Surface Cleaning
Clean the outside surface of the base unit with mild soap and water. Do not let water enter the inside of the unit.
| Cleaning Step | Materials Needed | Notes |
| Wipe surface | Soft cloth, mild soap, water | Use damp cloth, not wet |
| Dry surface | Dry cloth or towel | Remove all moisture |
| Clean vents | Cotton swab, dry cloth | Be gentle to avoid damage |
Drying And Reassembling
Cleaning blender parts is important to keep it working well. After washing, drying and reassembling are key steps.
Drying stops water damage and helps keep parts fresh. Reassembling correctly makes your blender ready to use again.
Avoiding Moisture Traps
Moisture can cause mold or rust inside blender parts. It is important to dry every piece well before putting them away.
Use a clean towel to dry hard-to-reach places. Let parts air dry in a clean spot for extra drying.
- Remove the blade assembly and dry carefully around it
- Flip the lid and jar upside down to drain water
- Use a small brush to dry grooves and seals
- Keep parts separated while drying to let air flow
Reassembly Tips
Put blender parts back together in the right order. Check that seals and blades fit tightly to avoid leaks.
Make sure all parts are completely dry before reassembling. Loose parts can cause damage or poor blending.
- Start with the blade and gasket on the jar base
- Tighten the base securely but do not over-tighten
- Place the jar on the blender motor base properly
- Fit the lid and any removable caps snugly
- Test the assembled blender before use to check for leaks
Maintenance Tips For Longevity
Cleaning your blender parts properly helps keep it working well for years. Dirt and food residue can damage the blades and motor if not removed.
Follow simple habits to clean and store your blender safely. This stops problems and makes your device last longer.
Regular Cleaning Schedule
Clean your blender parts after each use. This prevents stains and smells. Wash the jar, lid, and blades carefully.
- Rinse parts immediately to remove leftover food.
- Use warm soapy water and a soft brush to clean blades.
- Dry all parts well before reassembling.
- Deep clean weekly by soaking parts in vinegar water.
- Wipe the blender base with a damp cloth only.
Storage Recommendations
Store your blender in a dry place. Keep parts apart to avoid damage. Proper storage prevents mold and rust.
| Storage Tip | Reason |
| Keep the lid off or loose | Allows air to dry the jar fully |
| Store blades separately if possible | Protects blades and hands from harm |
| Cover the base with a cloth | Keeps dust away from motor parts |
| Use a cabinet or shelf away from heat | Prevents plastic parts from warping |
Frequently Asked Questions
How Do I Clean Blender Blades Safely?
To clean blender blades safely, always unplug the blender first. Remove the blades carefully and wash with warm, soapy water. Use a brush to reach tough spots. Rinse thoroughly and dry completely before reassembling to avoid rust and ensure safety.
What Is The Best Way To Clean Blender Jars?
The best way to clean blender jars is to fill them halfway with warm water and add a drop of dish soap. Blend on low speed for 30 seconds. Rinse well with clean water and dry thoroughly to remove residue and odors.
Can Vinegar Help Clean Blender Parts Effectively?
Yes, vinegar is excellent for cleaning blender parts. Mix equal parts vinegar and water in the jar, blend for 30 seconds, then rinse. It removes stains and odors naturally without harsh chemicals, keeping your blender fresh and safe for food preparation.
How Often Should I Deep Clean My Blender?
Deep clean your blender every one to two weeks, depending on usage. Regular deep cleaning prevents buildup of food residues and bacteria. It keeps your blender functioning well and extends its lifespan, ensuring safe and hygienic food blending.
Conclusion
Cleaning blender parts well keeps your appliance working longer. Regular care stops food buildup and bad smells. Use warm water, soap, and a soft brush for best results. Rinse each part carefully to remove soap residue. Dry all pieces before putting them back together.
Small steps make a big difference in cleanliness. A clean blender helps you enjoy fresh and tasty drinks every time. Simple habits protect your blender and save you money. Try these tips and see the easy way to keep your blender spotless.