
You love your vacuum blender for making fresh, delicious smoothies and soups. But cleaning it?
That can feel like a hassle. If you don’t clean it properly, leftover food can build up, affect taste, and even shorten your blender’s life. What if cleaning your vacuum blender could be quick, simple, and effective every time? In this guide, you’ll discover easy steps that save you time and keep your blender spotless.
Stick with me, and you’ll never dread cleaning again.
Gather Necessary Supplies
Cleaning your vacuum blender is important to keep it working well. You need some basic supplies before you start.
These supplies help remove dirt and food residue safely. Gather them to make cleaning easy and quick.
Cleaning Cloths
Use soft cleaning cloths to wipe the blender parts. They do not scratch the surface.
Microfiber cloths work best because they pick up dust and dirt well. Avoid rough materials.
Dish Soap
Dish soap helps break down grease and food stuck in the blender. Choose a mild, gentle soap.
Strong soaps can damage the blender parts. Use just a small amount with water for cleaning.
Warm Water
Warm water helps dissolve food and soap better than cold water. It makes cleaning faster.
Use water that is warm, not hot, to avoid damaging plastic parts or seals in the blender.
Brush Or Sponge
A soft brush or sponge helps clean hard-to-reach areas inside the blender. It removes stuck food.
Choose a brush with soft bristles or a non-abrasive sponge. Avoid anything that can scratch surfaces.

Credit: www.nuwavenow.com
Unplug And Disassemble
Cleaning a vacuum blender starts with safety. Always unplug the blender before taking it apart.
Disassembling the blender helps clean all parts well. Follow these steps to separate the main pieces.
Remove The Pitcher
First, lift the pitcher off the blender base carefully. Make sure the blender is off and unplugged.
Hold the pitcher firmly and pull it straight up. Avoid twisting to prevent damage.
Detach The Blade Assembly
Turn the pitcher upside down to access the blades. Use your hand to unscrew the blade assembly.
Be cautious, as the blades are sharp. Remove the assembly gently and place it on a safe surface.
Separate Lid Components
Take off the lid from the pitcher. If the lid has removable parts, detach them carefully.
Clean each part separately to reach all corners. This ensures no residue remains inside the lid.
Rinse Components
Cleaning your vacuum blender is easy when you rinse the parts right after use. This helps stop food from drying and sticking. Rinsing keeps your blender fresh and ready for the next use.
Focus on rinsing the pitcher, blades, and lid. Each part needs special care to stay clean and safe.
Rinse The Pitcher
Remove the pitcher from the base and rinse it under warm water. Make sure to wash both inside and outside surfaces. Avoid using very hot water to protect the material.
Clean The Blades
- Handle blades carefully to avoid cuts.
- Rinse blades under running water right after use.
- Use a soft brush to remove stuck particles.
- Do not soak blades for a long time to prevent damage.
Wash The Lid
| Part | Rinsing Tips |
| Lid | Rinse under warm water. Clean any seals or grooves. Dry with a clean cloth. |
| Seals | Check for food trapped inside. Rinse carefully and dry fully. |
Soak And Scrub
Cleaning a vacuum blender properly keeps it working well. Soaking and scrubbing are key parts of the process.
Use the right tools and methods to remove food stuck inside the blender parts. This helps keep the blender fresh and safe.
Use Warm Soapy Water
Fill a basin with warm water and add dish soap. Soak the blender parts for 10 to 15 minutes to loosen dirt and residue.
Warm soapy water softens dried food and oil, making it easier to clean the blender pieces.
Scrub Stubborn Residue
Use a soft brush or sponge to scrub away tough stains and leftover food. Avoid harsh scrubbers that can scratch the blender.
- Dip the brush in soapy water
- Gently scrub the blades and container
- Pay extra attention to sticky spots
- Rinse with clean water after scrubbing
Focus On Hard-to-reach Areas
| Hard-to-Reach Areas | Cleaning Tips |
|---|---|
| Blade Base | Use a small brush to clean around the blades carefully. |
| Seals and Gaskets | Remove and wash separately to avoid mold growth. |
| Container Corners | Use a sponge tip or cloth to reach all corners. |
Clean The Base
Cleaning the base of your vacuum blender is important to keep it working well. Dirt and spills can cause problems if not cleaned regularly.
Use simple methods to clean the base safely without causing damage. This guide will help you clean it properly.
Wipe With A Damp Cloth
Use a soft, damp cloth to wipe the outside of the base. This removes dust and small spills easily.
- Unplug the blender before cleaning.
- Use a cloth dampened with water only.
- Wipe all sides gently.
- Dry the base with a clean towel.
Avoid Submerging In Water
Never put the base in water or any liquid. The electrical parts inside can be damaged.
| What to Avoid | Reason |
| Submerging base in water | Risk of electric shock and damage |
| Using harsh chemicals | Can harm the surface and parts |
| Spraying water directly | Water can enter openings and cause damage |
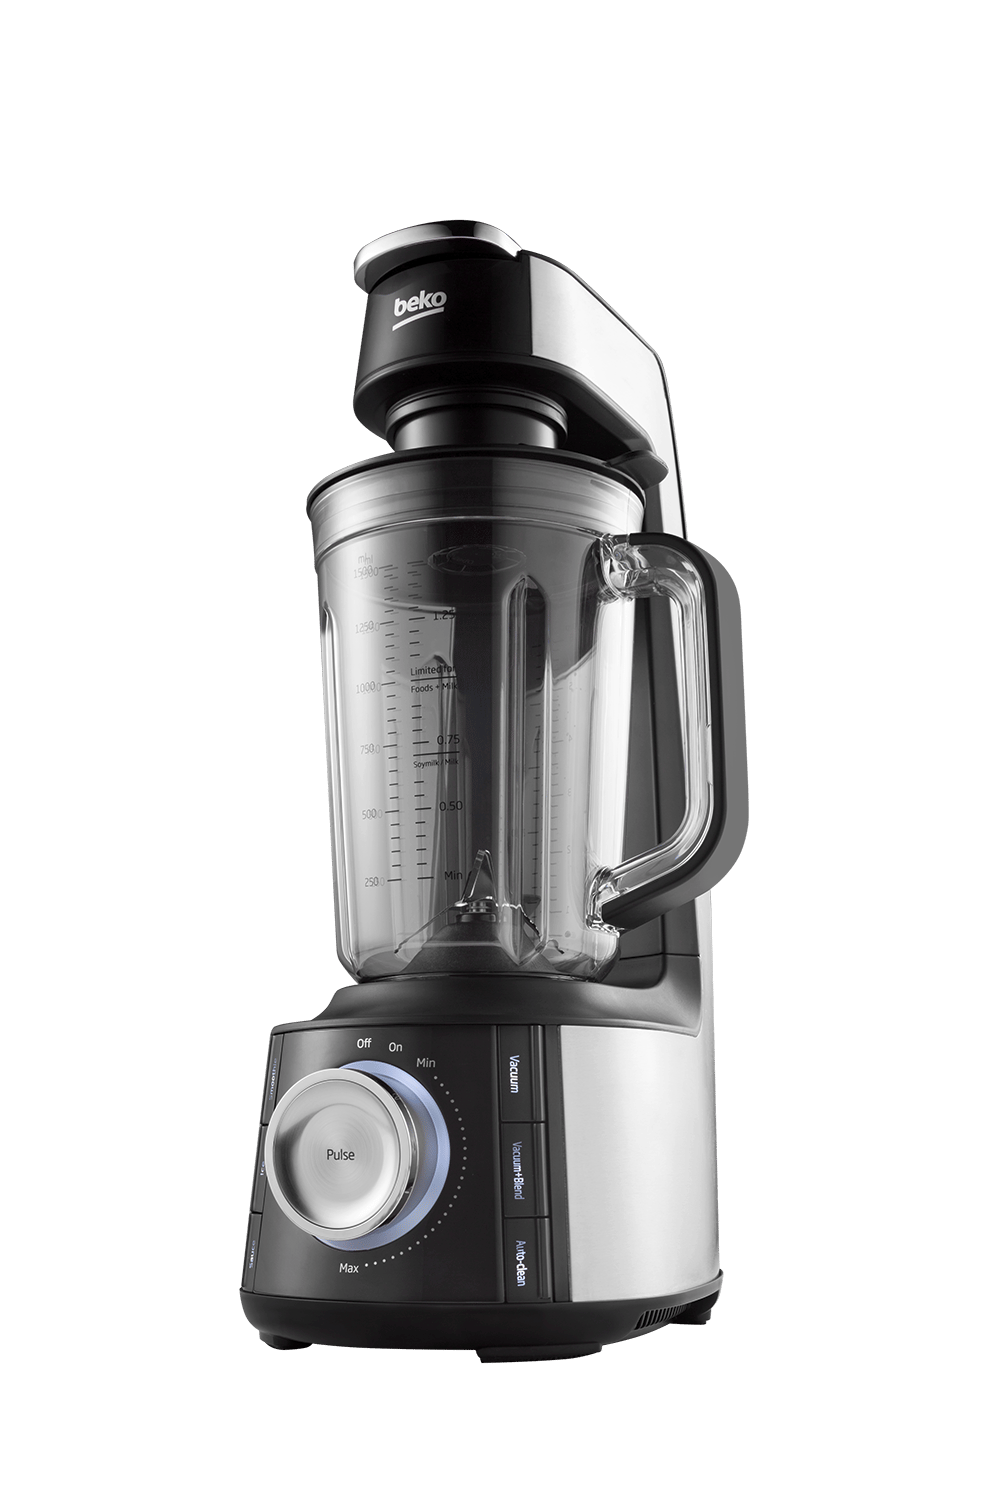
Credit: www.beko.co.uk
Dry And Reassemble
Cleaning your vacuum blender properly keeps it working well. After washing, drying and putting it back together is key. This guide helps you dry parts safely and reassemble the blender.
Take time to dry each piece fully. Moisture left inside can cause damage or mold. Follow these steps to air dry, check for moisture, and reattach parts correctly.
Air Dry Components
Start by placing all blender parts on a clean towel or drying rack. Avoid stacking pieces to help air flow. Let them dry naturally to prevent water spots and damage.
- Set the jar upside down on a towel
- Lay small parts like lids and seals flat
- Keep blades separate to dry safely
- Leave space between parts for air circulation
Ensure No Moisture Remains
Check every part carefully before reassembling. Moisture can hide in seals or crevices. Use a dry cloth to wipe spots that seem damp.
| Component | Check For | Drying Tip |
| Jar | Inside bottom | Use a paper towel if needed |
| Lid | Seal grooves | Wipe with a cloth |
| Blades | Joints and screw area | Air dry fully, then wipe |
| Seals | Inner surfaces | Pat dry carefully |
Reattach All Parts
Put the blender back together in the right order. Tighten parts securely but do not force them. Proper assembly prevents leaks and ensures safety.
- Insert the blade assembly into the jar
- Place the seal ring correctly around the blade base
- Screw the blade base tightly onto the jar
- Attach the lid firmly on top of the jar
- Check for loose parts before use
Regular Maintenance Tips
Cleaning your vacuum blender regularly keeps it working well. Dirt and food bits can build up and cause problems. Simple care can extend your blender’s life.
Follow these tips to keep your vacuum blender clean and safe to use every day.
Schedule Routine Cleaning
Set a regular time to clean your vacuum blender after each use. This stops stains and smells from forming. Use warm water and mild soap to wash all parts that touch food.
- Disassemble all removable parts carefully.
- Rinse parts with warm water immediately after use.
- Use a soft brush to clean hard-to-reach areas.
- Wipe the base with a damp cloth only.
- Dry all parts fully before reassembling.
Check For Wear And Tear
Inspect your vacuum blender parts often. Look for cracks, dull blades, or loose seals. Damaged parts can reduce blending power and cause leaks.
| Part | Signs of Wear | Action |
|---|---|---|
| Blades | Dull, bent, or rusted edges | Replace blades for safety and performance |
| Seals and Gaskets | Cracks or hardening | Change seals to prevent leaks |
| Container | Scratches or cracks | Replace if leaking or unsafe |
Store Properly
Keep your vacuum blender in a dry, clean place. Avoid areas with high heat or moisture. Proper storage stops damage and keeps parts ready to use.
Use this checklist to store your vacuum blender correctly:
- Make sure all parts are dry before storing
- Keep the blender upright to protect blades and seals
- Cover or close the container to keep dust out
- Store in a cool, dry cabinet or shelf

Credit: www.youtube.com
Frequently Asked Questions
How Often Should I Clean My Vacuum Blender?
Clean your vacuum blender after every use. This prevents residue buildup and maintains performance. Regular cleaning ensures hygiene and extends the blender’s lifespan.
What Is The Best Way To Clean Blender Blades?
Use warm soapy water and a soft brush. Avoid harsh scrubbing to prevent blade damage. Rinse thoroughly and dry completely before reassembling.
Can I Use Dishwasher To Clean Vacuum Blender Parts?
Check the manufacturer’s instructions first. Some parts may be dishwasher safe, but others require hand washing. Always dry parts thoroughly to avoid damage.
How Do I Remove Stubborn Stains From The Blender Jar?
Fill the jar with warm water and baking soda. Let it sit for 15 minutes, then scrub gently. Rinse well to remove all residue and odors.
Conclusion
Cleaning a vacuum blender keeps it working well and lasting long. Regular care stops food bits from building up inside. Use warm water and mild soap for easy cleaning. Rinse all parts thoroughly to avoid leftover residue. Dry each piece before putting it back together.
A clean blender makes fresh smoothies taste better. Small daily efforts save time and effort later. Keep your vacuum blender fresh and ready for every use. Simple steps lead to a cleaner, healthier kitchen routine.