
Your toaster crumb tray might seem like a small, unimportant part of your kitchen appliance, but it plays a big role in keeping your toaster clean and working well. If you’ve ever noticed crumbs piling up or a burnt smell when you toast bread, it’s a sign your crumb tray needs attention.
Cleaning it regularly not only makes your toaster last longer but also keeps your kitchen fresh and safe. You’ll learn simple, quick steps to clean your toaster crumb tray effectively—no hassle, no mess. Ready to make your toaster sparkle again?
Let’s dive in!

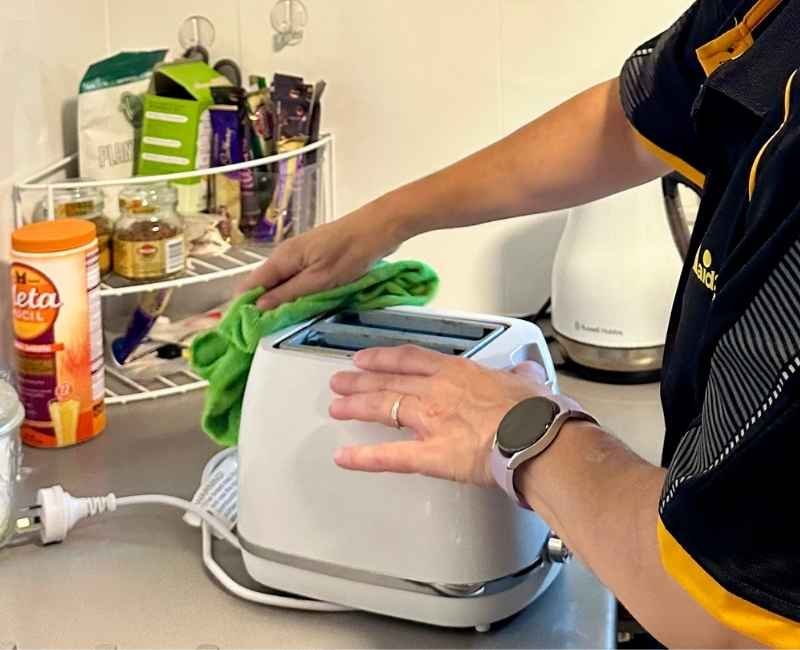
Credit: www.youtube.com
Gather Necessary Materials
Cleaning your toaster crumb tray keeps your kitchen tidy. It stops crumbs from burning and smelling.
Before you start, gather the right materials. This makes the cleaning easy and safe.
A Soft Cloth Or Sponge
Use a soft cloth or sponge to wipe the crumb tray. It cleans without scratching the surface.
Choose a cloth that is easy to rinse and dry. Avoid rough materials that can damage the tray.
Mild Dish Soap
Mild dish soap helps remove grease and stuck crumbs. It cleans gently and keeps the tray safe.
Use just a small amount of soap mixed with warm water. Too much soap can leave residue.
Warm Water
Warm water helps dissolve crumbs and grease. It works well with the soap to clean the tray.
Make sure the water is not too hot. Hot water can damage some toaster parts.
A Small Brush Or Toothbrush
A small brush or old toothbrush cleans corners and edges. It removes crumbs stuck in tight spots.
Choose a brush with soft bristles. Hard bristles can scratch the crumb tray surface.
Paper Towels Or Dry Cloth
Use paper towels or a dry cloth to dry the tray after cleaning. This stops water spots and rust.
Make sure the tray is fully dry before putting it back in the toaster.
Unplug The Toaster
Cleaning a toaster crumb tray is simple but requires safety first. Always unplug the toaster before starting.
Unplugging stops the toaster from turning on accidentally. It keeps you safe from electric shocks and heat.
Why Unplugging Is Important
Unplugging the toaster stops all power flow. This prevents accidents and protects the toaster’s parts.
It also cools down the toaster. A cool toaster is easier and safer to clean.
How To Safely Unplug Your Toaster
- Find the toaster’s power cord.
- Hold the plug firmly, not the cord.
- Pull the plug straight from the outlet.
- Place the toaster on a flat surface.
- Wait a few minutes for it to cool.
Check The Toaster Before Cleaning
Look for a crumb tray at the bottom of the toaster. It usually slides out easily.
Make sure the toaster is cool and unplugged before removing the tray.
Remove The Crumb Tray
Cleaning the crumb tray of your toaster helps keep it working well. Removing the tray is easy and stops crumbs from burning inside.
Follow simple steps to take out the crumb tray safely before cleaning it.
Always unplug the toaster before removing the crumb tray. This stops any chance of electric shock or accidents.
Locate The Crumb Tray
Look at the bottom or side of the toaster for a small tray. It usually slides out easily.
- The tray is flat and thin
- It collects crumbs that fall during toasting
- Check for a handle or small lip to pull it out
Gently Slide Out The Tray
Hold the toaster steady and pull the crumb tray out slowly. Avoid using too much force to prevent damage.
If the tray feels stuck, try wiggling it lightly to loosen crumbs or debris blocking it.
Check For Hidden Trays
Some toasters have trays that slide out from the front or back. Check all sides carefully before cleaning.
- Look under the toaster
- Check near the cord area
- Refer to your toaster’s manual if needed
Shake Out Loose Crumbs
Cleaning the toaster crumb tray helps keep your kitchen tidy. Loose crumbs can cause smoke or fires if left inside.
Shaking out the crumbs is an easy first step. It removes most of the debris quickly and safely.
Remove The Crumb Tray Carefully
First, unplug the toaster to avoid accidents. Then pull out the crumb tray gently from the bottom or side of the toaster.
Shake The Tray Over A Trash Can
Hold the crumb tray over a trash bin. Tap or shake it lightly to release crumbs. Be sure to do this slowly to avoid spilling crumbs everywhere.
- Hold tray firmly with both hands
- Tilt tray at a slight angle
- Shake gently to dislodge crumbs
- Repeat if crumbs remain stuck
Check For Stubborn Crumbs
Some crumbs may stick to the tray. Use a soft brush or cloth to wipe them off. Avoid using water if the tray is not waterproof.
| Tool | Use |
|---|---|
| Soft brush | Remove stuck crumbs without scratching |
| Dry cloth | Wipe tray clean after shaking |
| Trash can | Catch crumbs when shaking |
Wash The Crumb Tray
Cleaning the crumb tray keeps your toaster fresh and safe. Regular washing removes crumbs and prevents smells.
Removing the crumb tray is easy. Wash it carefully to avoid damage and keep your toaster working well.
Use Soapy Water
Fill a bowl with warm water and add a few drops of dish soap. Use a soft sponge or cloth to wash the tray gently.
Make sure to clean all sides of the tray. Soap helps break down stuck crumbs and grease.
- Use warm water for better cleaning
- Apply mild dish soap only
- Wipe with a soft sponge or cloth
- Clean every corner of the tray
Rinse Thoroughly
Rinse the crumb tray with clean water to remove soap. Leftover soap can cause bad smells or damage the tray.
Check the tray carefully. Make sure no soap or crumbs remain before drying it completely.
- Use clean, running water to rinse
- Check all tray surfaces for soap
- Dry the tray with a towel before use
Dry The Crumb Tray
Cleaning a toaster crumb tray is important to keep your toaster working well. After washing the tray, drying it properly is the next step.
Drying stops water from causing rust or damage inside the toaster. It also keeps crumbs from sticking to the tray.
Use A Clean Towel
After rinsing the crumb tray, use a clean towel to dry it. Wipe all surfaces to remove water drops.
Make sure the towel is soft to avoid scratching the tray’s surface.
Air Dry The Tray
Place the crumb tray on a drying rack or clean surface. Let it air dry completely before putting it back.
Air drying helps reach corners that towels might miss.
Avoid Using Heat
Do not use a hairdryer or heater to dry the crumb tray. Heat can damage the tray or cause warping.
Natural drying is safer and keeps the tray in good shape.
Check For Moisture Before Reinstalling
Make sure the crumb tray is fully dry before placing it back in the toaster. Moisture can cause rust and affect toaster performance.
Inspect the tray with your fingers or a paper towel to confirm dryness.
Clean Inside The Toaster
Cleaning inside your toaster is important for safety and performance. Crumbs can burn and cause smoke or fires.
Regular cleaning keeps your toaster working well and makes it last longer.
Use A Brush
Use a small brush to remove crumbs inside the toaster. A pastry or paintbrush works well.
Brush gently to avoid damaging the heating elements or wires inside.
- Unplug the toaster first
- Remove the crumb tray if possible
- Brush crumbs from inside and corners
- Empty crumbs into trash
- Replace the crumb tray
Avoid Water
Do not use water or liquid cleaners inside the toaster. Water can cause electric shock or damage.
If the crumb tray is removable, wash it with warm soapy water. Dry it completely before putting it back.
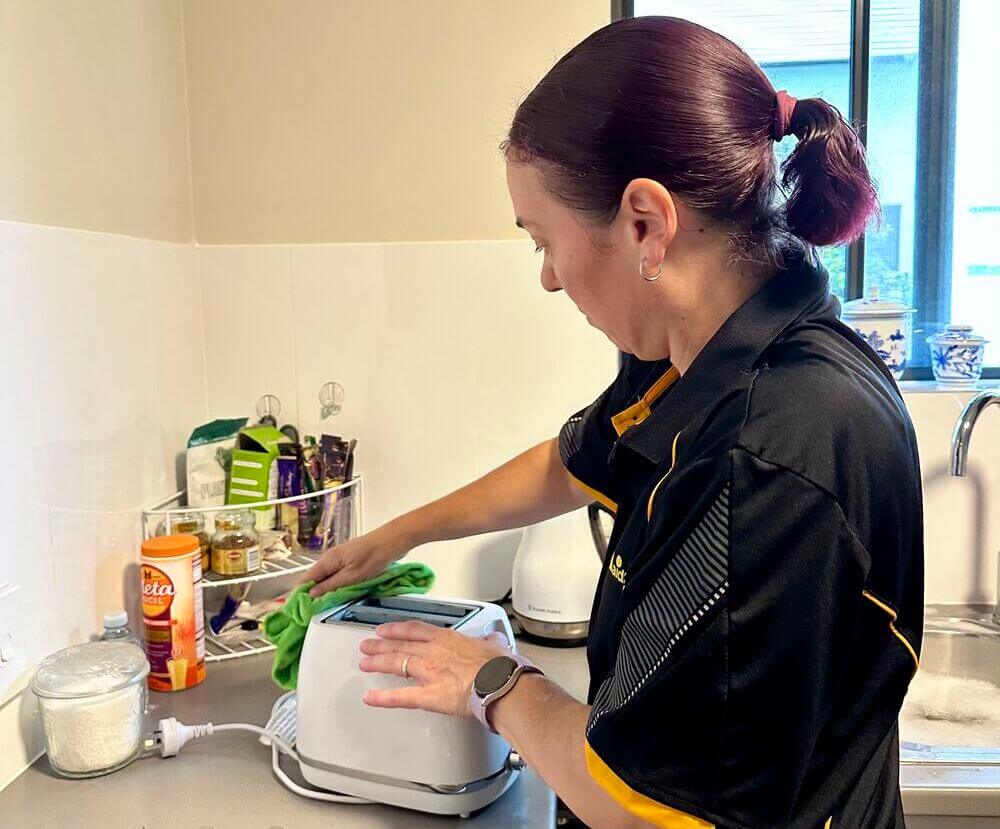
Credit: www.maid2match.com.au
Reassemble The Toaster
After cleaning the crumb tray, putting the toaster back together is important. A properly reassembled toaster works well and lasts longer.
Follow the steps below to reassemble your toaster safely and correctly.
Place The Crumb Tray Back
Slide the clean crumb tray into its slot at the bottom of the toaster. Make sure it fits snugly and does not stick out.
If the tray feels loose, adjust it gently until it sits firmly in place.
Check The Toaster Body
Inspect the toaster body for any crumbs or dirt left inside. Wipe with a dry cloth if needed before closing the toaster.
Make sure no parts are damaged or out of place before continuing.
Secure The Outer Cover
Put the outer cover or panels back on the toaster. Align them carefully to avoid gaps or misfit.
Use screws or clips to fasten the cover tightly. This keeps the toaster safe during use.
Test The Toaster
Plug in the toaster and test it with a piece of bread. Check if it heats evenly and works properly.
If the toaster does not work right, unplug it and check the crumb tray and cover again.
Plug In And Test
After cleaning your toaster crumb tray, it is important to plug the toaster back in and test it. This step ensures the toaster works properly and safely.
Testing also helps you check if the crumb tray is in the right place and nothing is blocking the toaster’s functions.
Plug In The Toaster
Find a nearby outlet and plug the toaster in carefully. Make sure your hands are dry to avoid electric shock.
Check that the crumb tray is secure and fully inserted. A loose tray can cause problems during operation.
Test Toasting Function
Place a slice of bread inside the toaster. Set the toaster to a low to medium level.
Press the lever down to start toasting. Watch the toaster carefully to make sure it works normally.
- The toaster should heat up without sparks or strange noises
- The lever should stay down and pop up when done
- Toast should brown evenly without burning quickly
Check For Any Issues
If the toaster does not work or smells funny, unplug it immediately. Check the crumb tray again to see if it is stuck or dirty.
Make sure no crumbs block the heating elements. If problems continue, consider professional repair or replacement.
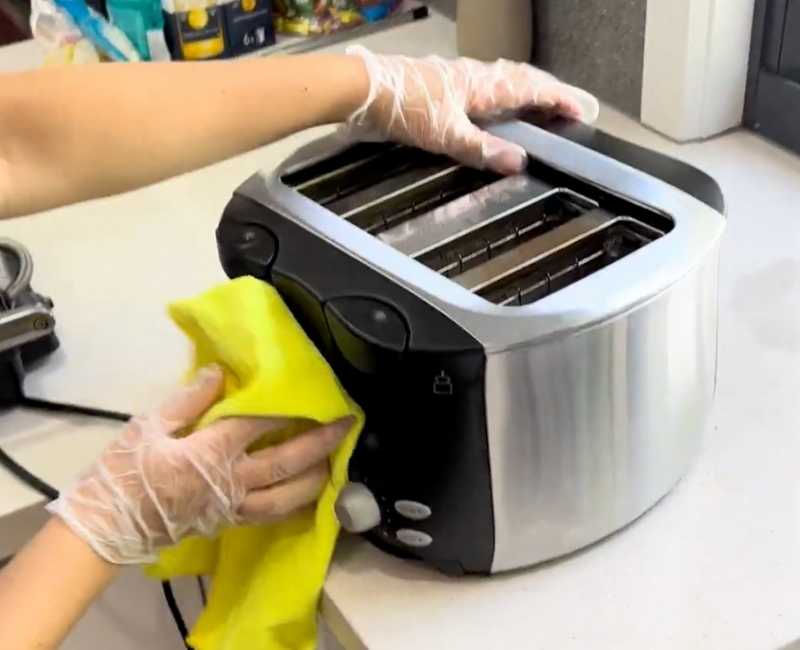
Credit: www.maid2match.com.au
Frequently Asked Questions
How Often Should I Clean My Toaster Crumb Tray?
Clean your toaster crumb tray every 1-2 weeks. Frequent cleaning prevents buildup and reduces fire risk. It also keeps your toaster smelling fresh and functioning properly.
Can I Wash The Crumb Tray With Water?
Yes, you can wash the crumb tray with warm, soapy water. Make sure the tray is completely dry before reinserting it to avoid electrical hazards.
What Tools Do I Need To Clean A Crumb Tray?
Use a soft cloth, mild detergent, and a small brush. These tools help remove crumbs and residue effectively without damaging the tray.
Is It Safe To Clean The Crumb Tray While The Toaster Is Plugged In?
No, always unplug the toaster before cleaning the crumb tray. This ensures your safety and prevents accidental electric shocks.
Conclusion
Cleaning your toaster crumb tray keeps your kitchen tidy and safe. Regular cleaning stops crumbs from burning and making smoke. It also helps your toaster work better for longer. Just slide out the tray, empty crumbs, and wipe it clean.
Do this every week or two for best results. A clean crumb tray means a happier toaster and fewer messes. Simple steps make a big difference. Keep your toaster crumb tray clean and enjoy fresh, toast every day.