
Your toaster works hard every day, turning simple bread into a crispy, golden treat. But have you ever stopped to think about how clean it really is?
Crumbs, burnt bits, and leftover grease can build up inside, affecting the taste of your toast and even posing a fire risk. Cleaning your toaster might seem tricky or like a hassle, but it doesn’t have to be. In this guide, you’ll discover easy, safe steps to make your toaster shine like new.
Keep reading, and you’ll learn how a little care can improve your breakfast and keep your kitchen safer.
Gather Necessary Supplies
Cleaning your toaster is easy when you have the right supplies. Preparing these items first saves time and effort.
Make sure you have everything before starting. This helps you clean safely and well.
Cleaning Cloths Or Sponges
Soft cloths or sponges are needed to wipe down the outside and inside surfaces. Avoid rough materials that can scratch the toaster.
Mild Dish Soap
Use mild dish soap mixed with warm water to remove grease and crumbs. Strong chemicals can damage the toaster’s finish.
A Small Brush Or Toothbrush
A small brush helps to clean hard-to-reach areas inside the toaster. It removes stuck crumbs easily.
Crumb Tray Or Container
Collect crumbs by emptying the crumb tray or placing a container below the toaster while cleaning. This keeps your workspace tidy.
Safety Tools
- Unplug the toaster before cleaning
- Use oven mitts if the toaster is still warm
- Avoid water near electrical parts

Credit: www.youtube.com
Unplug And Cool Down
Cleaning your toaster is easier and safer if you start by unplugging it. This stops any power from flowing inside the toaster.
Let the toaster cool down completely before you touch it. This helps avoid burns and damage to the appliance.
Unplug The Toaster
Always pull the plug from the wall socket. Do not pull the cord itself to avoid damage.
Unplugging stops electricity and keeps you safe while cleaning inside the toaster.
Let The Toaster Cool Down
The toaster gets very hot after use. Touching it too soon can cause burns.
Wait at least 30 minutes for the toaster to cool before cleaning. This also prevents damage to parts inside.
Remove Crumb Tray
Cleaning your toaster regularly keeps it working well. Removing the crumb tray is an easy way to get rid of trapped crumbs.
This helps prevent burnt smells and keeps your kitchen clean.
Locate The Tray
Find the crumb tray by looking under your toaster. It is usually a small, flat tray that slides out.
If you cannot see it, check the sides or back of the toaster for a slot or handle.
Dispose Of Crumbs
Carefully pull out the crumb tray to avoid spilling crumbs. Hold it over a trash bin to catch them.
- Tap the tray gently to release crumbs
- Use a brush to remove stuck crumbs
- Wipe the tray with a damp cloth if needed
- Dry the tray completely before placing it back
Shake Out Loose Crumbs
Cleaning your toaster regularly keeps it working well. Loose crumbs inside can burn and cause smells.
Shaking out crumbs is a quick way to remove them without taking the toaster apart.
Turn Toaster Upside Down
Unplug the toaster first. Then turn it upside down over a trash can or sink.
This position lets crumbs fall out easily. Make sure you hold the toaster firmly to avoid dropping it.
Gently Shake
- Hold the toaster upside down
- Gently shake it side to side
- Tap the sides lightly if needed
- Repeat until no more crumbs fall out
Be gentle to avoid damaging the toaster’s parts. After shaking, wipe the outside with a damp cloth.
| Tip | Reason |
|---|---|
| Unplug Toaster | Prevents electric shock |
| Shake Gently | Protects toaster parts |
| Use Trash Can | Collects crumbs for easy cleanup |
Clean Interior
Cleaning the inside of your toaster keeps it safe and working well. Crumbs and dirt can build up inside over time.
Regular cleaning helps avoid smoke and bad smells. It also stops the toaster from burning crumbs.
Use A Brush
Use a soft brush to clean the crumb tray and interior slots. A small brush can reach tight spaces.
Brush crumbs gently to avoid damaging the toaster parts. Do this over a trash bin to catch the crumbs.
- Unplug the toaster first
- Remove the crumb tray if possible
- Brush crumbs out carefully
- Empty crumbs into the trash
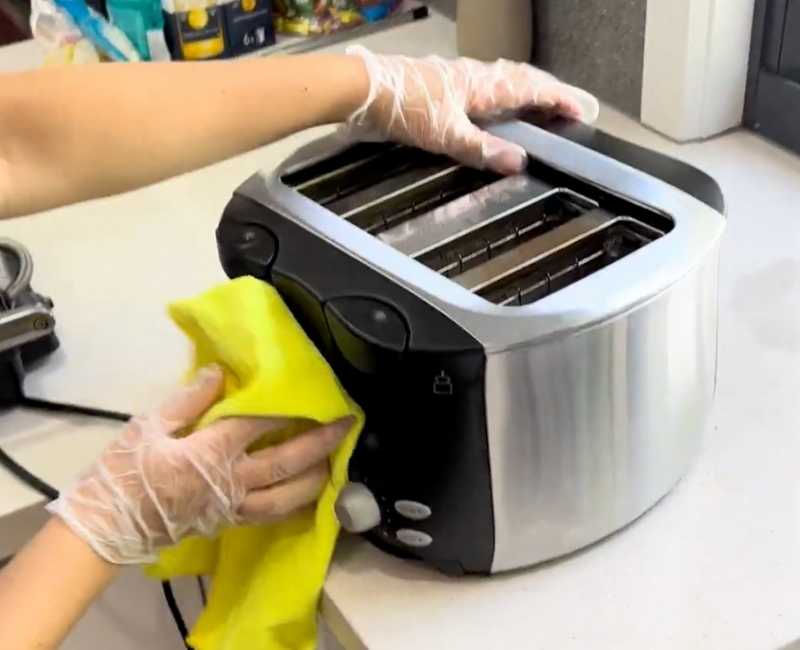
Avoid Water Contact
Do not use water inside the toaster. Water can cause electrical damage or rust the metal parts.
Use a dry cloth or brush to clean. If needed, slightly dampen a cloth but never let water drip inside.
- Never immerse the toaster in water
- Wipe outside with a damp cloth only
- Keep interior dry at all times
- Let any damp cloth dry before plugging in
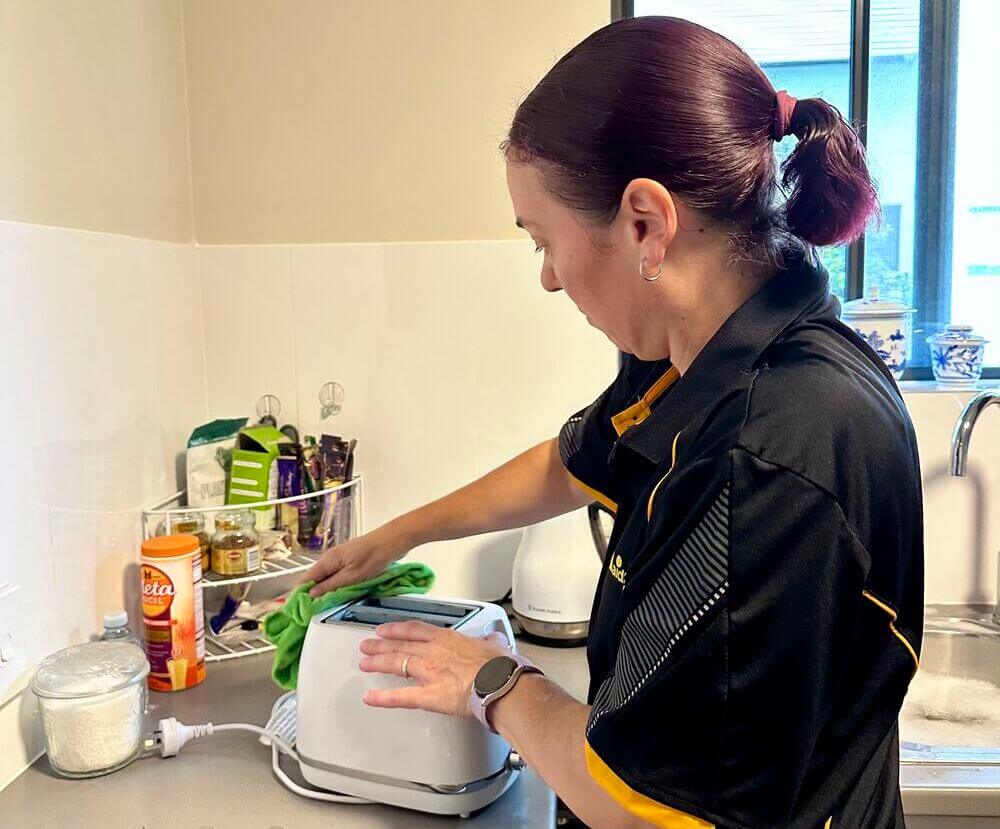
Credit: www.maid2match.com.au
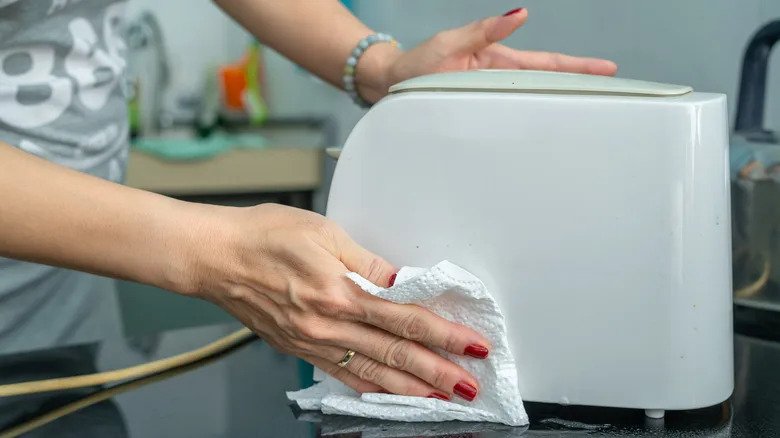
Wipe Exterior Surface
Cleaning the outside of your toaster keeps it looking nice. It removes dust, crumbs, and stains.
Use simple tools like a cloth and towel. This helps keep your toaster safe and clean.
Use Damp Cloth
Take a soft cloth and wet it with water. Wring out the cloth so it is damp, not dripping.
Gently wipe the outside surface of the toaster. This removes dirt without damaging the finish.
Dry With A Towel
After wiping, use a dry towel to remove any moisture. This stops water spots and streaks.
Make sure the toaster surface is fully dry before using it again. This keeps the appliance safe.
Reassemble And Test
After cleaning your toaster, it is important to put it back together carefully. This ensures it works well and stays safe to use.
Follow these steps to reassemble and test your toaster properly.
Insert Crumb Tray
Slide the crumb tray back into its slot at the bottom of the toaster. Make sure it fits snugly and is fully inserted to catch crumbs during future use.
- Check for any crumbs left inside before inserting the tray.
- Align the tray with the grooves or guides in the toaster.
- Push the tray gently until it clicks or stops completely.
Plug In And Test
Once the toaster is reassembled, plug it into a power outlet. Test the toaster to make sure it heats up and functions correctly.
| Test Action | What to Check |
| Plug in toaster | Power indicator light turns on |
| Insert bread slice | Toaster holds bread properly |
| Start toasting | Heating elements glow and toast evenly |
| Pop-up mechanism | Bread pops up smoothly when done |
Credit: www.maid2match.com.au
Maintenance Tips
Keeping your toaster clean helps it work better and last longer.
Simple care steps prevent crumbs and burnt bits from building up inside.
Regular Cleaning Schedule
Clean your toaster at least once a week to stop crumbs from piling up.
- Unplug the toaster before cleaning.
- Remove the crumb tray and empty it after each use.
- Use a soft brush to clear crumbs inside the slots.
- Wipe the outside with a damp cloth and mild soap.
- Dry all parts completely before plugging in.
Avoiding Overloading
Do not force thick or large bread slices into the toaster slots.
| Reason | Effect |
| Forcing large pieces | Can damage heating elements |
| Overloading slots | Leads to uneven toasting |
| Using thick bread often | Increases risk of jams |
Frequently Asked Questions
How Often Should I Clean My Toaster?
Clean your toaster every 1 to 3 months. Regular cleaning prevents burnt crumbs and improves toaster efficiency. Frequent use may require more frequent cleaning to maintain hygiene and functionality.
Can I Use Water To Clean My Toaster?
Avoid using water inside the toaster. Instead, unplug it and use a dry brush or cloth to remove crumbs. For exterior cleaning, use a damp cloth and dry immediately to prevent electrical hazards.
How Do I Remove Stubborn Crumbs From A Toaster?
Unplug the toaster and turn it upside down. Gently shake to dislodge crumbs. Use a soft brush or compressed air to clean hard-to-reach areas safely.
Is It Safe To Clean Toaster Trays In The Dishwasher?
Check the manufacturer’s instructions first. Many toaster trays are dishwasher safe, but some may warp or corrode. Hand wash with warm, soapy water if unsure for best results.
Conclusion
Cleaning your toaster keeps it safe and working well. Regular care stops crumbs from burning inside. Always unplug before cleaning for safety. Use a soft brush or cloth to remove debris. Avoid water inside the toaster to prevent damage. Clean your toaster every few weeks to stay fresh.
A clean toaster means better toast every time. Simple steps make a big difference in kitchen hygiene. Keep your toaster neat and enjoy tasty breakfast moments. Easy cleaning saves money and extends your toaster’s life.