
You’ve just baked a fresh loaf of bread in your bread maker, and it smells amazing. But what about cleaning it?
Leaving crumbs and dough residue behind can cause bad smells, affect the taste of your next loaf, or even damage your machine over time. Cleaning your bread maker doesn’t have to be a hassle. With the right steps, you can keep it spotless and ready for your next baking session.
Keep reading, and you’ll discover simple, effective ways to clean your bread maker quickly—so you can enjoy perfect bread every time.
Gather Necessary Cleaning Supplies
Cleaning your bread maker keeps it working well and safe for use. You need the right supplies before you start.
Gathering everything first saves time and makes cleaning easier. Here are the supplies you will need.
Soft Cloths And Sponges
Use soft cloths or sponges to avoid scratching the bread maker. They help remove crumbs and stains gently.
Mild Dish Soap
Choose a mild dish soap to clean parts without damage. Strong chemicals can harm the non-stick surfaces.
Warm Water
Warm water helps dissolve grease and crumbs easily. It makes cleaning faster and more effective.
Soft Brush Or Toothbrush
A soft brush or old toothbrush cleans hard-to-reach spots. It removes residue from corners and crevices.
Optional Supplies
- White vinegar for removing odors
- Baking soda to scrub tough spots
- Paper towels for drying
- Plastic spatula to scrape stuck dough
Summary Table Of Supplies
| Supply | Purpose |
|---|---|
| Soft Cloths/Sponges | Gentle cleaning of surfaces |
| Mild Dish Soap | Removes grease and dirt |
| Warm Water | Dissolves crumbs and residues |
| Soft Brush/Toothbrush | Clean tight spaces |
| White Vinegar (Optional) | Deodorize and disinfect |
| Baking Soda (Optional) | Scrub tough stains |
| Paper Towels | Dry cleaned parts |
| Plastic Spatula | Remove stuck dough |
Unplug And Disassemble The Bread Maker
Cleaning your bread maker keeps it working well and safe to use. Start by unplugging it to avoid accidents.
Next, take apart the removable parts to clean them separately. This helps remove crumbs and dough pieces.
Unplug The Bread Maker
Always unplug the bread maker before cleaning. This stops electricity flow and keeps you safe.
Make sure your hands are dry before unplugging. Pull the plug, not the cord, to avoid damage.
Remove The Bread Pan
Open the lid and carefully take out the bread pan. This part holds the dough and bread during baking.
Handle the pan gently to avoid scratching its non-stick surface. Set it aside for washing.
Take Out The Kneading Paddle
Find the kneading paddle inside the bread pan. This piece mixes and kneads the dough.
Pull the paddle off the shaft carefully. Clean it separately to remove dough stuck on it.
Remove Other Removable Parts
Some bread makers have extra parts like measuring cups or lids. Remove these for thorough cleaning.
- Check the manual for removable parts
- Take off any trays or covers you can safely remove
- Clean parts separately to prevent damage
Remove And Clean The Bread Pan
Cleaning the bread pan keeps your bread maker working well. It also stops old crumbs and oils from changing the taste of your bread.
Take out the bread pan carefully before cleaning. Read your machine’s guide to avoid damage. Let’s look at two ways to clean the pan.
Washing By Hand
Hand washing is gentle and works for most bread pans. Use warm water and mild soap. Avoid harsh scrubbing to keep the non-stick surface safe.
- Remove the bread pan from the machine.
- Let the pan cool before washing.
- Use a soft sponge or cloth with warm, soapy water.
- Gently clean all sides and corners inside the pan.
- Rinse the pan well with clean water.
- Dry the pan with a soft towel or air dry completely.
Using A Dishwasher
Check if your bread pan is dishwasher safe before using this method. Some pans can lose their coating in the dishwasher.
| Dishwasher Safe | Not Dishwasher Safe |
| Pans labeled as dishwasher safe | Pans with non-stick coatings not marked safe |
| Metal bread pans without coatings | Pans with wooden or plastic parts |
| Stainless steel pans | Old or damaged pans |
Place the pan on the top rack of the dishwasher. Use a mild detergent and a gentle cycle. After the wash, check if the pan is dry and clean before putting it back.
Clean The Kneading Blade
The kneading blade mixes dough inside the bread maker. It gets sticky with dough and needs cleaning after use. Keeping it clean helps your bread taste better and lasts longer.
Cleaning the blade is simple. You only need water, soap, and a soft brush or cloth. Avoid harsh tools that can damage the blade.
Soaking The Blade
Soaking the blade loosens stuck dough. Fill a bowl with warm water and mild soap. Place the blade in the bowl and let it soak for 10 to 15 minutes.
Soaking makes it easier to remove dough without scraping hard. Do not soak the blade for too long to protect its material.
Scrubbing Residue
After soaking, use a soft brush or cloth to scrub the blade gently. Focus on areas with dough stuck tightly. Avoid using sharp or metal tools.
- Use warm soapy water for scrubbing
- Clean all sides of the blade
- Rinse the blade well with clean water
- Dry the blade fully before storing
Wipe Down The Interior
Cleaning the inside of your bread maker keeps it working well. Wiping the interior removes crumbs and spills.
Use a soft cloth to clean gently. Avoid harsh scrubbing that can damage the surface.
Avoiding Electrical Components
Do not let water or cleaning liquids touch the electrical parts. These parts can short circuit or break.
Clean near the electrical areas with a dry cloth. Be careful around the heating element and control panel.
- Unplug the bread maker before cleaning.
- Use a dry or slightly damp cloth only.
- Do not spray water directly inside.
- Keep electrical parts dry at all times.
Removing Stuck Dough
Sometimes dough sticks to the bread pan or kneading blade. Removing it helps the machine work better.
Soften stuck dough by soaking the parts in warm water. This makes dough easier to wipe away.
- Remove the bread pan and blade carefully.
- Soak them in warm, soapy water for 10-15 minutes.
- Use a soft sponge to wipe away loosened dough.
- Rinse and dry parts before putting them back.
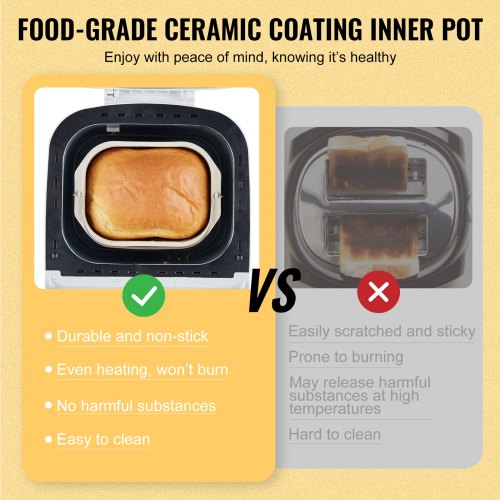
Credit: www.vevor.com
Clean The Exterior Of The Machine
Cleaning the outside of your bread maker keeps it looking nice. It also stops dust and dirt from building up.
Use simple tools and gentle cleaning to protect the machine’s surface. This helps the bread maker last longer.
Using A Damp Cloth
Take a soft cloth and dampen it with water. Wring out extra water so the cloth is just moist.
Gently wipe the outside of the bread maker. Focus on areas with spills or dust.
- Do not use too much water to avoid damage.
- Avoid harsh chemicals that can harm the surface.
- Dry the surface with a clean, dry cloth after wiping.
Polishing For Shine
After cleaning, polish the exterior to keep it shiny. Use a small amount of appliance polish or olive oil.
Apply the polish with a soft cloth. Rub gently in small circles for an even shine.
- Test polish on a small spot first.
- Do not polish buttons or vents to avoid stickiness.
- Use polish sparingly to prevent buildup.
Reassemble The Bread Maker
After cleaning your bread maker, it is important to put it back together correctly. This will ensure it works well and lasts longer.
Take your time during reassembly. Follow the right order and check each part fits securely.
Attach The Kneading Blade
Place the kneading blade on the shaft inside the baking pan. Make sure it fits tightly so it turns during mixing.
Insert The Baking Pan
Put the baking pan back into the bread maker. Align it carefully with the motor shaft to avoid damage.
Secure The Lid And Other Parts
- Close the lid firmly to lock it in place.
- Attach any removable parts like the kneading blade cap.
- Check the power cord is safely positioned.
Test The Bread Maker
Turn on the bread maker to check if it runs smoothly. Listen for unusual noises and watch the kneading blade move correctly.

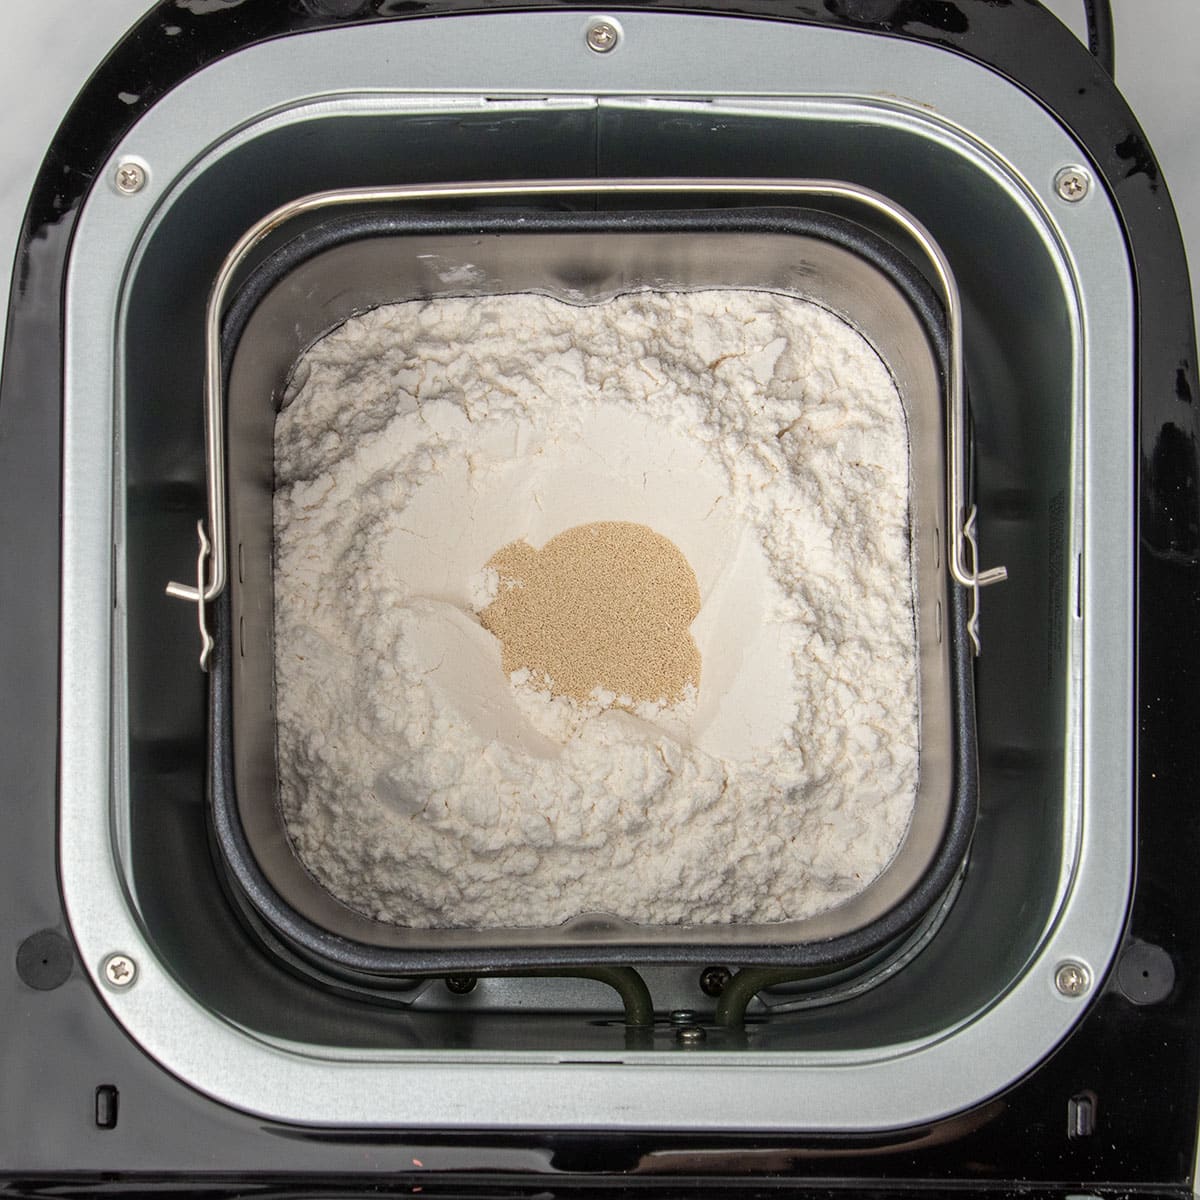
Credit: www.reddit.com
Maintenance Tips For Longevity
Keeping your bread maker clean and cared for helps it last longer. Regular maintenance stops damage and keeps it working well.
Simple cleaning and proper storage protect your machine from wear and tear. Follow easy tips to keep your bread maker in top shape.
Regular Cleaning Schedule
Clean your bread maker after every use to remove crumbs and dough. This stops mold and keeps the machine safe to use.
- Unplug the machine before cleaning.
- Remove the bread pan and kneading blade.
- Wash these parts with warm, soapy water.
- Wipe the inside and outside with a damp cloth.
- Never soak the main unit or use harsh cleaners.
- Dry all parts completely before reassembling.
Storing Properly
Store your bread maker in a dry place away from dust and heat. Proper storage stops damage and keeps it ready for use.
| Storage Tip | Reason |
| Keep the lid slightly open | Prevents moisture buildup inside |
| Cover with a clean cloth | Protects from dust and dirt |
| Store in a cool, dry place | Prevents damage from heat and humidity |
| Remove the bread pan before storing | Avoids trapped moisture and odors |
Credit: glutenfreeonashoestring.com
Frequently Asked Questions
How Often Should I Clean My Bread Maker?
Clean your bread maker after every use to prevent residue buildup. Regular cleaning ensures better performance and prolongs the machine’s life. Focus on removing crumbs, dough, and grease from the pan and kneading blade. Wipe the exterior with a damp cloth for a fresh look.
What Is The Best Way To Clean Bread Maker Pans?
Use warm, soapy water and a soft sponge to clean pans. Avoid abrasive scrubbers that damage non-stick surfaces. Rinse thoroughly and dry completely before placing the pan back. Never submerge the entire bread maker in water to avoid electrical damage.
Can I Use Dishwasher To Clean Bread Maker Parts?
Most bread maker pans and kneading blades are not dishwasher safe. Check your manual before placing parts in a dishwasher. Hand washing ensures longer durability of non-stick coatings and prevents warping or damage. Always dry parts thoroughly after washing to avoid rust.
How To Remove Stuck Dough From Kneading Blade?
Soak the kneading blade in warm, soapy water for 10-15 minutes. This softens the dough, making it easier to remove. Use a soft brush or cloth to gently wipe off residue. Avoid metal tools that may scratch or damage the blade surface.
Conclusion
Cleaning your bread maker keeps it working well and safe. Wipe the inside and outside after every use. Remove crumbs and dough bits to avoid build-up. Use a soft cloth and mild soap for cleaning. Dry all parts before putting them back together.
Regular care helps your bread maker last longer. Enjoy fresh bread without any hassle. Keep your machine clean for better baking every time. Simple steps make a big difference in performance. A clean bread maker means tasty bread, always.