
Have you ever pulled your cake or cookies out of the oven, only to watch them stick stubbornly to the pan? It’s frustrating, right?
You want your baked goods to come out perfect every time—golden, soft, and intact. The good news is, you don’t have to accept sticking as part of baking. With a few simple tricks and easy steps, you can make sure your treats release cleanly, saving you time and stress.
Ready to master the secret to baking without sticking? Let’s dive in and transform your baking experience for good.

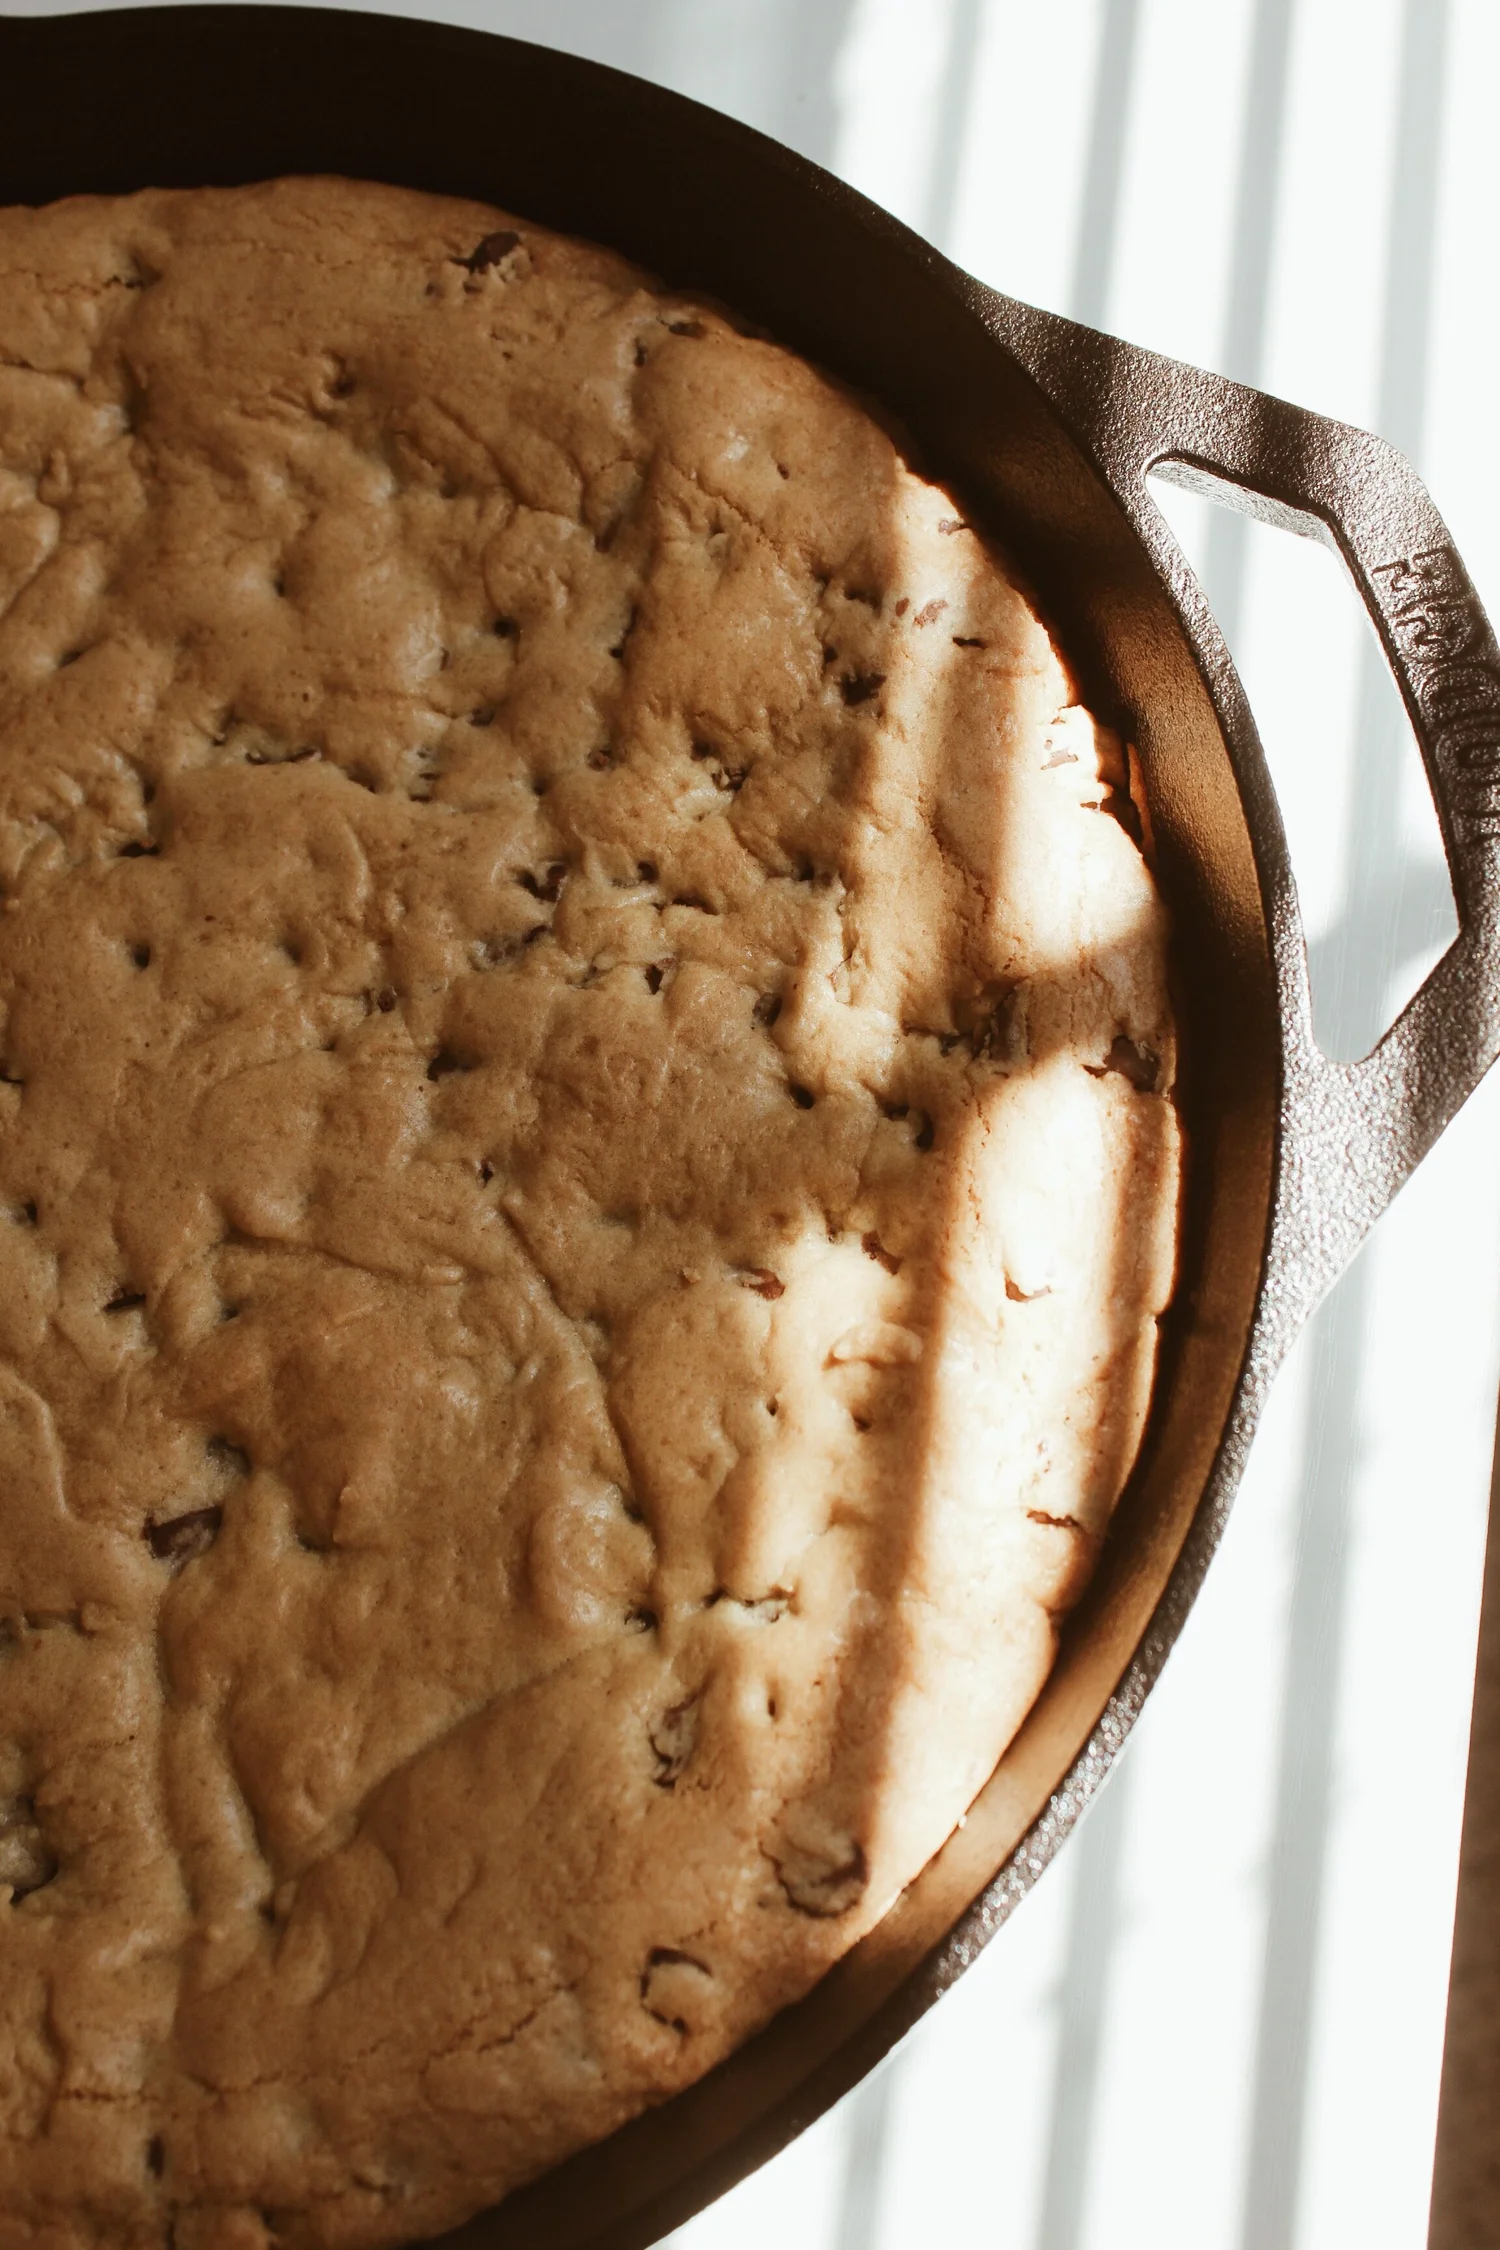
Credit: www.youtube.com
Choosing The Right Bakeware
Choosing the right bakeware helps you bake without sticking. The right tools make baking easier and cleanup faster.
There are many types of bakeware. Each type works best for different recipes and techniques.
Non-stick Vs. Traditional
Non-stick bakeware has a coating that stops food from sticking. It often needs less oil or butter. Traditional bakeware is made from metal or glass without coatings.
- Non-stick pans are easy to clean.
- Traditional pans may need more greasing.
- Non-stick coatings can wear off over time.
- Traditional pans last longer with proper care.
- Non-stick pans are gentle on baked goods.
- Traditional pans can give a crispier crust.
Material Considerations
Bakeware comes in different materials. Each material affects heat distribution and baking results.
| Material | Heat Conductivity | Care | Best Use |
| Aluminum | High | Hand wash recommended | Cookies, cakes |
| Stainless Steel | Low to medium | Dishwasher safe | Breads, roasting |
| Glass | Low | Dishwasher safe | Casseroles, brownies |
| Ceramic | Medium | Hand wash preferred | Pastries, pies |
| Silicone | Low | Dishwasher safe | Muffins, shaped cakes |
Preparing Your Bakeware
Preparing your bakeware correctly helps prevent food from sticking. It makes baking easier and cleanup faster.
Different foods and recipes need different preparation techniques. Using the right method protects your bakeware and improves results.
Greasing Techniques
Greasing your bakeware creates a smooth barrier between the food and the pan. This stops food from sticking during baking.
You can use butter, oil, or cooking spray. Spread it evenly over the entire surface, including corners and edges.
- Use a paper towel or brush to spread the grease thinly and evenly
- For sticky recipes, apply a light dusting of flour after greasing
- Use melted butter for rich flavor and good non-stick results
- Choose oils with high smoke points for roasting or high heat
Using Parchment Paper
Parchment paper creates a non-stick layer between your bakeware and the food. It works well for cakes, cookies, and delicate items.
Cut the paper to fit the bottom of your pan. You can also line the sides for extra protection. This prevents sticking and makes cleanup quick.
- Place parchment paper in the pan before adding batter or dough
- Grease the parchment lightly for extra non-stick effect
- Use parchment paper for baking or roasting to avoid burning
- Check that parchment is oven-safe for your recipe’s temperature
Understanding Ingredients
Baking without sticking depends on how ingredients work together.
Knowing each ingredient’s role helps avoid common baking problems.
High-sugar Content
Sugar adds sweetness and moisture to baked goods. It also affects texture and browning.
- High sugar makes batter thinner and more likely to stick.
- Sugar caramelizes and can cause sticking on baking surfaces.
- Use parchment paper or grease pans well to prevent sticking.
- Adjust sugar amount carefully to keep good texture.
Role Of Eggs And Fats
Eggs bind ingredients and add moisture. Fats keep baked goods soft and help release from pans.
| Ingredient | Function | Effect on Sticking |
| Eggs | Bind, add moisture | Help hold shape, reduce sticking |
| Butter | Adds flavor, softens | Creates non-stick layer |
| Oil | Moisturizes, tenderizes | Coats pan, eases release |
| Shortening | Softens texture | Prevents sticking better than butter |
Temperature And Timing
Baking without sticking depends on correct temperature and timing. These factors help your food cook evenly and release easily from pans.
Understanding how preheating and baking time affect your recipes can improve your baking experience.
Preheating Importance
Preheating your oven sets the right temperature before baking. It ensures even heat distribution and proper cooking.
- Always preheat the oven fully before placing your baked goods inside.
- Use an oven thermometer to check if your oven reaches the correct temperature.
- Preheating helps prevent sticking by allowing batter or dough to cook quickly on contact.
- Oven racks should be in the correct position before preheating starts.
Baking Time Adjustments
Baking time changes based on oven temperature and the type of bakeware used. Adjusting time prevents overcooking or sticking.
| Oven Temperature | Baking Time Adjustment |
| Lower than recipe | Increase time by 5-10 minutes |
| Higher than recipe | Reduce time by 5-10 minutes |
| Using dark or non-stick pans | Reduce time slightly to avoid burning |
| Using glass or ceramic pans | Increase time slightly for even cooking |
Cooling And Removing Baked Goods
Cooling and removing baked goods properly stops them from sticking. It helps keep their shape and texture.
Using the right cooling and removal techniques makes baking easier and results better. It saves time and frustration.
Proper Cooling Methods
Cooling baked goods correctly prevents them from sticking and breaking. Let them cool before taking them out.
Use cooling racks that lift your baked items. This allows air to flow all around the food.
- Remove baked goods from pans after 5 to 10 minutes
- Place them on wire racks to cool completely
- Avoid cooling on solid surfaces to stop sogginess
- Let air circulate under and around the baked goods
- Cool delicate items in the pan if needed, then remove carefully
Safely Removing From Pans
Remove baked goods gently to keep their shape intact. Use the right tools to avoid damage.
Loosen edges before lifting items out. This reduces the chance of sticking or tearing.
- Run a butter knife or spatula around the pan edges
- Use parchment paper or silicone liners to help release
- Turn cakes upside down on a cooling rack for easy removal
- Lift cookies with a thin spatula or flat tool
- Cool baked goods enough so they are firm before removing

Credit: www.theboywhobakes.co.uk
Cleaning And Maintenance Of Bakeware
Proper cleaning and care keep your bakeware in good shape. This helps prevent food from sticking and extends its life.
Good maintenance means your baking will be easier and your tools will last longer.
Avoiding Harsh Chemicals
Do not use strong chemicals or abrasive cleaners on your bakeware. They can damage the surface and cause sticking.
Stick to gentle soaps and warm water. Use soft sponges or cloths to clean without scratching.
- Use mild dish soap only
- Avoid steel wool or rough scrubbers
- Rinse thoroughly to remove soap
- Dry completely before storing
Storing Your Bakeware
Store bakeware in a dry place to prevent rust or damage. Stack items carefully to avoid scratches.
Use liners or cloths between pans if you stack them. This keeps the surfaces smooth and clean.
- Keep bakeware dry before storing
- Stack with soft liners between pieces
- Store in a cool, dry cabinet
- Check bakeware for damage regularly
Troubleshooting Common Problems
Baking can be tricky when your goods stick or overcook. These problems ruin the texture and taste of your treats.
Knowing how to fix sticky and overcooked items helps you save your baking and enjoy your creations more.
Dealing With Sticky Situations
Sticky baked goods often mean the pan was not prepared well or the recipe needs adjustment. You can avoid this by using non-stick sprays or lining pans with parchment paper.
- Grease the pan with butter or oil before adding batter.
- Use parchment paper to line your baking tray.
- Let baked goods cool before removing them from the pan.
- Dust the pan with flour after greasing for extra non-stick help.
- Check if your recipe needs less sugar or liquid to prevent stickiness.
Rescuing Overcooked Goods
Overcooked baked goods can be dry or hard. There are tricks to fix or reuse them so they do not go to waste.
| Problem | Fix | Tip |
|---|---|---|
| Dry cake | Brush with simple syrup or milk before serving | Add moisture without changing taste |
| Hard bread | Warm in microwave with a damp paper towel | Restores softness quickly |
| Crunchy cookies | Store with a slice of bread in an airtight container | Softens cookies overnight |
| Burnt edges | Cut off burnt parts carefully | Save the rest for crumbles or toppings |
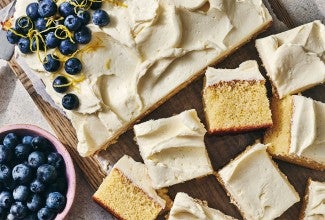
Credit: www.kingarthurbaking.com
Frequently Asked Questions
How Do I Prevent Baked Goods From Sticking?
To prevent sticking, always grease your baking pans with butter or oil. You can also use parchment paper or silicone baking mats for easy release. Properly flouring pans after greasing helps too. These steps create a non-stick surface, ensuring your baked goods come out cleanly.
What Is The Best Way To Grease A Baking Pan?
Use softened butter or oil and spread it evenly on the pan’s surface. Avoid using sprays with additives, which can affect taste. For better results, dust the greased pan with a light layer of flour or cocoa powder for chocolate recipes.
Can Parchment Paper Really Stop Sticking?
Yes, parchment paper creates a non-stick layer between your baked goods and the pan. It also helps with even baking and easy cleanup. Make sure to cut the parchment to fit your pan perfectly for best results.
Is Flouring Pans Necessary After Greasing?
Flouring pans after greasing adds an extra barrier to prevent sticking. It’s especially useful for cakes and breads. Lightly dust the pan, then tap out excess flour to avoid clumps, ensuring smooth release after baking.
Conclusion
Baking without sticking is easier than it seems. Use the right tools and simple tricks. Grease pans well or use parchment paper. Let baked goods cool before removing them. Clean your pans regularly to keep them smooth. Practice these tips to enjoy stress-free baking.
Your treats will come out perfect every time. Baking can be fun and mess-free with care. Try these steps and see the difference yourself. Keep baking simple and enjoy your delicious results.