
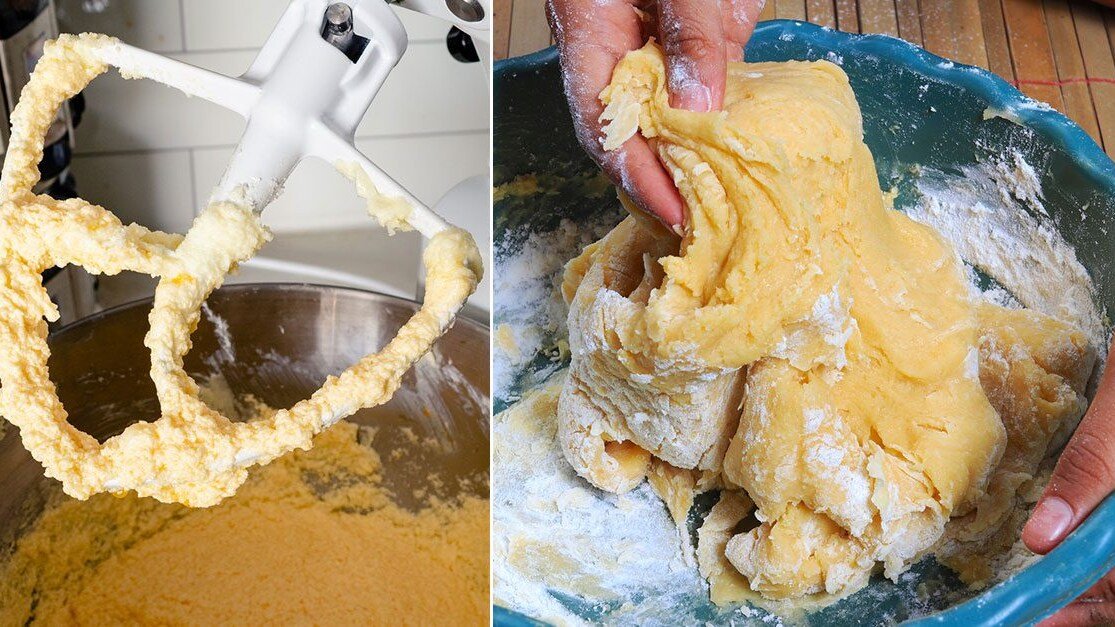
Your stand mixer is a powerful kitchen tool that makes cooking and baking easier. But have you ever stopped to think about how you care for its attachments?
Keeping your mixer attachments clean and well-maintained can save you time, money, and frustration. You’ll discover simple, effective ways to keep your attachments working like new. By the end, you’ll know exactly how to protect your investment and enjoy smoother cooking every time.
Ready to extend the life of your favorite kitchen helper? Let’s dive in.

Credit: www.amazon.com
Cleaning Techniques
Keeping your stand mixer attachments clean helps them last longer. It also keeps your food safe and fresh.
Different attachments need different cleaning methods. Use the right technique to avoid damage.
Hand Washing Basics
Hand washing is gentle and works well for most attachments. Use warm water and mild dish soap.
Wash attachments right after use to stop food from hardening on them. Use a soft sponge or cloth.
- Rinse attachments in warm water first
- Apply mild soap on a soft sponge
- Gently scrub all surfaces
- Rinse off all soap with warm water
- Dry with a clean towel or air dry
Dishwasher Safety
Check if your attachments are dishwasher safe before cleaning them this way. Not all parts can go in the dishwasher.
Place dishwasher-safe attachments on the top rack. This avoids too much heat and water pressure.
- Read the manual for dishwasher instructions
- Use a gentle dishwasher cycle
- Do not mix attachments with heavy pots or pans
- Remove attachments promptly after the cycle
Removing Stubborn Residue
Some food may stick tightly to attachments. Use simple tricks to remove tough residue safely.
Soak attachments in warm, soapy water for 10 to 15 minutes. This softens dried food and grease.
- Use a soft brush to scrub stuck bits
- A toothpick can help clean small crevices
- A paste of baking soda and water helps with grease
- Rinse and dry thoroughly after cleaning

Credit: www.thecookiecountess.com
Storage Solutions
Keeping your stand mixer attachments in good shape needs smart storage. Proper storage stops damage and keeps parts ready to use.
Use simple tips to organize and protect your attachments. This saves space and time when baking or cooking.
Proper Organization
Organize attachments by type or size. This helps you find what you need quickly. Use clear containers or drawer dividers to keep pieces separate.
- Store beaters, dough hooks, and whisks in separate compartments
- Label containers or drawers for easy identification
- Keep smaller parts like scraper blades together in a small box
- Place frequently used attachments in easy-to-reach spots
Avoiding Moisture
Moisture can cause rust and damage metal attachments. Dry attachments completely before storing them. Use moisture absorbers in storage areas to keep parts dry.
| Tip | Details |
| Dry thoroughly | Use a clean cloth or air dry after washing |
| Use silica gel packs | Place inside storage containers to absorb moisture |
| Store in a dry place | Avoid damp kitchens or basements |
Preventing Scratches
Scratches can ruin the finish and weaken attachments. Use soft cloth bags or sleeves to cover each piece. Avoid stacking metal attachments directly on each other.
Tips to prevent scratches:
- Wrap attachments in soft cloth or bubble wrap
- Use padded storage boxes or containers
- Keep sharp edges away from delicate finishes
- Clean attachments before storage to remove grit
Inspection And Maintenance
Keeping your stand mixer attachments in good shape helps them last longer.
Regular checks and care prevent damage and ensure smooth operation.
Checking For Wear And Tear
Look over your attachments for cracks, rust, or loose parts before and after use.
- Check the beaters and hooks for bends or breaks.
- Inspect the connection points for any damage or corrosion.
- Look for worn or missing screws and tighten them if needed.
- Make sure no residue or dough is stuck in hard-to-see spots.
Lubricating Moving Parts
Some attachments have parts that need lubrication to work well.
| Part | Type of Lubricant | Frequency |
| Gear joints | Food-safe grease | Every 3 months |
| Hinges | Light oil | Monthly |
| Springs | Silicone spray | Every 6 months |
Always use lubricants that are safe for kitchen tools to avoid food contamination.

Credit: www.amazon.com
Handling Tips
Maintaining your stand mixer attachments helps them last longer. Proper handling keeps them working well and safe.
Follow simple steps to remove attachments safely and avoid overuse. These tips protect your mixer and attachments.
Safe Attachment Removal
Always turn off and unplug your mixer before removing attachments. This avoids accidents and damage.
- Grip the attachment firmly but gently.
- Twist or pull according to the manual instructions.
- Do not force attachments off the mixer.
- Clean attachments after removal to prevent buildup.
Avoiding Overuse
Do not run attachments for too long to prevent overheating. Give the mixer time to cool down.
| Attachment Type | Max Continuous Use | Recommended Rest Time |
| Beater | 10 minutes | 5 minutes |
| Dough Hook | 15 minutes | 10 minutes |
| Whisk | 5 minutes | 5 minutes |
Material Considerations
Maintaining stand mixer attachments depends on the material they are made of. Different materials need different care to last long and work well.
Knowing how to clean and store each type helps avoid damage and keeps your mixer safe for cooking.
Metal Attachments
Metal attachments are strong and last a long time. They usually resist heat and heavy use well.
Cleaning metal parts right after use stops food from hardening. Use warm soapy water and a soft cloth to avoid scratches.
- Dry metal attachments fully to prevent rust
- Do not use abrasive cleaners or steel wool
- Store in a dry place to avoid moisture damage
Plastic Attachments
Plastic parts are lighter and can come in different shapes. They may not handle heat or rough cleaning well.
Clean plastic pieces gently with mild soap and water. Avoid very hot water, which can deform the plastic.
- Do not use harsh chemicals that may cause cracks
- Check for cracks or damage before each use
- Store away from direct sunlight to avoid fading
Silicone Parts
Silicone parts are flexible and heat resistant. They are easy to clean but can attract dust if not stored well.
Wash silicone pieces with warm water and mild soap. Dry them completely before storing to avoid mold growth.
- Keep silicone away from sharp objects to prevent cuts
- Store in a clean, dry place to keep them dust-free
- Check for tears or wear regularly
Troubleshooting Common Issues
Stand mixer attachments can have problems that stop them from working well. Fixing these issues helps your mixer last longer.
This guide shows how to solve common problems with your attachments fast and easy.
Addressing Unusual Noises
Strange sounds can mean parts are loose or dirty. Check the attachment for cracks or wear.
Make sure the attachment is locked in place. Clean any debris around moving parts.
- Turn off and unplug the mixer before checking
- Remove the attachment and inspect it closely
- Clean the parts with a soft cloth
- Tighten any loose screws or connections
- Test again to see if the noise stops
Dealing With Jamming
Jamming happens when ingredients get stuck or parts do not move freely. This can strain the mixer.
Stop the mixer immediately if it jams. Remove the attachment and clear any blockages.
- Unplug the mixer before removing attachments
- Check for thick or sticky ingredients causing jams
- Clean the attachment and mixer hub carefully
- Do not force the attachment to move
- Reattach only when everything is clean and dry
Extending Lifespan
Stand mixer attachments need care to last a long time. Proper maintenance keeps them working well.
Simple habits can prevent damage and help you enjoy your mixer for years.
Routine Care Practices
Clean attachments right after use to stop food from hardening. Use warm water and mild soap.
Dry attachments fully before storing them. Moisture can cause rust or mold.
- Remove dough or batter quickly after mixing
- Wash by hand if attachments are not dishwasher safe
- Check for cracks or bent parts regularly
- Store attachments in a dry, cool place
When To Replace
Replace attachments if they show wear that affects performance. Cracks or warps mean less efficiency.
Loose parts or rust also signal it is time to get new attachments. Using damaged parts can harm the mixer.
- Replace attachments with visible cracks or breaks
- Change parts that no longer fit tightly
- Discard rusty attachments immediately
- Swap bent or warped items for better mixing
Frequently Asked Questions
How Do I Clean Stand Mixer Attachments Safely?
To clean attachments, detach them first. Wash with warm, soapy water. Avoid abrasive cleaners to prevent damage. Dry thoroughly before storing to prevent rust and maintain performance.
How Often Should I Maintain Stand Mixer Attachments?
Clean attachments after every use to avoid residue buildup. Perform a deep clean monthly or after heavy use. Regular maintenance ensures durability and optimal mixing performance.
Can I Put Stand Mixer Attachments In The Dishwasher?
Most attachments are dishwasher safe, but check the manual. Place them on the top rack for gentle cleaning. Hand wash delicate or non-stick parts to extend their lifespan.
How Do I Prevent Rust On Stand Mixer Attachments?
Dry attachments completely after washing. Store in a dry, cool place. Apply a light coat of food-safe oil on metal parts occasionally to prevent rust and corrosion.
Conclusion
Keeping your stand mixer attachments clean helps them last longer. Wipe off food after each use to stop buildup. Use warm, soapy water for regular cleaning. Dry attachments completely to prevent rust and damage. Store them in a dry place to stay safe.
Regular care saves money and keeps your mixer working well. Small steps make a big difference in the kitchen. Take time to maintain your tools for best results. Simple habits protect your investment and improve cooking.