
Baking a layered dessert can feel like a challenge, but with the right cake pans and a few simple tips, you can create stunning, delicious treats every time. If you’ve ever struggled with uneven layers or sticky cakes, this guide is made for you.
Keep reading to discover easy ways to use your cake pans that will help your desserts look professional and taste amazing. Your next show-stopping cake is just a few steps away!
Choosing The Right Cake Pan
Picking the right cake pan is key for layered desserts. It helps your dessert cook evenly and look nice.
You should think about the pan’s material, size, and shape before you start baking.
Material Considerations
Cake pans come in many materials like metal, glass, and silicone. Each one cooks differently.
Metal pans heat quickly and give a nice crust. Glass pans heat slower but cook evenly. Silicone pans are flexible and easy to clean.
- Metal pans: Best for golden crusts and fast baking
- Glass pans: Good for even cooking and seeing the dessert
- Silicone pans: Easy to remove cakes and clean
Size And Shape Variations
Layered desserts need the right size pan to fit all layers well. Too big or too small pans cause uneven baking.
Round pans are common for cakes, but square or rectangular pans work for bars and sheet cakes.
- Choose pans with the same diameter for even layers
- Use deeper pans for thicker layers
- Pick shapes that match your dessert style
Preparing The Cake Pan
Preparing your cake pan well helps your layered dessert bake evenly. It also makes it easier to remove the cake after baking.
Using the right techniques keeps the cake layers smooth and prevents sticking. This section covers how to grease your pan and use parchment paper.
Greasing Techniques
Greasing your cake pan creates a thin barrier between the pan and the batter. This stops the cake from sticking during baking.
You can use butter, shortening, or oil for greasing. Make sure to cover all the inside surfaces, including the edges and corners.
- Use a paper towel or pastry brush to spread the grease evenly
- Apply a thin layer to avoid pooling
- Grease the sides and bottom of the pan
- After greasing, dust the pan lightly with flour for extra non-stick protection
Using Parchment Paper
Parchment paper adds extra protection to your cake pan. It helps the cake release easily without damage.
Cut the parchment paper to fit the bottom and sides of your pan. This creates a perfect layer between the pan and the batter.
- Cut a circle or square for the bottom of round or square pans
- Cut strips to line the sides of the pan
- Grease the pan before placing parchment paper for better hold
- Grease the top of the parchment paper to keep the cake from sticking
Layering Techniques
Layered desserts look beautiful and taste delicious. Using cake pans the right way helps create neat layers.
Good layering takes patience and care. Small steps make big differences in the final cake.
Even Batter Distribution
Pour batter evenly into the cake pan. This makes sure each layer bakes the same way.
Using a spatula, spread the batter gently from the center to the edges. Avoid thick spots.
- Use a measuring cup for equal batter amounts
- Tap the pan lightly on the counter to remove air bubbles
- Spread batter smoothly with an offset spatula
Leveling Layers
Level layers before stacking to avoid a lopsided dessert. Cut off domes or bumps carefully.
Use a cake leveler or a long serrated knife. Move the tool gently around the cake’s edge to slice evenly.
- Cool cakes completely before leveling
- Mark the cutting line with toothpicks
- Trim small amounts at a time for control
Baking Tips For Layered Cakes
Baking layered cakes needs care with pans and oven settings. Good tips help make even layers and moist cakes.
This guide covers how to control temperature and adjust baking times for best results.
Temperature Control
Keep the oven temperature steady to avoid uneven baking. Use an oven thermometer to check the real heat inside.
- Preheat the oven fully before placing pans inside.
- Reduce oven temperature by 25°F if pans are dark or non-stick.
- Use light-colored pans for even heat reflection.
- Avoid opening the oven door too often to keep heat steady.
- Place cake pans in the middle rack for best heat circulation.
Baking Time Adjustments
Different pans and layers need time changes. Check cakes early to prevent overbaking.
| Pan Type | Recommended Time Change |
| Thin metal pans | Reduce time by 5-10 minutes |
| Glass pans | Increase time by 5-10 minutes |
| Dark non-stick pans | Reduce time by 5 minutes |
| Silicone pans | Check at normal time; may vary |
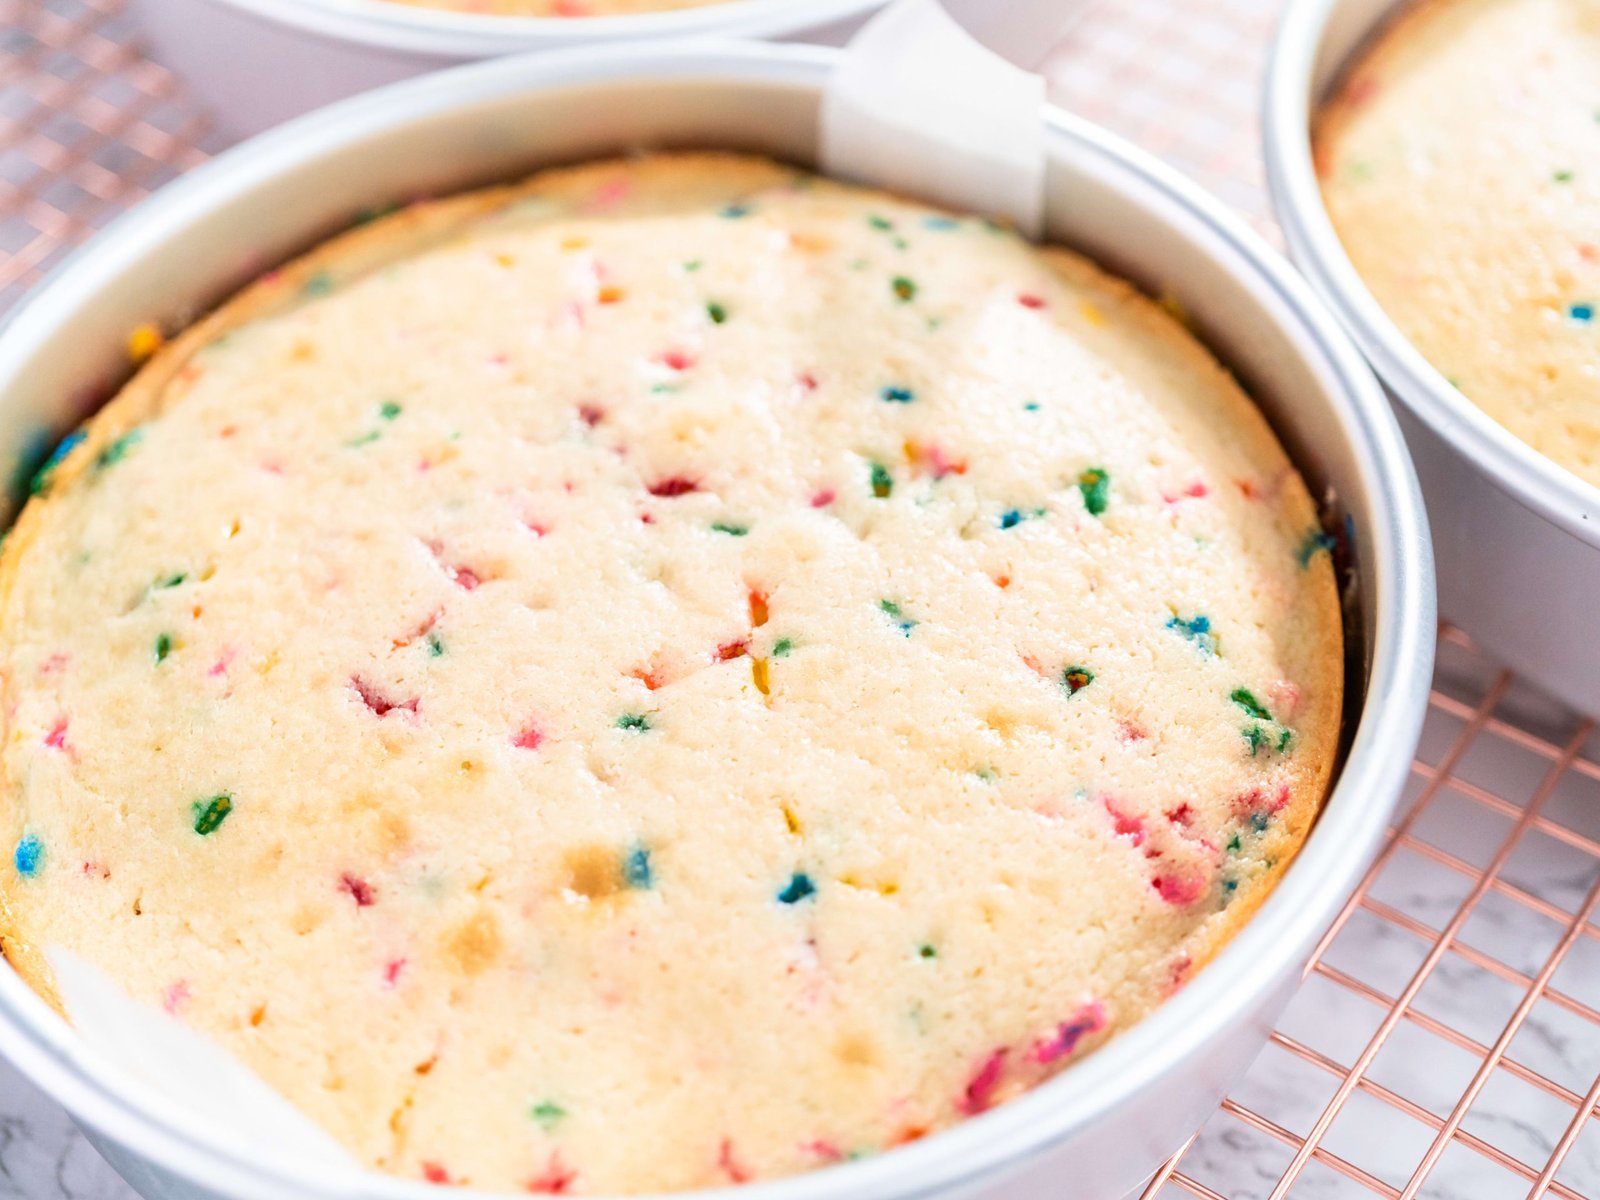
Cooling And Removing Layers
Using cake pans for layered desserts needs care during cooling and removal. Proper methods keep the layers intact and looking neat.
Cooling the layers well helps them set and makes removal easier. Learn the best ways to cool and safely remove your dessert layers.
Cooling Methods
Cool your layered cakes in the pans for some time to let them firm up. Then move them to a wire rack to cool completely.
- Let cakes cool in the pan for 10-15 minutes to avoid breaking.
- Run a knife around the edges to loosen the cake from the pan.
- Place a wire rack on top, flip the pan, and lift it off gently.
- Cool layers fully on the rack before stacking or frosting.
Safe Layer Removal
| Tip | Reason |
| Use parchment paper in pans | Helps lift layers out easily without sticking. |
| Chill layers before removal | Firm layers hold their shape better. |
| Use a thin spatula | Prevents tearing when loosening edges. |
| Handle layers gently | Prevents cracks and breaks. |

Credit: sallysbakingaddiction.com
Decorating Layered Desserts
Layered desserts look beautiful and taste delicious. Decorating them well makes them even more special. Simple tips can help you create desserts that impress.
Using the right frosting and toppings changes the look and flavor. Here are easy ways to decorate your layered cakes with style.
Frosting Tips
Choose frosting that spreads easily and holds its shape. Buttercream and cream cheese frostings work well for layered desserts. Chill the cake before frosting to avoid crumbs.
- Apply a thin crumb coat first to seal crumbs.
- Chill the cake after the crumb coat for 20 minutes.
- Use a spatula or piping bag for smooth, even layers.
- Decorate the edges with a decorative swirl or smooth finish.
Creative Toppings
Toppings add texture and color to your layered desserts. Fresh fruits, nuts, and edible flowers create a fresh look. Sprinkles and chocolate shavings add fun and crunch.
| Topping | Effect | Tip |
| Fresh Berries | Bright and juicy | Use right before serving |
| Chopped Nuts | Crunchy texture | Toast lightly for flavor |
| Edible Flowers | Colorful and elegant | Choose pesticide-free flowers |
| Chocolate Shavings | Rich and sweet | Use a vegetable peeler on a chocolate bar |
| Sprinkles | Fun and colorful | Sprinkle gently for even coverage |
Storing And Serving Suggestions
Using cake pans for layered desserts makes storage and serving easier. Proper care helps keep desserts fresh and tasty.
This guide shares simple tips for storing and presenting your layered treats.
Storage Solutions
Store layered desserts in the cake pan to keep them moist. Cover the pan tightly with plastic wrap or a lid to stop air from drying the dessert.
If your pan has no lid, place a sheet of foil over the top. Make sure the covering does not touch the dessert’s surface to avoid damage.
- Keep desserts in the fridge for up to three days
- Use airtight containers if removing dessert from the pan
- Freeze desserts wrapped tightly for longer storage
- Label containers with the date to track freshness
Presentation Ideas
Serve layered desserts straight from the cake pan for a casual look. Use a sharp knife to cut clean slices without breaking layers.
Add simple touches to improve presentation. Decorate with fresh fruit, powdered sugar, or a drizzle of sauce on top.
- Use colorful plates to contrast dessert layers
- Place dessert on a cake stand for height and style
- Garnish with mint leaves or edible flowers
- Serve with a side of whipped cream or ice cream

Credit: www.tasteofhome.com

Credit: sallysbakingaddiction.com
Frequently Asked Questions
What Types Of Cake Pans Work Best For Layered Desserts?
Round, square, and rectangular pans are ideal for layered desserts. Use non-stick or silicone pans for easy release. Choose pans with straight sides to ensure even layers and clean edges. Metal pans conduct heat well, baking layers evenly.
How To Prevent Cake Layers From Sticking To Pans?
Grease the pan with butter or oil and dust with flour. Alternatively, use parchment paper at the bottom. This prevents sticking and ensures smooth removal. Allow the cake to cool before removing it from the pan to avoid breakage.
Can I Use Different Pan Sizes For Layered Cakes?
Yes, you can use varied pan sizes for creative layered desserts. Just adjust baking times accordingly. Smaller pans bake faster, so check for doneness early. Using multiple sizes adds visual interest and dimension to your dessert.
How To Ensure Even Baking In Cake Pans?
Use pans of the same size and material for even baking. Preheat the oven properly and avoid opening the door frequently. Rotate pans halfway through baking if needed. Also, fill pans evenly to maintain consistent layer thickness.
Conclusion
Using the right cake pans makes layered desserts easier and neater. Always prepare pans well to avoid sticking. Choose the correct size for even baking. Cool each layer before stacking to keep shapes perfect. Simple steps lead to beautiful, tasty results.
Enjoy creating desserts that impress family and friends. Practice and patience bring better cakes every time. Keep these tips in mind for your next baking project. Sweet success is just a pan away.