
If you love baking, you know how tricky kneading dough by hand can be. But what if your stand mixer could do the hard work for you?
Using a stand mixer for dough not only saves time but also gives you a perfect, consistent texture every time. You’ll discover simple tips that make your dough rise to the occasion. Whether you’re a beginner or looking to improve your baking game, these easy tricks will help you get the best results with less effort.
Ready to turn your stand mixer into your new baking partner? Let’s dive in!

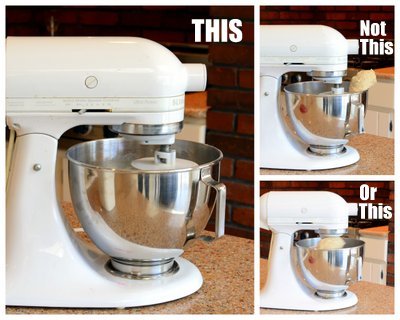
Credit: www.kitchenaid.com
Choosing The Right Stand Mixer
Using a stand mixer makes dough preparation easier and faster. Picking the right mixer helps you get good results every time.
There are many mixers to choose from. Look at capacity, power, and attachments before buying.
Assessing Mixer Capacity
Choose a mixer with a bowl size that fits your usual dough amount. Too small a bowl means dough spills out.
For home baking, a 4 to 5-quart bowl works well. Larger families or frequent bakers may need 6 quarts or more.
- Small bowls (3-4 quarts) for light use
- Medium bowls (4-6 quarts) for most home bakers
- Large bowls (6+ quarts) for big batches or heavy dough
Power And Speed Considerations
Look for a motor strong enough to mix thick dough without strain. Wattage or amps show power level.
Mixers with multiple speeds give you control. Start slow to combine ingredients, then increase speed for kneading.
- High power (250 watts or more) handles heavy dough well
- Multiple speed settings improve mixing control
- Slow start prevents flour dust and spills
Attachment Compatibility
Check which attachments the mixer supports. Dough hooks are key for kneading bread dough.
Some mixers offer extra tools like whisks or paddles. These can help with other cooking tasks.
- Dough hook for kneading thick dough
- Flat beater for mixing batters and dough
- Whisk for whipping cream and eggs
- Optional attachments like pasta makers or grinders

Credit: www.stadlermade.com
Essential Tools And Accessories
Using a stand mixer for dough makes baking easier and faster. The right tools help the mixer work well and improve your dough’s texture.
This guide explains key accessories that help you get the best results with your stand mixer.
Dough Hook Importance
The dough hook is a special attachment made for kneading. It saves time and effort compared to kneading by hand.
Using the dough hook helps develop gluten, which gives bread its chewy texture. It also mixes ingredients evenly without overheating the dough.
Using A Bowl Scraper
A bowl scraper helps you collect all dough bits from the bowl. It keeps the mixing process clean and efficient.
- Scrape down the sides of the bowl to mix all ingredients well.
- Use flexible scrapers that fit the bowl curve.
- Scraping prevents waste and ensures no flour or dough sticks to the bowl.
Covering Techniques For Mixing Bowl
Covering the mixing bowl keeps the dough moist and stops it from drying out. It also protects the dough from dust or insects.
| Cover Type | Use | Benefit |
| Plastic Wrap | Wrap tightly over the bowl | Keeps moisture in and stops air flow |
| Damp Cloth | Place cloth over the bowl | Keeps dough moist and lets it breathe |
| Lid (If available) | Fit lid on mixing bowl | Best for trapping heat and moisture |
Preparing Ingredients For Optimal Mixing
Using a stand mixer for dough requires careful preparation of ingredients. This helps the dough mix evenly and rise well.
Pay close attention to measuring, temperature, and combining dry ingredients before mixing. These steps improve your baking results.
Measuring Ingredients Precisely
Accurate measurements ensure the right balance of ingredients. Use proper tools like dry and liquid measuring cups for best results.
- Use a kitchen scale for flour and sugar to avoid packing.
- Level off dry ingredients with a flat edge for accuracy.
- Pour liquids at eye level for exact measurement.
- Avoid guessing or using standard cups for all ingredients.
Temperature Considerations
Ingredient temperature affects dough texture and yeast activity. Keep ingredients within ideal temperature ranges.
| Ingredient | Ideal Temperature |
| Water or Milk | 95°F to 110°F (35°C to 43°C) |
| Butter | Softened, not melted |
| Eggs | Room temperature |
| Flour | Room temperature |
Pre-mixing Dry Ingredients
Mix dry ingredients before adding liquids. This spreads leavening agents and spices evenly through the dough.
Follow these tips for pre-mixing dry ingredients:
- Sift flour and baking powder together to avoid clumps.
- Combine salt and sugar thoroughly with flour.
- Whisk spices evenly for consistent flavor.
Mastering Dough Consistency
Using a stand mixer can make dough preparation easier. Getting the right dough consistency is key for good baking results.
Understanding how to check texture, adjust liquids, and watch gluten growth will improve your dough every time.
Recognizing Proper Dough Texture
Proper dough texture feels smooth and elastic. It should not be sticky or crumbly. You can test it by pressing with your finger. The dough should bounce back slowly.
- The dough should hold together without sticking to your hands.
- It should stretch without tearing easily.
- It should feel soft but firm enough to shape.
Adjusting Liquid Ratios
Adding the right amount of liquid affects dough softness and rise. Too much liquid makes dough sticky. Too little makes it dry and hard to knead.
| Liquid Amount | Effect on Dough |
|---|---|
| Too Much | Sticky, hard to shape, may not rise well |
| Just Right | Smooth, elastic, easy to handle |
| Too Little | Dry, crumbly, tough to knead |
Monitoring Gluten Development
Gluten makes dough stretchy and strong. The stand mixer helps develop gluten by kneading. Watch the dough during mixing to avoid over or under kneading.
- Stop mixing when dough is smooth and elastic.
- Over-kneaded dough feels very stiff and breaks easily.
- Under-kneaded dough is sticky and tears when stretched.
Efficient Mixing Techniques
Using a stand mixer can save time and effort when making dough. Mixing dough correctly helps create the best texture.
Efficient mixing means knowing how to use your mixer well. This guide covers key tips for better dough mixing.
Setting Appropriate Speeds
Use low speeds at first to combine ingredients gently. Higher speeds are better for kneading dough.
Start slow to avoid flour flying out. Increase speed as dough forms and pulls from the bowl.
- Start at speed 1 or 2 to mix flour and liquids
- Use speed 4 or 5 to knead and develop gluten
- Avoid very high speeds to prevent overheating the dough
Avoiding Overmixing
Mixing dough too long can make it tough. Stop as soon as the dough is smooth and elastic.
Watch the dough texture to know when to stop. Overmixing breaks gluten strands and harms dough quality.
- Check dough after 5 minutes of kneading
- Look for a smooth, slightly sticky texture
- Stop mixing if dough becomes too tight or dry
Using Timers For Consistency
Use a timer to mix dough for the right time every time. This helps keep your baking consistent.
Set a timer before mixing. It prevents mixing too little or too much.
- Mix dry and wet ingredients for about 2 minutes
- Knead dough for 5 to 7 minutes depending on recipe
- Adjust time based on dough feel and recipe advice
Cleaning And Maintenance Tips
Keeping your stand mixer clean helps it work well for a long time. Regular care stops damage and keeps dough mixing smooth.
Follow simple cleaning and maintenance steps. These help your mixer stay safe and last longer.
Proper Disassembly Of Attachments
Always remove attachments carefully after use. This prevents damage to the mixer and parts.
Turn off and unplug the mixer before removing attachments. Twist or pull them gently as the manual says.
- Unplug the mixer first
- Hold the attachment firmly
- Twist or pull it gently
- Do not force parts apart
Safe Cleaning Practices
Clean attachments after every use to avoid dough buildup. Use warm soapy water for most parts.
Never put the mixer base in water. Use a damp cloth to wipe it clean instead.
- Wash attachments by hand or in dishwasher if safe
- Wipe mixer base with damp cloth only
- Dry all parts well before reassembling
- Use mild soap to avoid damage
Regular Maintenance For Longevity
Check your mixer regularly for wear or damage. Tighten screws and clean vents to keep it working well.
Store your mixer in a dry place. Cover it to protect from dust when not in use.
- Inspect attachments for cracks or wear
- Tighten loose screws carefully
- Clean air vents to prevent overheating
- Store in a dust-free, dry area
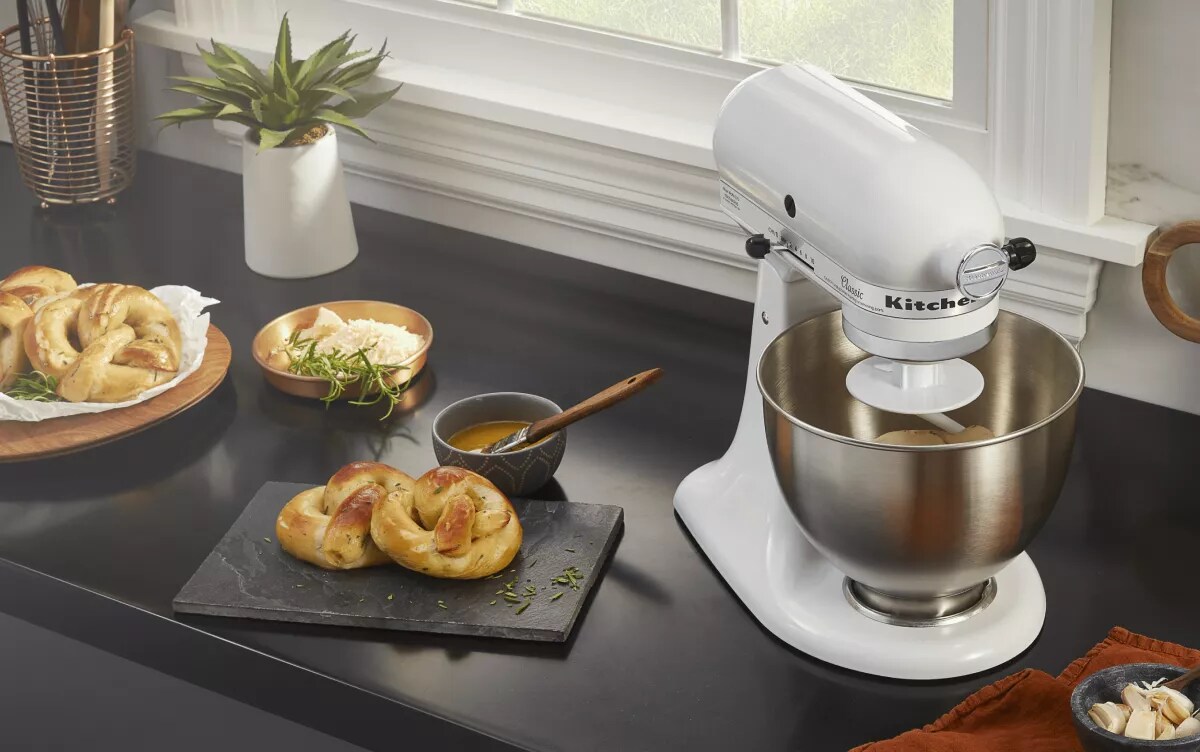
Credit: www.kitchenaid.com
Frequently Asked Questions
How Do I Choose The Right Dough Hook For My Stand Mixer?
Choose a dough hook designed for heavy doughs like bread or pizza. Use the spiral hook for dense doughs and the C-shaped hook for lighter doughs. This ensures efficient kneading and prevents motor strain.
What Speed Setting Is Best For Kneading Dough?
Use low to medium speed settings for kneading dough. High speeds can overwork the dough and damage the mixer. Start slow to combine ingredients, then increase slightly to knead effectively.
How Long Should I Knead Dough With A Stand Mixer?
Knead dough for 5 to 8 minutes or until smooth and elastic. Over-kneading can make dough tough, while under-kneading results in poor texture. Check dough consistency regularly during mixing.
Can I Use A Stand Mixer For All Types Of Dough?
Stand mixers work well for most doughs, including bread, pizza, and pastry. However, very delicate doughs may require gentle hand mixing. Always use the appropriate attachment to avoid overworking the dough.
Conclusion
Using a stand mixer for dough saves time and effort. It mixes ingredients evenly and helps develop gluten well. Always start on low speed to avoid flour flying. Watch the dough closely to prevent over-kneading. Clean your mixer parts right after use for best results.
With simple care and the right tips, baking becomes easier and more fun. Enjoy making fresh bread and pastries at home with confidence. Keep practicing, and your dough will turn out just right every time.