
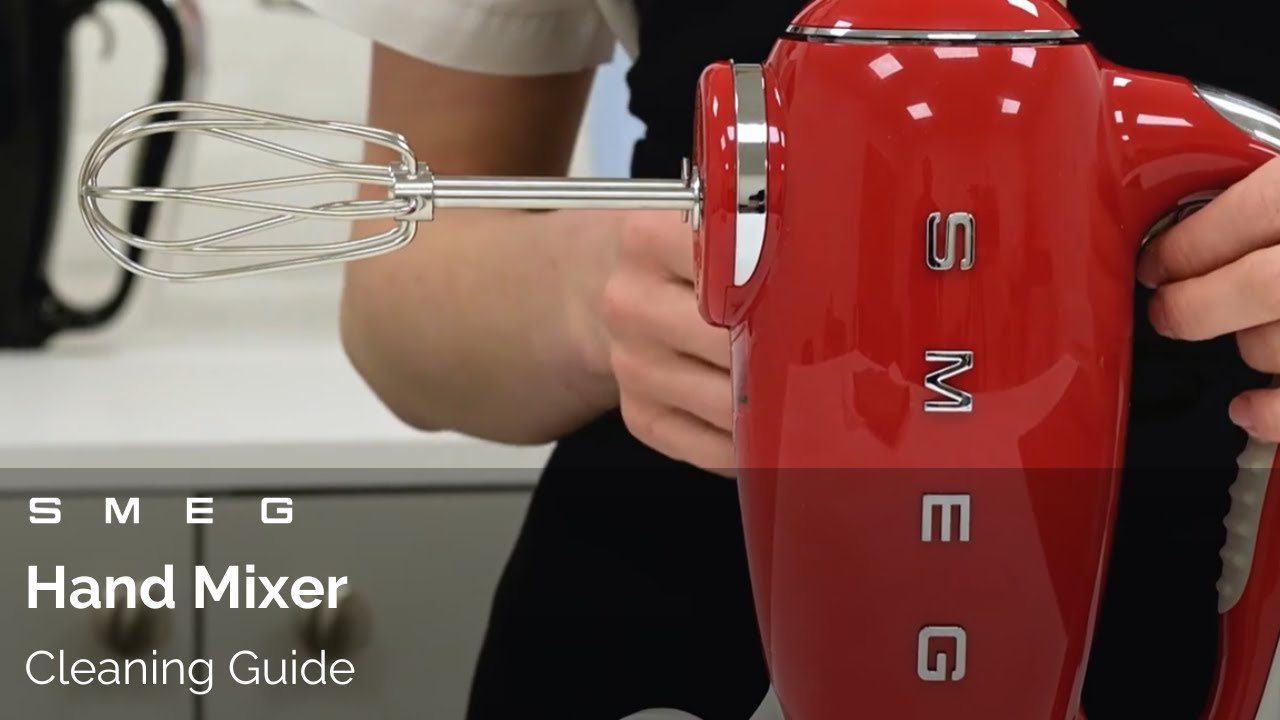
Your hand mixer attachments get messy fast, and if you don’t clean them properly, they can affect the taste of your food and even damage your mixer. But cleaning them can feel tricky and time-consuming.
What if you could make the process quick, easy, and effective every time? You’ll discover simple steps to clean your hand mixer attachments thoroughly, so they stay in great shape and ready for your next cooking adventure. Keep reading—you’ll wonder how you ever managed without these easy tips!
Gather Necessary Supplies
Cleaning your hand mixer attachments is easier with the right supplies. Gather everything before you start.
Having the right tools helps remove food and keep attachments in good shape.
Dish Soap
Use mild dish soap to clean the attachments. It removes grease and food bits well.
Choose a gentle soap to avoid damaging the metal or plastic parts.
Warm Water
Warm water helps soften stuck-on food. It works better than cold water alone.
Make sure the water is not too hot to prevent damage to plastic parts.
Soft Sponge Or Cloth
A soft sponge or cloth cleans without scratching the attachments. Avoid rough scrubbers.
Use it to scrub off food gently, especially on delicate areas.
Toothbrush Or Small Brush
A toothbrush or small brush helps clean tight spaces and crevices on the attachments.
Use it to reach spots the sponge cannot access easily.
Dry Towel
Use a dry towel to wipe the attachments after washing. This prevents rust and water spots.
Make sure the attachments are fully dry before storing them.
Unplug The Mixer
Cleaning your hand mixer attachments starts with safety. Always unplug the mixer before you begin.
This step helps prevent accidents or electric shocks while cleaning the parts.
Why Unplugging Is Important
Unplugging the mixer cuts off electricity. This stops the mixer from turning on by mistake.
It also protects you from electric shocks when handling wet attachments.
How To Safely Unplug Your Mixer
Hold the plug firmly, not the cord, to unplug the mixer. Pulling the cord can damage it.
- Turn off the mixer first if it is on.
- Grip the plug, not the cord.
- Pull the plug straight out from the socket.
Check The Mixer Before Cleaning
After unplugging, look for any damage on the cord or plug. Do not use if damaged.
Only clean the attachments after confirming the mixer is safely unplugged and in good condition.
Detach Attachments
Cleaning your hand mixer starts with detaching the attachments. Removing them properly prevents damage and makes cleaning easier.
Each type of attachment may have a slightly different way to detach. Knowing the right method keeps your mixer in good condition.
Check The Mixer Manual
Look at the user manual for instructions on detaching attachments. The manual shows how to unlock or release each part safely.
- Find the section about attachments
- Read safety tips before detaching
- Follow the step-by-step guide
Press The Release Button
Many hand mixers have a button to release the attachments. Press this button firmly while pulling the attachment out.
Do not force the attachment if it does not come out easily. Check if the button is fully pressed or if it needs a twist to unlock.
Twist And Pull Attachments
Some attachments require a twist before pulling them out. This method locks and unlocks the parts securely.
- Hold the base of the attachment
- Turn it gently to the left or right
- Pull the attachment straight out
Handle Attachments With Care
Attachments can be sharp or fragile. Use care to avoid injury or damage when detaching them.
- Unplug the mixer before detaching parts
- Keep fingers away from sharp edges
- Place attachments on a soft surface after removal
Soak In Warm Soapy Water
Cleaning hand mixer attachments is easy with warm soapy water. This method helps remove stuck-on food and grease.
Soaking softens debris, making it simple to wash off later. Use warm water and mild dish soap for best results.
Prepare The Soapy Water
Fill a bowl or sink with warm water. Add a few drops of mild dish soap to create suds.
Make sure the water is not too hot to avoid damaging the attachments.
Soak The Attachments
Place the hand mixer attachments in the soapy water. Let them soak for 10 to 15 minutes.
This soaking loosens food particles and grease for easier cleaning.
Scrub And Rinse
After soaking, use a soft brush or sponge to scrub the attachments gently. Focus on any stubborn spots.
Rinse the attachments under clean water to remove soap and loosened dirt.
Dry The Attachments
Use a clean towel to dry the attachments well. Let them air dry completely before storing.
Drying prevents rust and keeps your attachments in good shape for future use.
Scrub Gently
Cleaning hand mixer attachments needs care. Scrubbing gently keeps them safe and clean.
Strong scrubbing can damage the attachments. Soft cleaning helps maintain their quality.
Use A Soft Brush
A soft brush cleans well without scratching the surface. It reaches small spaces easily.
- Choose a toothbrush or small cleaning brush
- Dip it in warm, soapy water
- Gently scrub all parts of the attachment
Avoid Harsh Scrubbers
Do not use steel wool or rough pads. These can scratch and damage the metal or plastic.
- Use soft sponges or cloths instead
- Handle with care to prevent dents
- Rinse attachments well after cleaning
Clean Immediately After Use
Wash attachments soon after mixing. Food dries and sticks harder over time.
Gentle scrubbing is easier when food is fresh. Soak briefly if needed for stuck bits.
- Rinse with warm water right after use
- Soak in soapy water if food is dry
- Scrub softly to remove residue

Credit: www.youtube.com
Rinse Thoroughly
Cleaning your hand mixer attachments well is important for hygiene. Rinsing them thoroughly removes leftover food and soap.
Proper rinsing helps keep the attachments safe to use and prevents damage over time.
Use Warm Water
Rinse the attachments under warm water to loosen stuck food. Warm water helps soap dissolve faster.
Hold each attachment carefully and run warm water over all surfaces.
Check For Residue
Look closely at the attachments after rinsing. Make sure no food bits or soap remain.
If you see residue, rinse again or use a soft brush to clean hard spots.
After rinsing, dry the attachments fully with a clean towel. This stops water spots and rust.
Let the attachments air dry for a few minutes before storing them away.
Dry Completely
Cleaning your hand mixer attachments is important. Drying them fully stops rust and damage.
Wet attachments can cause problems. Let them dry well before storing or using again.
Air Dry On A Towel
After washing, place the attachments on a clean towel. Let them air dry in a warm place.
Do not cover them or put them away while still wet. This helps avoid moisture build-up.
Use A Dry Cloth
Wipe the attachments with a soft, dry cloth after washing. This removes extra water quickly.
Pay attention to small parts and crevices to remove moisture fully.
Avoid Using Heat Sources
Do not use a hairdryer or heater to dry attachments. High heat can damage the metal or plastic.
Natural air drying is safer and protects the attachments from warping.
Check For Moisture Before Storage
Look carefully at the attachments before storing them. Make sure no water remains in joints or holes.
Dry any damp spots again to prevent rust and mold growth.

Credit: parade.com
Reattach To Mixer
After cleaning your hand mixer attachments, it is important to reattach them properly. This ensures safe and effective use of your mixer. Taking a few moments to do it right can prevent damage and keep your mixer working well.
Follow simple steps to secure the attachments to the mixer body. Make sure they fit tightly and do not wobble during operation.
Align The Attachment
Look at the attachment and the mixer to find the correct alignment points. Most attachments have notches or grooves that fit into the mixer slots. Line these up carefully before pushing the attachment in.
Insert The Attachment
Push the attachment straight into the mixer’s socket. Do not force it if it does not slide in easily. A gentle, firm push usually works best. You may hear a click when the attachment locks into place.
Check The Fit
Make sure the attachment is secure before using the mixer. Try to wiggle it gently. If it moves or feels loose, remove and reinsert it carefully.
- Align the attachment with the mixer slot.
- Push the attachment in firmly until it clicks.
- Test to ensure the attachment does not move.
- Remove and try again if it feels loose.
Use The Mixer Safely
Only use the mixer if the attachments are properly locked. This prevents accidents and damage. Always unplug the mixer before attaching or detaching parts.
| Action | What to Do |
| Before Attaching | Unplug the mixer |
| Attaching | Align and push firmly |
| After Attaching | Check for secure fit |
| Before Use | Ensure mixer is off |
Tips For Maintenance
Cleaning your hand mixer attachments keeps them working well. It also stops bad smells and germs.
Following simple maintenance tips helps your mixer last longer and stay safe to use.
Regular Cleaning Schedule
Clean your hand mixer attachments after every use. This stops food from sticking and hardening. Use warm water and mild soap. Rinse well and dry completely before storing.
- Wash attachments right after mixing
- Use a soft brush for tough spots
- Dry with a clean towel or air dry
- Store in a dry place to avoid rust
Avoid Dishwashers
Dishwashers can damage your mixer attachments. The heat and strong detergents may cause rust or bending. Hand washing is safer and keeps attachments in good shape.
- Use warm, soapy water
- Clean each part carefully
- Rinse thoroughly to remove soap
- Dry completely before storing
Check For Damages
Look at your attachments regularly for cracks or rust. Damaged parts can hurt your mixer or food safety. Replace any broken or worn pieces quickly.
| Damage Type | What to Do |
| Rust spots | Clean with vinegar or replace if bad |
| Bent or broken parts | Do not use; replace immediately |
| Loose connections | Tighten or replace if unsafe |
Credit: www.youtube.com
Frequently Asked Questions
How Do I Clean Hand Mixer Attachments Safely?
To clean attachments safely, detach them first. Soak in warm, soapy water. Use a soft brush to remove residue. Rinse thoroughly and dry completely before storing.
Can Hand Mixer Attachments Be Washed In A Dishwasher?
Most metal attachments are dishwasher safe. However, check the manufacturer’s instructions first. Avoid dishwasher for plastic or electrical parts to prevent damage.
What Is The Best Way To Remove Stubborn Batter?
Soak attachments in warm water immediately after use. Use a soft brush or cloth to scrub off batter. Avoid abrasive tools that can damage the surface.
How Often Should I Clean Hand Mixer Attachments?
Clean attachments after every use to prevent buildup. Regular cleaning ensures better performance and hygiene. Dry completely to avoid rust or mold.
Conclusion
Cleaning hand mixer attachments keeps them working well and safe to use. Always wash parts right after mixing to stop food from drying. Use warm water, soap, and a soft brush for best results. Dry attachments fully before storing to prevent rust and damage.
Regular cleaning saves time and helps your mixer last longer. Simple steps make kitchen cleanup easier and faster every day. Keep your mixer ready for any recipe with clean attachments.