
Baking a perfect cake starts with the right tools, and your cake pans play a huge role in how your dessert turns out. If you’ve ever struggled with cakes sticking, uneven baking, or crumbly edges, you’re not alone.
But don’t worry—by mastering a few simple tips for using cake pans, you can transform your baking results and impress everyone with your homemade treats. Keep reading, and you’ll discover easy tricks that make your cakes bake evenly, come out clean, and taste amazing every single time.

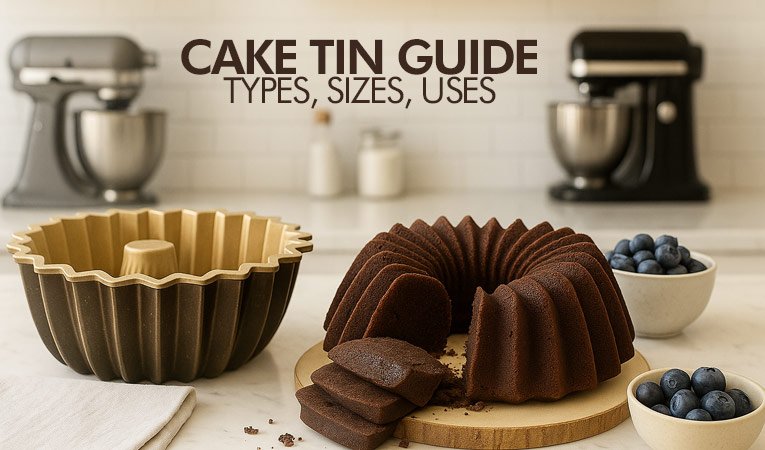
Credit: www.tasteofhome.com
Choosing The Right Cake Pan
Picking the right cake pan helps your cake bake evenly and look great. The pan affects baking time and texture.
Think about the pan material, size, and shape before you bake. This will give you better results.
Material Matters
Cake pans come in different materials like metal, glass, and silicone. Each type changes how heat moves through the pan.
Metal pans heat up fast and give a brown crust. Glass heats slower but holds heat longer. Silicone pans are flexible and easy to clean.
- Aluminum pans heat quickly and evenly
- Non-stick pans help cakes release easily
- Glass pans show browning clearly
- Silicone pans are flexible but may bake unevenly
Size And Shape Considerations
Choose the right size pan to fit your recipe. Too big or too small pans change baking time and cake texture.
Shapes like round, square, and rectangular affect cake appearance. Some shapes need special baking times.
- Use an 8 or 9-inch round pan for most cakes
- Square pans work well for layered cakes
- Rectangular pans are good for sheet cakes
- Bundt pans create decorative shapes
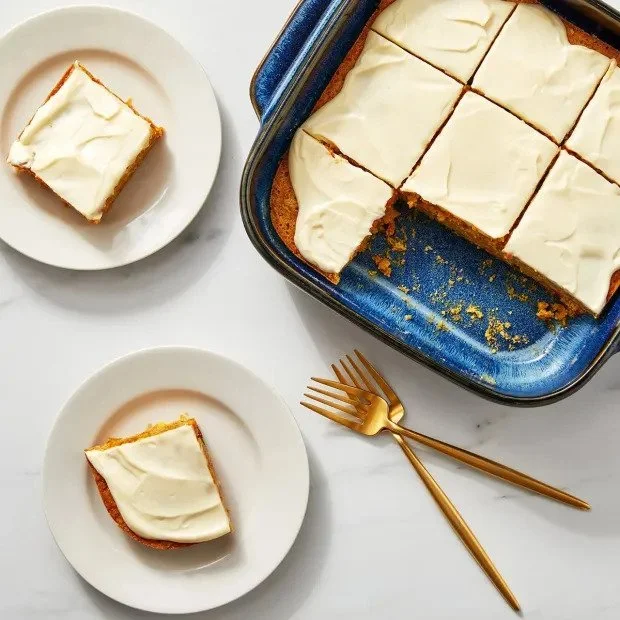
Credit: blog.blueapron.com
Preparing The Pan
Preparing your cake pan correctly helps your cake bake evenly. It also prevents sticking, so your cake comes out clean and perfect.
Two common ways to prepare a cake pan are greasing and lining with parchment paper. Each method protects the cake and makes cleanup easier.
Greasing Techniques
Greasing the pan creates a slippery surface to stop the cake from sticking. You can use butter, oil, or cooking spray for this.
- Use a paper towel or pastry brush to spread butter or oil evenly.
- Cover every part of the pan, including corners and edges.
- For extra protection, dust the greased pan with flour or cocoa powder.
- Tap out any extra flour before adding the batter.
Lining With Parchment Paper
Lining the pan with parchment paper adds a non-stick layer and helps cakes release easily. It is especially useful for delicate cakes.
| How to Line with Parchment Paper | Details |
|---|---|
| Measure the pan | Trace the pan bottom on parchment paper and cut out the shape. |
| Grease the pan | Lightly grease the pan before placing parchment paper. |
| Place the paper | Set the cut parchment in the bottom of the pan, pressing it flat. |
| Grease the paper | Apply a thin layer of butter or oil on top of the parchment. |
Filling The Cake Pan
Filling the cake pan correctly helps your cake bake evenly. It also stops the batter from spilling over.
Use the right amount of batter and make sure it is spread out evenly. This makes your cake look and taste better.
Avoid Overfilling
Do not fill the cake pan more than two-thirds full. Overfilling can cause the batter to spill.
Spilled batter makes a mess and can burn on the oven floor. It also makes your cake shape uneven.
- Fill the pan only up to ⅔ of its height
- Check the recipe for specific filling instructions
- Use a measuring cup for accuracy
Leveling The Batter
After pouring the batter, spread it evenly in the pan. This helps the cake bake at the same rate.
Use a spatula or the back of a spoon to smooth the surface. This prevents lumps and uneven baking.
- Tap the pan gently on the counter to remove air bubbles
- Use a spatula to smooth the batter surface
- Make sure the batter reaches all edges of the pan
Baking Tips
Using the right techniques with your cake pans helps you bake better cakes. Small changes can improve texture and flavor.
These tips focus on how to place your cake pans in the oven and how to check if your cake is done.
Oven Positioning
Place cake pans in the center of the oven for even heat. Avoid putting them too close to the top or bottom.
Use the middle rack to allow hot air to circulate around the pan. This helps the cake cook evenly on all sides.
- Do not overcrowd the oven with too many pans
- Leave space between pans for air flow
- Rotate pans halfway if your oven heats unevenly
Checking For Doneness
Check if your cake is done by looking at its color and texture. The edges should pull away from the pan slightly.
Use a toothpick or skewer to test the center. Insert it and pull out; it should come out clean or with a few crumbs.
- Do not open the oven door too early to avoid sinking
- Check the cake a few minutes before the timer ends
- Use the toothpick test to confirm doneness
Cooling And Removing Cakes
Cooling and removing cakes from pans can be tricky. Doing it right keeps cakes looking nice and prevents damage.
Using the right techniques helps cakes cool evenly and come out of pans cleanly.
Cooling Techniques
Let cakes cool in the pan for 10 to 15 minutes. This helps them firm up and shrink slightly from the sides.
After this, transfer cakes to a cooling rack. This allows air to flow around the cake and stops moisture from building underneath.
- Cool cakes on a wire rack for even air circulation
- Do not leave cakes in pans too long or they may stick
- Use oven mitts to handle hot pans safely
- For delicate cakes, let them cool fully in the pan before removing
Easy Cake Removal
Grease and flour the cake pan before baking to help cakes release easily. You can also line pans with parchment paper.
Run a thin knife around the pan edges after cooling to loosen the cake. Then gently invert the pan onto a plate or rack.
- Use a flexible spatula to loosen cake edges if needed
- Invert the pan slowly to avoid breaking the cake
- Lift parchment paper to remove cakes cleanly
- For stubborn cakes, warm the pan slightly to ease release
:strip_icc()/bhg-cake-toothpick-test_Fohdtb4Iq8e9xS2yKvfreQ-f6ca2871524b4f98a914fef86cc8916b.jpg)
Credit: www.bhg.com
Cleaning And Maintaining Cake Pans
Keeping your cake pans clean helps them last longer. Good care also stops old smells and stains.
Learn how to clean your pans safely and store them properly to keep them in top shape.
Safe Cleaning Methods
Use gentle cleaning methods to avoid damage. Avoid harsh scrubbing and strong chemicals.
- Wash pans with warm, soapy water soon after use.
- Use a soft sponge or cloth to clean the surface.
- For stuck-on food, soak the pan in warm water before washing.
- Do not use metal scrubbers or abrasive pads.
- Dry pans completely to prevent rust.
Proper Storage Tips
Store cake pans where they stay dry and safe. Keep them from getting scratched or bent.
| Storage Tip | Reason |
| Stack pans with paper towels in between | Prevents scratches and sticking |
| Keep pans in a dry cabinet | Stops rust and moisture damage |
| Store pans upright if space allows | Reduces pressure and bending |
| Avoid heavy items on top | Protects shape and surface |
Troubleshooting Common Issues
Using cake pans can sometimes cause problems. These issues can affect how your cake looks and tastes.
Knowing how to fix common problems helps you bake better cakes every time.
Dealing With Sticking
Cakes stick to pans when you do not prepare the pan properly. This can ruin the cake’s shape and texture.
To prevent sticking, always grease the pan well. You can use butter, oil, or non-stick spray. Adding a light dusting of flour helps too.
- Grease the pan evenly before adding batter.
- Use parchment paper for extra protection.
- Let the cake cool slightly before removing it from the pan.
- Run a knife around the edges to loosen the cake if needed.
Handling Uneven Baking
Uneven baking can cause the cake to cook more on one side or crack on top. This happens if heat does not spread evenly.
To fix this, use the right size pan and place it in the center of the oven. Rotate the pan halfway through baking for even heat.
- Choose a pan size that matches the recipe.
- Preheat the oven fully before baking.
- Place the pan in the middle rack for best heat circulation.
- Turn the pan gently halfway through baking time.
Frequently Asked Questions
How Do I Choose The Right Cake Pan Size?
Choose a cake pan size based on your recipe’s servings. Use smaller pans for thicker cakes and larger pans for thinner layers. Check your recipe for specific pan dimensions to ensure even baking and proper texture.
What Materials Are Best For Cake Pans?
Non-stick metal pans are popular for even heating and easy release. Glass pans heat slower but brown cakes nicely. Silicone pans offer flexibility and easy cleaning but may bake unevenly.
How Should I Prepare A Cake Pan Before Baking?
Always grease your cake pan with butter or oil, then dust with flour or use parchment paper. This prevents sticking and ensures easy cake removal. Proper preparation improves cake texture and appearance.
Can I Use The Same Cake Pan For Different Recipes?
Yes, but clean the pan thoroughly between uses to avoid flavor transfer. Different batters may require specific pan types or sizes for best results. Always consider the recipe’s recommendations.
Conclusion
Using cake pans properly makes baking easier and more fun. Choose the right size and material for your recipe. Grease pans well to prevent cakes from sticking. Always check baking times as they may vary. Let cakes cool before removing them from pans.
These small steps help you bake tasty cakes every time. Keep practicing, and enjoy your baking journey!