
You know how frustrating it is to clean your blender after making a smoothie or sauce. Leftover food stuck in tiny blades and hard-to-reach corners can make the task feel like a chore.
But what if you could clean your blender quickly and thoroughly every time, without the hassle? You’ll discover simple, effective tips that will save you time and keep your blender spotless and fresh. Keep reading to make your cleaning routine easier and more efficient—you’ll wonder why you didn’t try these tricks sooner!
Importance Of Regular Cleaning
Cleaning your blender after each use keeps it working well. Dirt and food can build up and cause problems.
Regular cleaning stops germs from growing. It also keeps your drinks tasting fresh and pure.
Preventing Bacteria And Mold
Leftover food in the blender can grow bacteria and mold fast. These can make you sick.
Cleaning your blender well removes all food bits. This helps keep your kitchen safe and healthy.
Maintaining Blender Performance
Food residue can block the blades and motor. This makes the blender work harder and wear out faster.
- Clean blades and jar after every use
- Use warm soapy water to remove stuck food
- Dry parts well before storing
- Check seals and gaskets regularly
Extending Blender Lifespan
A clean blender lasts longer. Dirt and grime cause damage over time. Taking care helps you avoid buying a new one soon.
| Cleaning Frequency | Effect on Blender |
| After every use | Optimal performance, long life |
| Once a week | Possible build-up, reduced efficiency |
| Rarely | Damage, short lifespan |
Credit: www.housework.com
Pre-cleaning Steps
Cleaning your blender well starts before you wash it. Preparing the blender helps remove stuck food and makes cleaning easier.
Taking time for these steps saves effort and keeps your blender working longer.
Disassembling The Blender
Take apart your blender to clean every part properly. Remove the jar, lid, and blade carefully. Unplug the blender before disassembling.
Check your blender’s manual if you are not sure how to remove parts safely.
- Remove the blender jar from the base
- Take off the lid and any removable seals
- Unscrew the blade assembly carefully
- Separate the gasket if possible
Gathering Cleaning Supplies
Collect the tools and supplies you need before cleaning. This keeps the process quick and smooth.
Use mild soap and soft tools to avoid damage. Avoid harsh chemicals that can harm your blender parts.
- Dish soap or mild detergent
- Soft sponge or cloth
- Small brush for blades and crevices
- Warm water
- Dry towel for drying parts
Basic Cleaning Techniques
Keeping your blender clean is important for safety and taste. Dirt and food bits can build up after use.
Using simple cleaning techniques helps you keep your blender fresh and ready to use.
Using Warm Soapy Water
Warm soapy water is an easy and effective way to clean your blender. It removes food residue and grease.
Fill the blender jar with warm water and add a few drops of dish soap. Blend on low speed for 30 seconds.
- Rinse the jar well with clean water.
- Use a soft sponge to clean the lid and blades carefully.
- Dry all parts before reassembling the blender.
Cleaning With Vinegar
Vinegar helps remove tough stains and smells from your blender. It is a natural cleaner.
Mix equal parts of white vinegar and water in the blender jar. Let it sit for 10 minutes to loosen dirt.
- Blend the vinegar mixture for 30 seconds.
- Rinse the jar thoroughly with warm water.
- Use a cloth to wipe the outside and lid.
- Dry all parts before use.
Deep Cleaning Methods
Cleaning your blender thoroughly helps remove stains and odors. Deep cleaning reaches all parts that regular washing misses.
Try natural ingredients that are safe and effective. These methods keep your blender fresh and ready for use.
Baking Soda Paste
Baking soda paste is a gentle scrub that removes tough stains. It works well on blades and the jar walls.
- Mix baking soda with a little water to form a thick paste.
- Apply the paste on blender blades and inside the jar.
- Use a soft brush or cloth to scrub all surfaces.
- Rinse thoroughly with warm water to remove residue.
- Dry the blender parts before reassembling.
Lemon And Salt Scrub
Lemon and salt scrub cleans and deodorizes your blender naturally. The acid in lemon breaks down stains while salt acts as a scrub.
| Ingredient | Purpose |
| Lemon Juice | Removes stains and odors |
| Coarse Salt | Scrubs off residue and buildup |
Rub the lemon and salt mixture onto the blender jar and blades. Let it sit for 5 minutes, then rinse well with water.
Cleaning The Blades Safely
Cleaning blender blades is important for hygiene and good taste. Blades are sharp and need careful handling.
This guide shows how to clean blades safely without hurting yourself or damaging the blender parts.
Removing Residue
Food bits often get stuck on blender blades. Removing residue keeps blades clean and working well.
Use a soft brush or sponge to clean the blades. Avoid using your fingers directly on the sharp edges.
- Fill blender jar with warm water and soap
- Run blender on low speed for 30 seconds
- Use a brush to scrub any leftover bits
- Rinse blades carefully under running water
Avoiding Damage
Blades can get dull or bent if you clean them wrong. Use gentle tools and no hard scrubbing.
Do not soak the blade assembly too long. Water can harm the metal and loosen parts.
- Do not use metal scrubbers or sharp tools
- Dry blades with a soft cloth after washing
- Check blades for damage before reassembling
- Handle blades by the base, not the sharp edges
Cleaning Stubborn Stains
Blender stains can be hard to remove. Some foods leave marks that soap and water cannot clean well.
Use simple tools and natural solutions to get your blender clean and fresh again.
Using A Toothbrush
A toothbrush can reach small crevices inside the blender jar. It helps scrub off tough stains gently but effectively.
- Choose a clean toothbrush with soft bristles.
- Apply a little dish soap to the brush.
- Scrub around the blades and edges carefully.
- Rinse the blender well to remove soap and loosened dirt.
- Repeat if any stain remains.
Applying A Vinegar Soak
White vinegar helps break down stain particles. Soaking your blender jar in vinegar can loosen stubborn marks.
| Step | Action |
| 1 | Fill the blender jar halfway with white vinegar. |
| 2 | Add warm water to fill the jar. |
| 3 | Let it soak for 15 to 30 minutes. |
| 4 | Use a sponge or brush to scrub any soft stains. |
| 5 | Rinse thoroughly with clean water. |
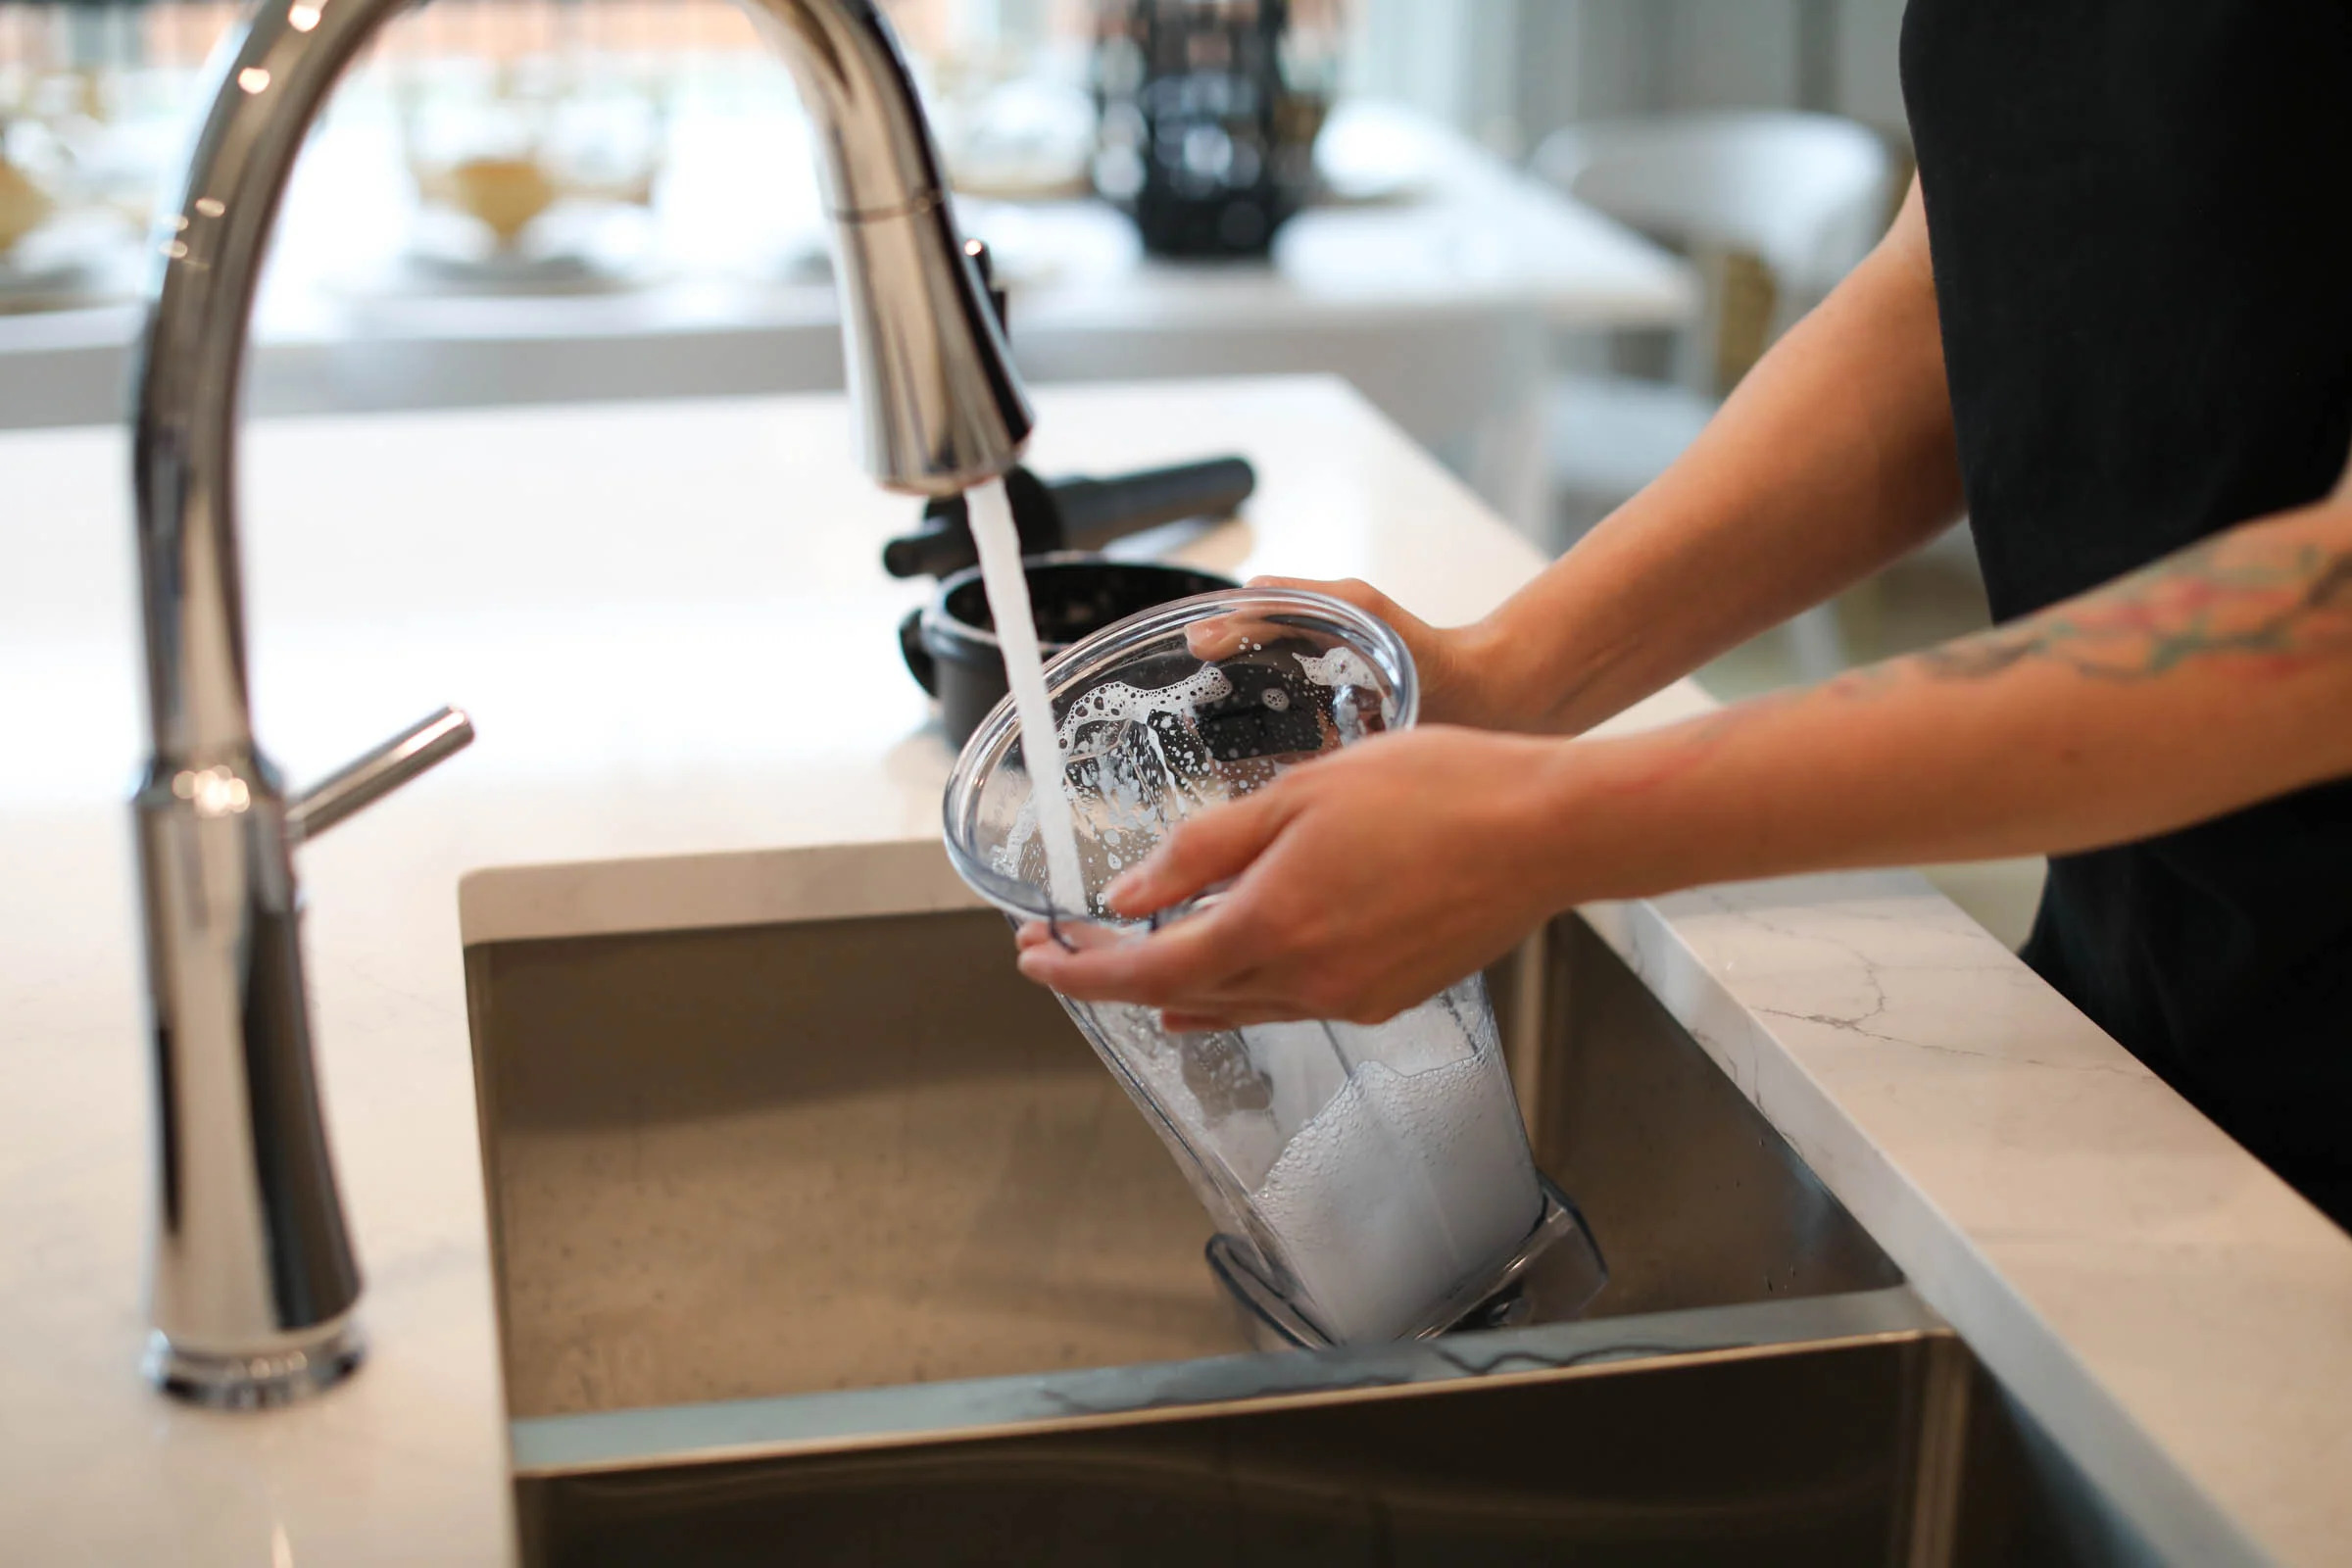
Maintaining The Base Unit
The base unit of a blender holds the motor and controls. Keeping it clean is important for safety and performance.
Regular cleaning helps the blender last longer and work better each time you use it.
Wiping Down The Exterior
Use a soft cloth dampened with warm water to wipe the blender’s outside. Avoid letting water get inside the base.
Clean spills and stains quickly. This stops dirt from building up and keeps the base looking neat.
- Unplug the blender before cleaning
- Use a gentle cleaner if needed
- Wipe off any sticky spots carefully
- Dry the surface with a clean cloth
Checking Electrical Parts
Check the power cord and plug for any damage. Look for cracks, frayed wires, or loose parts.
If you find damage, do not use the blender until it is repaired. This prevents electric shocks and fires.
- Unplug the blender before inspection
- Inspect the cord for cuts or wear
- Make sure the plug fits securely in outlets
- Keep the cord away from water or heat

Credit: blendiblender.com
Drying And Reassembling
Cleaning your blender is important for good use and safety. After washing, drying and putting it back together is the last step.
Drying parts well stops mold and smells. Reassembling the blender correctly helps it work right and last longer.
Air Drying Components
After washing, place the blender parts on a clean towel or drying rack. Let air dry completely to avoid water spots and mold.
Do not use a cloth to dry the blades or hard-to-reach spots. Air drying keeps these areas safe and clean.
- Separate lid, jar, blade, and gasket before drying
- Place parts upside down for better airflow
- Keep parts in a dry, dust-free area
- Wait until parts are fully dry before reassembly
Proper Reassembly
Put the blender back together by following the right order. This helps the blender work safely and without leaks.
Check each part for damage or dirt before reassembling. Tighten parts but do not force them, to avoid breaking.
- Attach the gasket to the blade assembly first
- Secure the blade assembly to the jar base
- Place the jar on the blender motor base correctly
- Fit the lid tightly on top
- Make sure all parts are locked in place
Preventive Measures
Keeping your blender clean helps it last longer and work better. Simple habits stop food from building up inside.
These tips focus on cleaning right after use and keeping a regular schedule to avoid tough stains and smells.
Immediate Cleaning After Use
Cleaning your blender right after you use it saves time and keeps it fresh. Leftover food can dry and become hard to remove.
- Rinse the blender jar with warm water immediately after use.
- Add a drop of dish soap and fill halfway with warm water.
- Run the blender for 30 seconds to clean the blades and sides.
- Rinse thoroughly with clean water to remove soap.
- Dry all parts before storing to prevent mold.
Regular Maintenance Schedule
Set a weekly routine to clean all blender parts deeply. This keeps your blender in top condition and avoids bad smells.
| Task | Frequency | Details |
| Deep clean jar and lid | Weekly | Soak in warm, soapy water for 10 minutes |
| Check and clean blades | Weekly | Use a brush to remove stuck food safely |
| Clean base and buttons | Weekly | Wipe with a damp cloth, avoid water inside |
| Inspect seals and gaskets | Monthly | Look for cracks or wear and replace if needed |
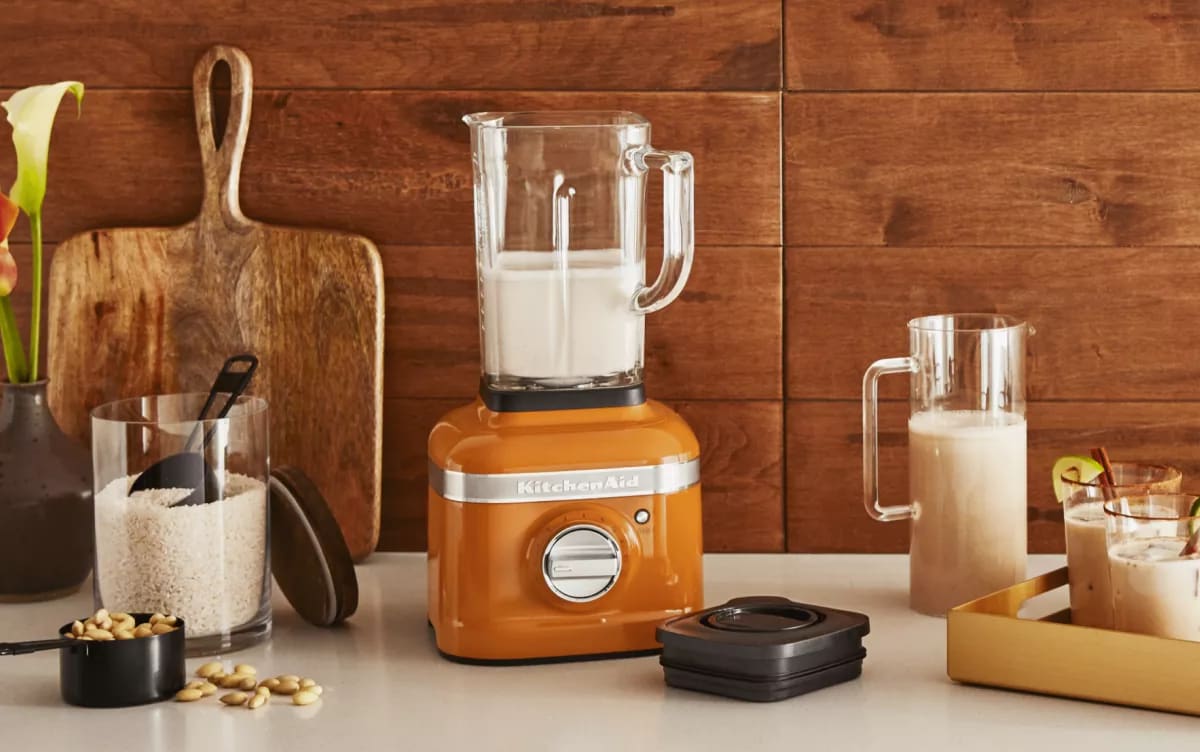
Credit: www.kitchenaid.ca
Frequently Asked Questions
How Do I Clean My Blender Quickly And Effectively?
To clean your blender quickly, fill it halfway with warm water and a drop of dish soap. Blend for 30 seconds. Rinse thoroughly with clean water. This method removes most residue without disassembling the blender.
What Is The Best Way To Remove Stubborn Blender Stains?
Use a mixture of baking soda and water to scrub stains. Apply the paste inside the blender jar, let it sit for 10 minutes, then scrub gently. Rinse well to remove all residue and odors.
Can I Put Blender Parts In The Dishwasher?
Most blender jars and lids are dishwasher safe, but always check the manufacturer’s instructions. Place parts on the top rack to avoid heat damage. Avoid putting the motor base in the dishwasher.
How Often Should I Deep Clean My Blender?
Deep clean your blender once a week if you use it daily. This prevents buildup of food residue and bacteria. Regular cleaning keeps your blender hygienic and extends its lifespan.
Conclusion
Cleaning your blender well keeps it safe and fresh for use. Regular care stops smells and stains from building up. Simple steps save you time and effort later. Clean blades and containers help your blender work better. Try to clean it right after using to avoid hard messes.
A clean blender also means healthier drinks every time. Keep these tips in mind to enjoy your blender longer. Easy cleaning makes your kitchen routine smoother. Small habits lead to big results.