
Are your kitchen tiles looking dull because of dirty grout? You’re not alone.
Grout can trap dirt, grease, and stains, making your kitchen feel less fresh and clean. But don’t worry—you can bring back that bright, spotless look with the right cleaning methods. You’ll discover simple, effective ways to clean your kitchen tiles grout thoroughly.
By the end, your kitchen will look cleaner and feel more inviting. Ready to make your grout shine like new? Let’s dive in!
Essential Tools For Grout Cleaning
Cleaning grout in kitchen tiles needs the right tools. Using proper tools makes the job easier and more effective.
This guide covers the main tools you need to clean grout thoroughly and safely.
Grout Brush
A grout brush has stiff bristles that reach deep into grout lines. It helps remove dirt and stains without damaging tiles.
Cleaning Solution
Choose a cleaning solution made for grout. It breaks down grime and kills bacteria. Some solutions are natural, while others are chemical-based.
Protective Gloves
Wear gloves to protect your hands from harsh chemicals and dirt. Gloves keep your skin safe during cleaning.
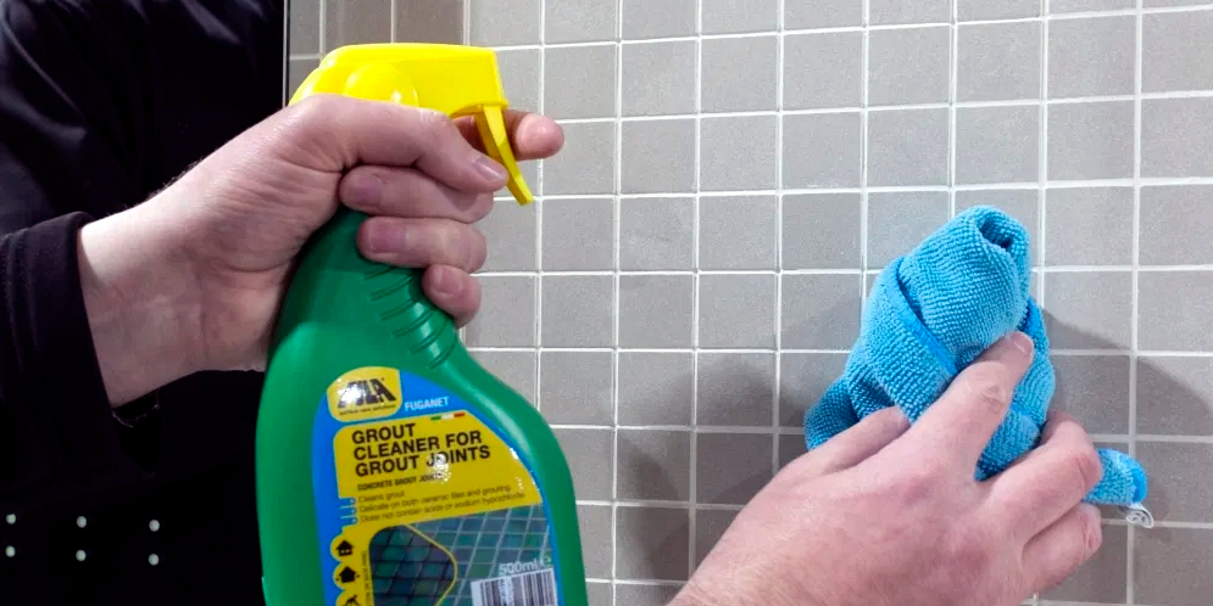
Spray Bottle
A spray bottle helps apply cleaning solution evenly on grout lines. It saves time and reduces waste.
Microfiber Cloths
Microfiber cloths are great for wiping grout after cleaning. They absorb moisture and lift dirt effectively.
Essential Grout Cleaning Tools Checklist
- Grout brush with stiff bristles
- Effective grout cleaning solution
- Protective gloves for safety
- Spray bottle for applying cleaner
- Microfiber cloths for wiping and drying
Natural Cleaning Solutions
Cleaning kitchen tile grout can be tough. Many products have harsh chemicals that harm your health.
Natural cleaning solutions use simple ingredients. They keep your home safe and clean.
Baking Soda And Vinegar
Baking soda and vinegar create a fizzy reaction. This helps lift dirt and stains from grout.
Make a paste with baking soda and water. Apply it to the grout lines, then spray vinegar on top. Wait 5-10 minutes and scrub with a brush.
Lemon Juice And Baking Soda
Lemon juice has natural acid that breaks down grime. Baking soda scrubs away dirt gently.
Mix lemon juice and baking soda to form a paste. Spread it on grout and let it sit for 10 minutes. Scrub with a brush and rinse well.
Hydrogen Peroxide And Baking Soda
Hydrogen peroxide kills germs and whitens grout. Baking soda helps scrub the surface.
Mix hydrogen peroxide and baking soda into a paste. Apply to grout and wait 10 minutes. Scrub with a brush and rinse clean.
Castile Soap And Warm Water
Castile soap is a gentle, natural cleaner. It removes dirt without harsh chemicals.
Mix a few drops of castile soap with warm water. Use a brush to scrub the grout. Rinse with clean water after scrubbing.
Essential Oils For Freshness
Essential oils add a fresh scent and extra cleaning power. Tea tree and lavender oils are good choices.
Add 5-10 drops of essential oil to your cleaning paste or solution. This helps fight bacteria and leaves a nice smell.
Commercial Cleaners: Pros And Cons
Cleaning kitchen tile grout can be tough. Many people use commercial cleaners to make this job easier. These products promise to remove dirt and stains quickly.
It is important to know the benefits and drawbacks before choosing a commercial cleaner. This helps in picking the right product for your kitchen grout.
Advantages Of Using Commercial Cleaners
Commercial cleaners have strong formulas that break down dirt fast. They save time and effort compared to homemade solutions.
- Effective on tough stains and mold
- Easy to apply with sprays or gels
- Often contain disinfectants to kill germs
- Available in many varieties for different grout types
Drawbacks Of Commercial Cleaners
Some commercial cleaners have strong chemicals that can damage grout or tiles. They may also cause skin irritation or breathing problems.
- Can discolor or weaken grout over time
- May contain harsh ingredients like bleach or acids
- Require careful handling and protective gear
- Sometimes expensive compared to natural options
Safe Use Tips For Commercial Cleaners
Using commercial cleaners safely helps protect your health and your kitchen surfaces. Follow product instructions closely.
| Safety Tip | Reason |
| Wear gloves and masks | Protects skin and lungs from chemicals |
| Test on small area first | Prevents damage to grout or tiles |
| Ventilate the area well | Reduces inhaling fumes |
| Rinse grout thoroughly after cleaning | Removes residue that may harm grout |
:max_bytes(150000):strip_icc()/spr-stardrops-the-pink-stuff-marisa-viglione-08-f6d92394a1cf490c932fe891704520cd.jpeg)
Credit: www.thespruce.com
Step-by-step Grout Cleaning Guide
Cleaning kitchen tile grout can be hard, but it makes your kitchen look fresh. This guide will help you clean grout deeply and safely.
Follow these clear steps to get the best results. You will learn how to prepare, apply cleaner, scrub, and rinse grout properly.
Preparation And Safety Measures
Start by removing loose dirt and dust from the tiles. Sweep or vacuum the floor to clear the area before cleaning.
Wear gloves and open windows for fresh air. Protect your skin and avoid breathing strong chemicals during cleaning.
- Clear the kitchen floor and counters
- Put on rubber gloves
- Ventilate the room well
- Keep pets and children away
Application Of Cleaning Solution
Choose a grout cleaner or make a mixture using baking soda and water. Apply the solution directly on the grout lines.
Let the cleaning solution sit for 5 to 10 minutes. This helps break down dirt and stains in the grout.
- Use a commercial grout cleaner or mix baking soda with water
- Spread the cleaner evenly on grout lines
- Wait 5-10 minutes for the cleaner to work
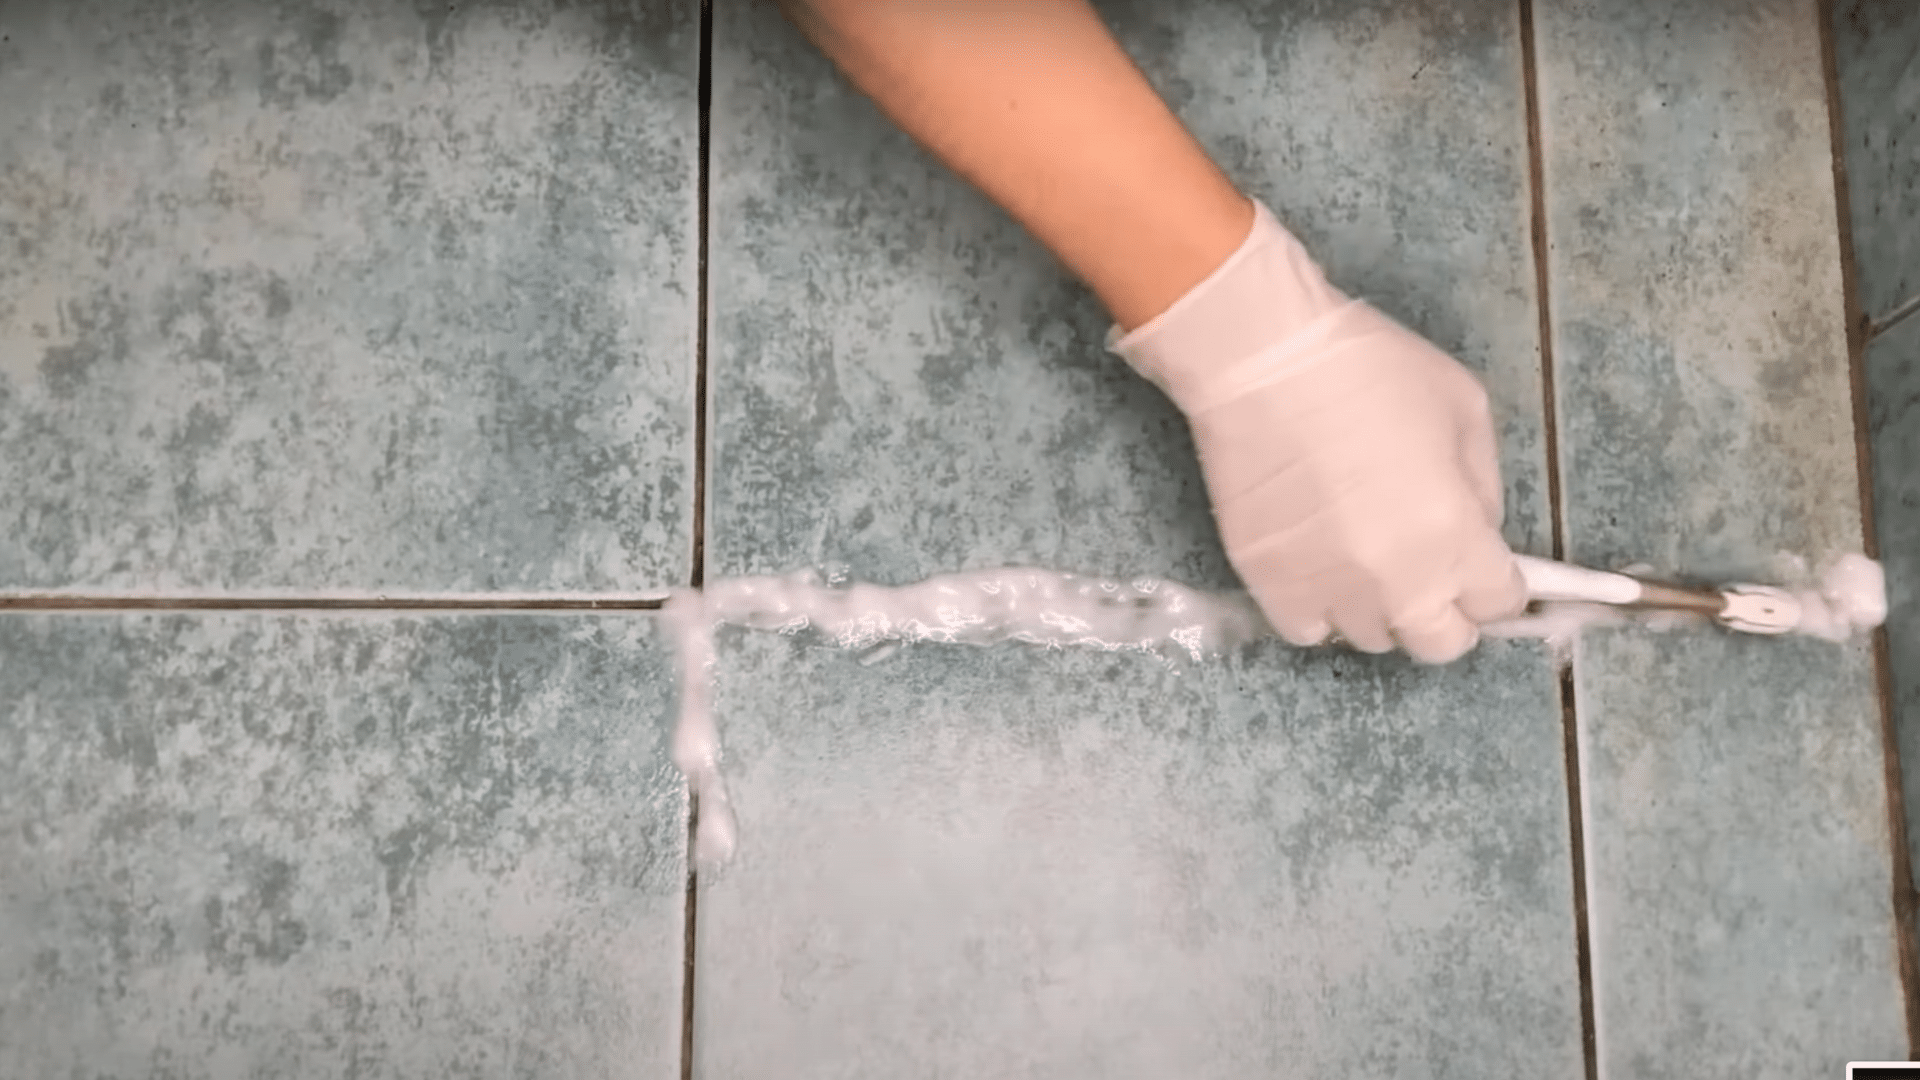
Scrubbing Techniques
Use a stiff brush or an old toothbrush to scrub the grout. Move the brush back and forth over the grout lines.
Apply firm pressure but avoid damaging the tiles. Focus on stained or dark areas until grout looks cleaner.
- Use a stiff nylon brush or toothbrush
- Scrub grout lines with firm, even strokes
- Target stained or dirty spots carefully
- Avoid scratching the tile surface
Rinsing And Drying
After scrubbing, rinse the area with clean water. Use a sponge or mop to remove all cleaning solution and dirt.
Dry the tiles and grout with a clean cloth. This prevents new dirt from sticking and keeps grout looking fresh.
- Rinse grout and tiles with clean water
- Use sponge or mop to wipe away residue
- Dry the surface with a soft cloth
- Allow grout to air dry completely
Preventing Grout Stains
Grout between kitchen tiles can easily collect dirt and stains. It needs care to stay clean and bright. Preventing stains saves time and effort later.
Using the right methods protects grout and keeps your kitchen looking fresh. Here are key ways to protect your grout and keep it clean.
Sealing Grout For Protection
Sealing grout creates a barrier that stops water and dirt from soaking in. This reduces stains and damage. You should seal grout after cleaning or installing tiles.
- Clean grout thoroughly before sealing.
- Use a high-quality grout sealer made for kitchen use.
- Apply sealer evenly with a brush or applicator.
- Let the sealer dry fully, usually 24 hours.
- Reapply sealer every 6 to 12 months for best protection.
Regular Maintenance Tips
Regular care stops grime buildup and keeps grout white. Clean grout often and avoid harsh cleaners that can damage it.
| Task | Frequency | Tips |
| Wipe spills | Daily | Use a damp cloth to prevent stains |
| Clean grout lines | Weekly | Use mild soap and soft brush |
| Check sealer | Every 6 months | Reapply if water no longer beads |
| Deep clean | Every 3 months | Use baking soda paste or grout cleaner |

Credit: www.tilemountain.co.uk
Dealing With Stubborn Stains
Cleaning kitchen tiles grout can be tough when stains do not come off easily. Stubborn stains need special care and tools to get cleaned well.
Using the right methods helps remove dirt and grime that regular cleaning misses. This guide covers key tools and techniques for tough grout stains.
Specialized Tools For Tough Stains
Some tools make grout cleaning easier and more effective. They help scrub deep into grout lines and remove hard stains.
- Grout brush with stiff bristles to scrub dirt
- Old toothbrush for small or narrow grout lines
- Steam cleaner to loosen grime without chemicals
- Grout saw or scraper to remove damaged grout
- Spray bottles for applying cleaning solutions
Advanced Cleaning Techniques
Using special methods can break down tough stains better. These techniques often combine tools and cleaning solutions.
| Technique | Description | Best For |
| Baking Soda Paste | Mix baking soda with water to form a paste. Apply and scrub. | Grease and mildew stains |
| Vinegar Spray | Spray vinegar directly on grout and let it sit for a few minutes. | Light stains and odors |
| Hydrogen Peroxide | Use hydrogen peroxide on tough stains for bleaching effect. | Dark stains and mold |
| Steam Cleaning | Use steam to loosen dirt before scrubbing. | Deep cleaning without chemicals |
| Oxygen Bleach | Apply oxygen bleach powder mixed with water for strong stain removal. | Heavy stains and discoloration |
Expert Tips For Long-lasting Cleanliness
Cleaning kitchen tile grout keeps your kitchen looking fresh. Dirt and stains collect in grout lines easily. Regular care stops buildup and damage.
This guide shares simple ways to clean grout deeply. Follow these tips to keep grout bright and strong for a long time.
Prepare The Cleaning Area
Clear the kitchen counters and floors near the tiles. Remove any objects that block access to grout. Good lighting helps you see dirty spots well.
Choose The Right Cleaning Materials
Use gentle but effective cleaners for grout. Avoid harsh chemicals that can damage tiles or grout lines. Baking soda, vinegar, and mild detergents work well.
- Baking soda paste for tough stains
- White vinegar diluted with water
- Soft-bristle brush for scrubbing
- Microfiber cloths for wiping
Deep Cleaning Techniques
Apply your chosen cleaner to grout lines. Let it sit for 5 to 10 minutes. Then scrub gently with a brush. Rinse the area with warm water.
Protect Grout After Cleaning
Use a grout sealer to keep dirt and moisture out. Sealers create a barrier that lasts for months. Apply sealer after the grout is fully dry.
| Type of Sealer | Best Use | Durability |
| PENETRATING SEALER | Indoor tiles | 6 to 12 months |
| SURFACE SEALER | Outdoor tiles | 3 to 6 months |
| IMPREGNATING SEALER | Heavy traffic areas | 12+ months |
Regular Maintenance Tips
Clean spills immediately to avoid stains. Sweep or vacuum floor tiles regularly. Mop with a mild cleaner weekly. Check grout lines for cracks or damage.
- Wipe spills right away
- Sweep dirt daily
- Mop with gentle cleaner weekly
- Inspect grout every month
Credit: www.thepaintedhinge.com
Frequently Asked Questions
How Often Should I Clean Kitchen Tiles Grout?
Cleaning kitchen tiles grout monthly helps prevent dirt buildup and stains. Regular cleaning maintains grout’s appearance and hygiene effectively. Frequent cleaning avoids tough stains and mold growth.
What Is The Best Cleaner For Grout In Kitchens?
A mixture of baking soda and vinegar works well for grout cleaning. It removes stains and kills bacteria naturally without harsh chemicals. Commercial grout cleaners also provide deep cleaning but use cautiously.
Can Grout Be Cleaned Without Harsh Chemicals?
Yes, natural ingredients like baking soda, vinegar, and lemon juice clean grout effectively. These are safe, eco-friendly, and prevent damage to grout or tiles. Regular use keeps grout bright and fresh.
How Do I Remove Mold From Kitchen Grout?
Use a bleach solution or hydrogen peroxide to kill mold on grout. Apply, let sit for 10 minutes, then scrub gently with a brush. Rinse thoroughly and dry to prevent mold return.
Conclusion
Cleaning kitchen tiles grout does not need to be hard. Regular scrubbing keeps grout fresh and bright. Use simple tools and safe cleaners for best results. Small efforts prevent big dirt buildup over time. A clean kitchen feels more welcoming and healthy.
Try these easy steps and see the difference. Keep your kitchen looking neat every day. Your grout will thank you for the care.