

Are your oven racks covered in stubborn grease and burnt-on food? Cleaning them can feel like a tough and time-consuming chore.
But what if you could make the process faster, easier, and more effective? You’ll discover simple tips that save you effort and get your oven racks sparkling clean. Keep reading, and you’ll learn how to tackle this task without stress or mess.
Your kitchen will thank you!
Preparing Oven Racks For Cleaning
Cleaning oven racks can be easier if you prepare them well. Proper preparation helps remove grease and food bits faster.
Start by getting the racks ready to avoid damage and make cleaning safe and effective.
Removing Racks Safely
Take out the oven racks carefully to prevent injury or damage. Use oven mitts to protect your hands from heat.
Pull the racks straight out, holding them firmly. Avoid forcing or twisting the racks to stop bending or scratching.
- Wear thick oven mitts for heat protection
- Pull racks gently and straight out
- Check for stuck spots and loosen carefully
- Place racks on a flat, sturdy surface
Gathering Cleaning Supplies
Collect all cleaning supplies before starting. This saves time and makes the process smoother.
Use simple items that work well on grease and burnt food. Have gloves ready to protect your skin.
- Dish soap or mild degreaser
- Baking soda for scrubbing
- Soft scrub brush or sponge
- Plastic basin or large sink
- Rubber gloves to protect hands
- Old towels to dry racks

Credit: www.aol.com
Soaking Methods For Stubborn Grime
Oven racks often collect baked-on grease and grime. Soaking them helps loosen tough dirt.
Using simple soaking solutions makes cleaning easier and saves time scrubbing.
Using Dish Soap And Hot Water
Dish soap breaks down grease well. Hot water helps dissolve dirt faster.
Fill a large tub or sink with hot water. Add a few drops of dish soap.
- Place oven racks in the soapy water.
- Let them soak for at least 30 minutes.
- Use a sponge or brush to scrub off loosened grime.
- Rinse racks with clean water and dry.
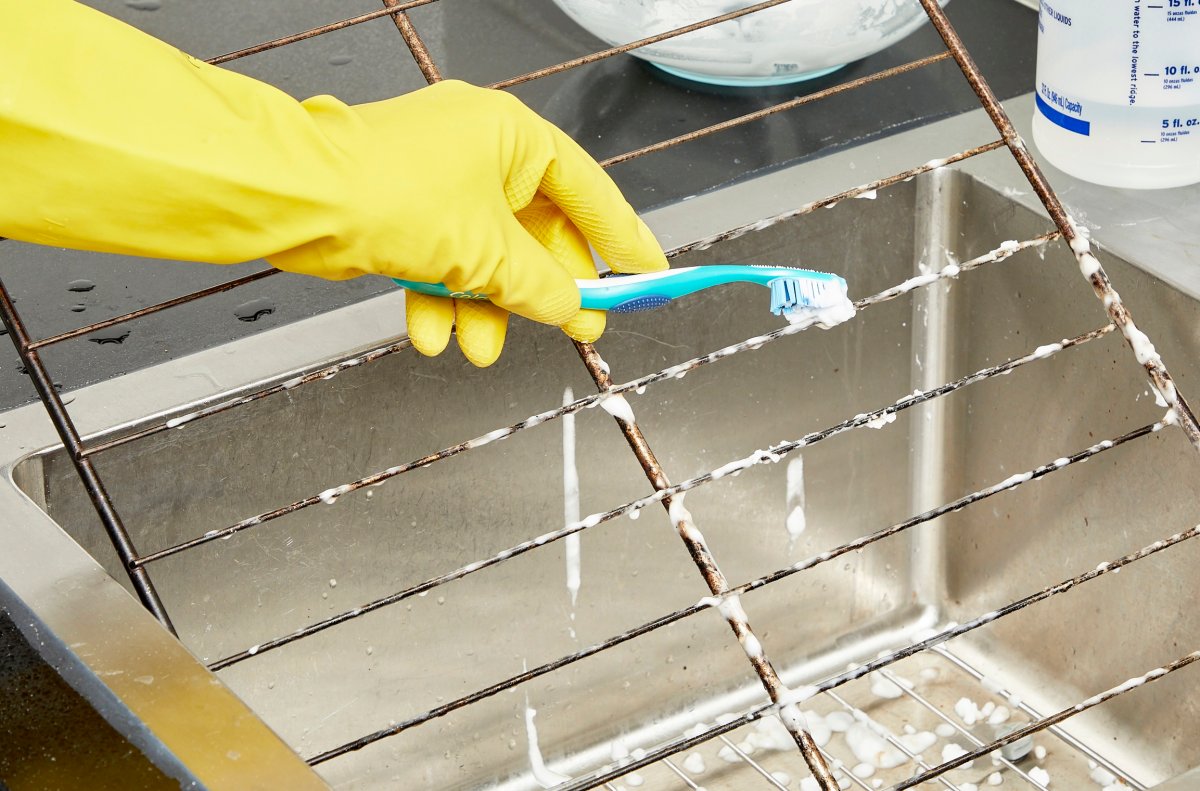
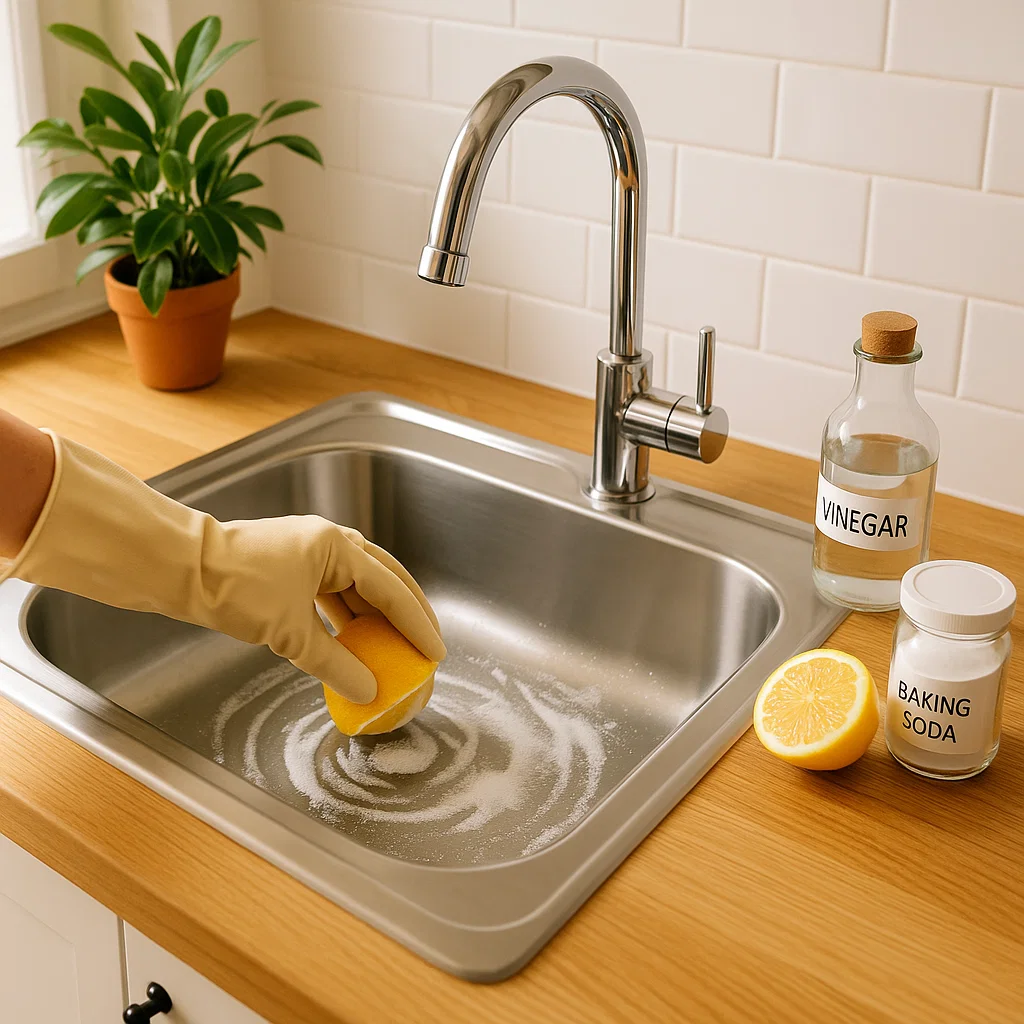
Baking Soda And Vinegar Solution
Baking soda and vinegar react to lift tough stains and grease. This natural mix is safe and effective.
Sprinkle baking soda over the racks. Spray or pour vinegar on top to create bubbles.
- Let the racks sit with the mixture for 1 hour.
- Use a brush to scrub away grime.
- Rinse the racks well with water.
- Dry the racks before placing them back in the oven.
Scrubbing Techniques
Cleaning oven racks well needs the right scrubbing methods. Good scrubbing removes tough grease and grime fast.
Choosing the right tools and using smart scrubbing tips can save time and effort.
Choosing The Right Scrubber
Pick a scrubber that cleans well without hurting the rack. Soft scrubbers work for light dirt. Stronger scrubbers help with baked-on grime.
- Steel wool pads remove tough grease but may scratch racks.
- Plastic scrubbing brushes clean gently without damage.
- Sponge scrubbers with rough sides work well for regular cleaning.
- Non-scratch scrubbers protect the rack’s finish.
Effective Scrubbing Tips
| Tip | Why It Helps |
|---|---|
| Soak racks in hot, soapy water first | Loosens grime for easier scrubbing |
| Use circular scrubbing motions | Breaks down grease without damage |
| Apply firm but gentle pressure | Removes dirt without scratching |
| Rinse racks often to check progress | Prevents buildup of loosened dirt |
| Wear gloves to protect your hands | Keeps skin safe from harsh cleaners |
These tips make scrubbing easier and keep racks in good shape longer.
Credit: www.bobvila.com
Alternative Cleaning Hacks
Cleaning oven racks can be tough and take a lot of time. Using simple hacks can make the job easier.
These tips use items you may already have at home. They save effort and get racks clean fast.
Using Dryer Sheets
Dryer sheets can help loosen grease and grime on oven racks. Soak the racks in warm water with dryer sheets.
After soaking, wipe the racks with the sheets. The soft texture lifts dirt without scratching metal.
- Fill a bathtub or large container with warm water.
- Add 3-4 dryer sheets to the water.
- Place oven racks in the water and soak for 1 hour.
- Use dryer sheets to scrub off loosened grime.
- Rinse racks with clean water and dry.
Oven Self-cleaning Cycle
The oven’s self-cleaning cycle can also clean the racks. It uses high heat to burn off grease and food.
Remove racks before the cycle to avoid damage. After the cycle, clean racks separately using warm water.
- Check your oven manual for self-cleaning instructions.
- Remove oven racks before starting the cycle.
- Run the self-cleaning cycle as directed.
- Let the oven cool completely after cleaning.
- Wash racks with warm, soapy water to remove residue.
Drying And Reinstalling Racks
Cleaning oven racks is only part of the job. Proper drying and reinstalling keep them safe and ready to use.
Taking care during these steps prevents rust and damage, ensuring your oven works well every time.
Proper Drying Methods
Drying oven racks fully stops rust and keeps them strong. Use these methods to dry racks safely and quickly.
- Wipe racks with a clean towel to remove water.
- Let racks air dry in a warm, dry place.
- Use a fan to speed up drying if needed.
- Avoid direct sunlight to prevent warping.
- Do not use heat sources like hair dryers, which can damage coatings.
Reinserting Racks Correctly
Putting oven racks back the right way keeps them stable and safe during cooking.
| Step | Action | Tip |
| 1 | Align the rack with the oven rails. | Make sure rails are clean and dry. |
| 2 | Slide the rack gently into place. | Avoid forcing it to prevent bending. |
| 3 | Check the rack is level and secure. | Test by pressing lightly on the edges. |
| 4 | Repeat for additional racks. | Keep racks evenly spaced for airflow. |
Maintenance Tips To Prevent Build-up
Cleaning oven racks can be tough if grease and food build up over time. Regular maintenance keeps racks cleaner and easier to wash.
Use simple habits to stop grime from sticking. This saves time and keeps your oven fresh.
Regular Cleaning Schedule
Set a routine to clean your oven racks often. This stops dirt from hardening and becoming hard to remove.
Cleaning every few weeks works well. If you cook a lot, clean more often to avoid heavy grease.
- Wipe racks after each use with a damp cloth
- Soak racks in warm, soapy water every two weeks
- Scrub gently with a sponge or soft brush
- Dry racks before placing them back in the oven
Using Protective Liners
Protective liners catch drips and spills. They keep your racks cleaner by stopping food from burning on.
Choose liners made for ovens. They are heat-resistant and easy to remove for cleaning.
- Place liners on oven racks before cooking
- Remove liners and wash them after use
- Replace liners regularly to avoid buildup
- Do not use foil directly on racks to prevent damage
Credit: www.luminalife.ca
Frequently Asked Questions
How Can I Clean Oven Racks Without Harsh Chemicals?
You can use baking soda and vinegar for a natural clean. Soak racks in hot water with these ingredients. Scrub gently to remove grime without damaging the metal.
What Is The Easiest Method To Clean Oven Racks Fast?
Soaking racks overnight in warm, soapy water softens grease quickly. Then, use a scrub brush or sponge to clean off residue easily. This method saves time and effort.
Can Dishwasher Clean Oven Racks Effectively?
Most oven racks fit in dishwashers and come out cleaner. However, heavy grease may need pre-soaking or extra scrubbing. Check your dishwasher’s size and rack material first.
How Often Should Oven Racks Be Cleaned?
Cleaning oven racks every 3 to 6 months prevents buildup. Frequent use or spills may require more frequent cleaning. Regular maintenance keeps your oven efficient and safe.
Conclusion
Cleaning oven racks doesn’t have to be hard. With the right tips, it becomes simple and quick. Consistency is key. Regular cleaning prevents buildup and makes the job easier next time. Use household items like baking soda and vinegar for effective results.
They’re safe and budget-friendly. Remember to wear gloves to protect your hands. A clean oven rack improves cooking and hygiene. Keep these tips handy for a spotless kitchen. Happy cleaning!