
Your kitchen sponge is one of the dirtiest items in your home, and if you’re not disinfecting it properly, germs and bacteria could be lurking right where you clean your dishes. But don’t worry—disinfecting your sponge effectively is easier than you think.
You’ll discover simple, proven methods to keep your sponge clean and your kitchen healthier. By the end, you’ll know exactly how to protect your family from harmful germs with just a few easy steps. Keep reading to find out how!
Why Sponge Hygiene Matters
Kitchen sponges are handy tools for cleaning. They wipe surfaces and wash dishes. But they can also spread germs.
Keeping sponges clean is crucial. It helps prevent bacteria from spreading in your kitchen.
Bacteria And Germ Hotspots
Sponges are perfect places for germs to grow. They stay wet and collect food particles. This makes them ideal for bacteria.
Kitchen counters and cutting boards touch sponges often. These areas can become germ hotspots too.
- Sponges have small holes that trap germs
- Wet sponges promote bacteria growth
- Food particles in sponges feed bacteria
Health Risks Of Dirty Sponges
Using dirty sponges can make you sick. They can spread harmful bacteria like Salmonella and E. coli.
These bacteria can cause stomach issues. It is important to keep sponges clean to avoid illness.
- Salmonella can cause food poisoning
- E. coli may lead to diarrhea
- Clean sponges reduce health risks

Credit: tidyhere.com
Signs Your Sponge Needs Cleaning
Kitchen sponges get dirty fast. They hold food particles and germs. You should clean them often to keep your kitchen safe.
Check your sponge regularly. Look for clear signs that show it needs cleaning or replacing.
Unpleasant Odors
A strong bad smell from your sponge means germs are growing inside it. Wet sponges are perfect places for bacteria.
If your sponge smells sour or rotten, it needs cleaning right away. Do not ignore this sign.
- Smell the sponge before and after use
- Throw away sponges with strong bad odors
- Clean sponges often to stop smells
Visible Stains And Wear
Look closely at your sponge’s surface. Dark stains or discoloration show dirt and bacteria build-up.
Also check for tears or rough spots. Worn sponges do not clean well and can spread germs.
- Check for dark spots or stains
- Look for cracks or holes in the sponge
- Replace sponges that look worn out
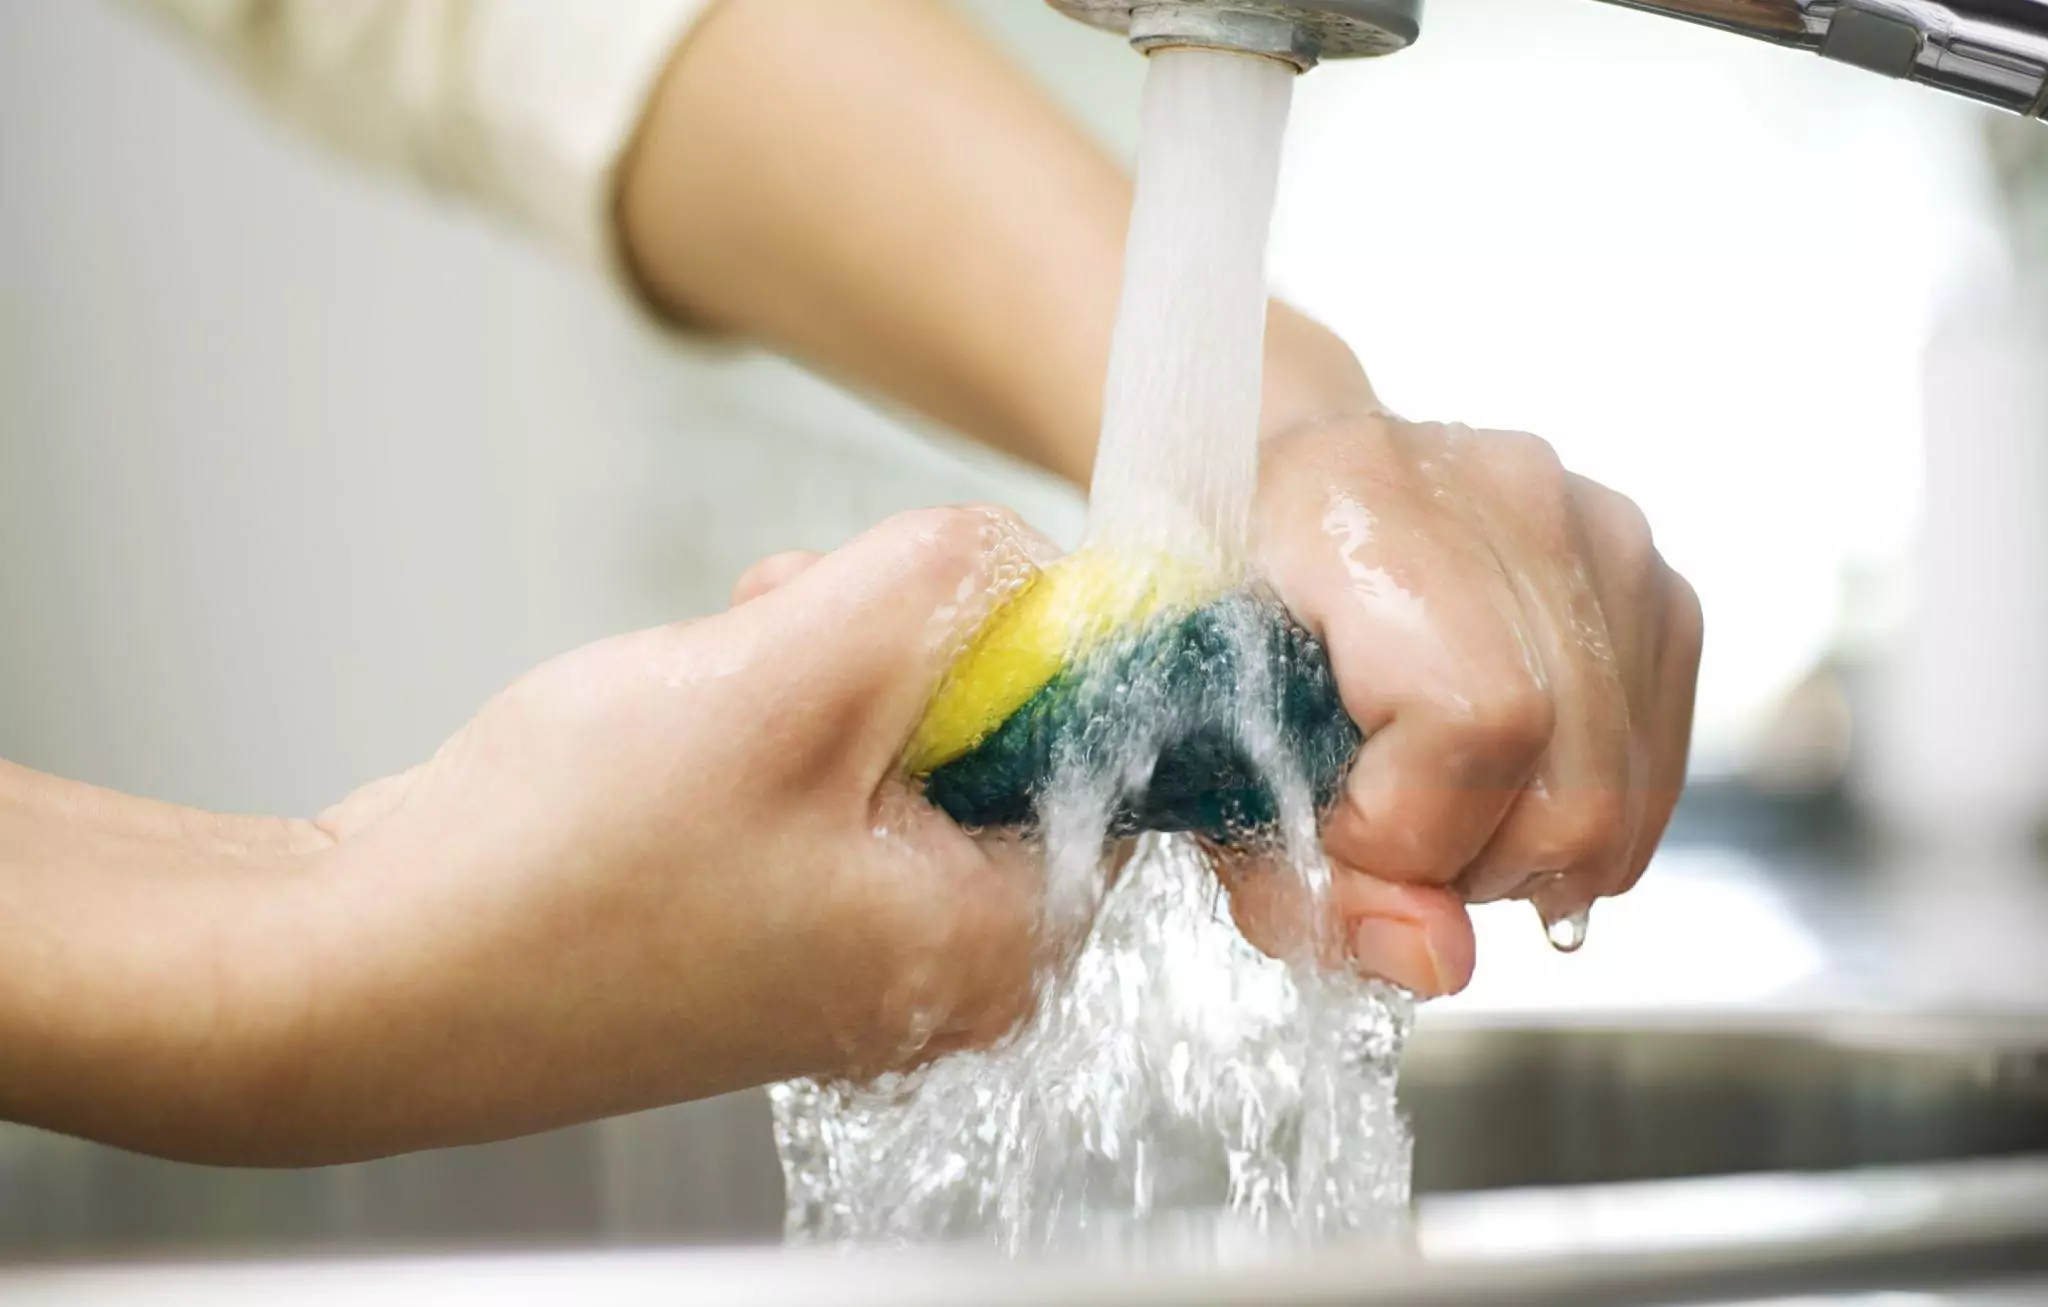
Quick Methods To Disinfect Sponges
Kitchen sponges can carry many germs and bacteria. Cleaning them often keeps your kitchen safe.
This guide shows quick ways to disinfect sponges using common household tools.
Microwave Technique
Microwaving sponges kills most bacteria quickly. Make sure the sponge is wet before microwaving.
Place the wet sponge in the microwave on high for about two minutes. Let it cool before use.
- Wet the sponge fully
- Microwave on high for 2 minutes
- Be careful when removing, it will be hot
Boiling Water Soak
Boiling sponges in water removes germs safely. This method uses only heat and water.
Put the sponge in boiling water for five minutes. Use tongs to remove it and let it dry.
- Boil water in a pot
- Place sponge in boiling water for 5 minutes
- Remove with tongs and air dry
Dishwasher Cleaning
Cleaning sponges in a dishwasher uses hot water and soap. It is easy and effective.
Place the sponge on the top rack. Run a full cycle with heated dry for best results.
- Put sponge on top rack
- Use normal wash cycle with heated dry
- Remove and let it fully dry before use

Credit: tidyhere.com
Natural Disinfecting Solutions
Kitchen sponges can hold many germs and bacteria. Cleaning them well keeps your kitchen safe and fresh.
Using natural solutions helps disinfect sponges without harsh chemicals. These methods are simple and effective.
Vinegar And Water Mix
Vinegar is a natural disinfectant. Mixing it with water creates a safe cleaning solution for sponges.
Soak your sponge in equal parts vinegar and water for at least 5 minutes. Then rinse it well with clean water.
- Use white vinegar for best results
- Mix half a cup of vinegar with half a cup of water
- Soak sponge fully submerged in the mix
- Rinse thoroughly after soaking
Lemon Juice Benefits
Lemon juice has natural antibacterial properties and a fresh scent. It helps kill germs on kitchen sponges.
Rub lemon juice directly on the sponge or soak it in lemon water for 10 minutes. Then rinse well and dry.
- Use fresh lemon juice for better effect
- Mix lemon juice with warm water to soak sponge
- Sun-dry the sponge after rinsing for extra freshness
Baking Soda Scrub
Baking soda helps remove dirt and neutralize odors. It works well as a gentle scrub for kitchen sponges.
Sprinkle baking soda on a wet sponge. Rub it gently to clean. Rinse the sponge thoroughly afterward.
- Use about one tablespoon of baking soda
- Rub sponge with baking soda for 1-2 minutes
- Rinse under warm water until all powder is gone
- Let sponge air dry to prevent bacteria growth
Chemical Disinfectants For Sponges
Kitchen sponges can hold many germs and bacteria. Using chemical disinfectants helps clean them well. This keeps your kitchen safer and more hygienic.
Chemical disinfectants kill harmful microbes on sponges quickly. They are easy to use and effective for regular cleaning.
Bleach Solutions
Bleach is a strong chemical that kills most germs on kitchen sponges. It works fast and is affordable. You can make a bleach solution at home to disinfect sponges.
To use bleach, mix one part bleach with nine parts water. Soak the sponge in this solution for five minutes. Rinse the sponge well with clean water after soaking.
- Use gloves to protect your hands
- Do not mix bleach with other cleaners
- Keep the area well ventilated
- Discard sponges that smell bad after cleaning
Commercial Cleaning Products
Many commercial cleaning products kill bacteria on kitchen sponges. These are made for home use and often contain safe disinfectants. Follow the instructions on the label for best results.
Some products come as sprays or wipes designed for sponges. Others are liquid disinfectants to soak the sponge. These products often work faster than home-made solutions.
- Read all safety instructions before use
- Use recommended amounts for soaking or spraying
- Store products out of reach of children
- Replace sponges regularly even after disinfecting
Tips For Extending Sponge Life
Kitchen sponges can harbor bacteria if not cared for properly. Keeping them clean helps prevent germs. You can make your sponges last longer with simple habits.
Follow easy tips to keep your sponges fresh and safe for daily use. Proper care saves money and reduces waste.
Proper Drying Techniques
Sponges stay wet after use, which helps bacteria grow. Drying them quickly stops this problem. Always squeeze out water before storing.
Keep sponges in a place where air can reach all sides. Avoid closed containers or sinks where moisture stays trapped.
- Squeeze sponge thoroughly after each use
- Place sponge on a rack or open holder
- Store sponge away from damp areas
- Allow sponge to air dry completely between uses
Regular Replacement Schedule
Even with care, sponges wear out and collect germs over time. Replace them regularly to keep your kitchen clean.
Set a schedule to change sponges every one to two weeks. More frequent replacement is best for heavy use or strong odors.
- Replace sponges every 7 to 14 days
- Use separate sponges for different tasks
- Replace immediately if sponge smells bad
- Keep spare sponges ready for quick swaps
Alternatives To Traditional Sponges
Kitchen sponges can hold many germs even after cleaning. Choosing alternatives helps keep your kitchen cleaner.
These options last longer and are easier to disinfect than regular sponges.
Silicone Scrubbers
Silicone scrubbers are made from flexible, non-porous material. They do not absorb water or bacteria.
Cleaning them is simple. You can boil or put them in the dishwasher to disinfect.
- Last much longer than traditional sponges
- Dry quickly to prevent bacteria growth
- Safe for most dishes and surfaces
Reusable Cloths
Reusable cloths are made from materials like cotton or microfiber. They clean well and can be washed often.
Washing them in hot water kills germs. You can also use bleach or disinfectant solutions.
- Can be used for many cleaning tasks
- Easy to clean in washing machine
- Reduce waste compared to disposable sponges

Credit: www.youtube.com
Frequently Asked Questions
How Often Should I Disinfect Kitchen Sponges?
Disinfect kitchen sponges at least once a week to reduce bacteria. Frequent cleaning prevents odors and cross-contamination in your kitchen. Replace sponges every 2-4 weeks for optimal hygiene and safety.
What Is The Best Method To Disinfect Kitchen Sponges?
Microwaving damp sponges for 1-2 minutes effectively kills bacteria. Alternatively, soak sponges in a bleach solution or run them through the dishwasher. Choose a method based on convenience and available tools.
Can Vinegar Effectively Disinfect Kitchen Sponges?
Vinegar has some antibacterial properties but is less effective than bleach or microwaving. It helps reduce odors but doesn’t fully disinfect. For best results, use vinegar as a supplementary cleaning agent, not the primary disinfectant.
Is It Safe To Microwave All Types Of Kitchen Sponges?
Only microwave damp, non-metal sponges to avoid fire hazards. Avoid sponges with metallic scrubbing surfaces, as they can spark. Always supervise the microwaving process to ensure safety.
Conclusion
Cleaning kitchen sponges helps keep your home healthy. Use hot water or a microwave to kill germs fast. Change sponges often to avoid spreading bacteria. Let sponges dry completely after use to stop mold growth. Simple steps make a big difference in kitchen safety.
Keep your sponge clean and your family safer. Small habits matter for a cleaner kitchen every day.