
Your kitchen sponge and brushes are some of the dirtiest items in your home, even if they look clean. They soak up food particles, germs, and bacteria every day without you noticing.
If you don’t disinfect them properly, you could be spreading harmful germs instead of cleaning. But don’t worry—this article will show you simple and effective ways to disinfect your kitchen sponges and brushes. Keep reading to discover easy tips that will keep your kitchen safer and fresher.
Why Disinfecting Matters
Disinfecting kitchen sponges and brushes is important for health. Germs grow fast on wet surfaces.
Cleaning tools can spread bacteria if not disinfected. Keep your kitchen safe by cleaning them often.
Common Germs On Kitchen Tools
Sponges and brushes can hold many germs. These include E. coli and Salmonella. They thrive in damp places.
Bacteria can cause food poisoning. It’s important to kill these germs to prevent illness.
- E. coli can cause stomach cramps
- Salmonella may lead to diarrhea
- Staphylococcus can cause skin infections
Risks Of Dirty Sponges And Brushes
Using dirty sponges can spread bacteria to clean dishes. This can increase the risk of getting sick.
Dirty brushes can also contaminate surfaces. Keep them clean to ensure a healthy kitchen environment.
| Risk | Impact |
| Food Poisoning | Illness and discomfort |
| Cross-Contamination | Spread of bacteria |
Daily Cleaning Tips
Kitchen sponges and brushes can carry many germs. Cleaning them daily helps keep your kitchen safe. Simple daily habits stop bacteria from growing.
Follow easy steps to clean and store these tools. This keeps them fresh and ready to use every day.
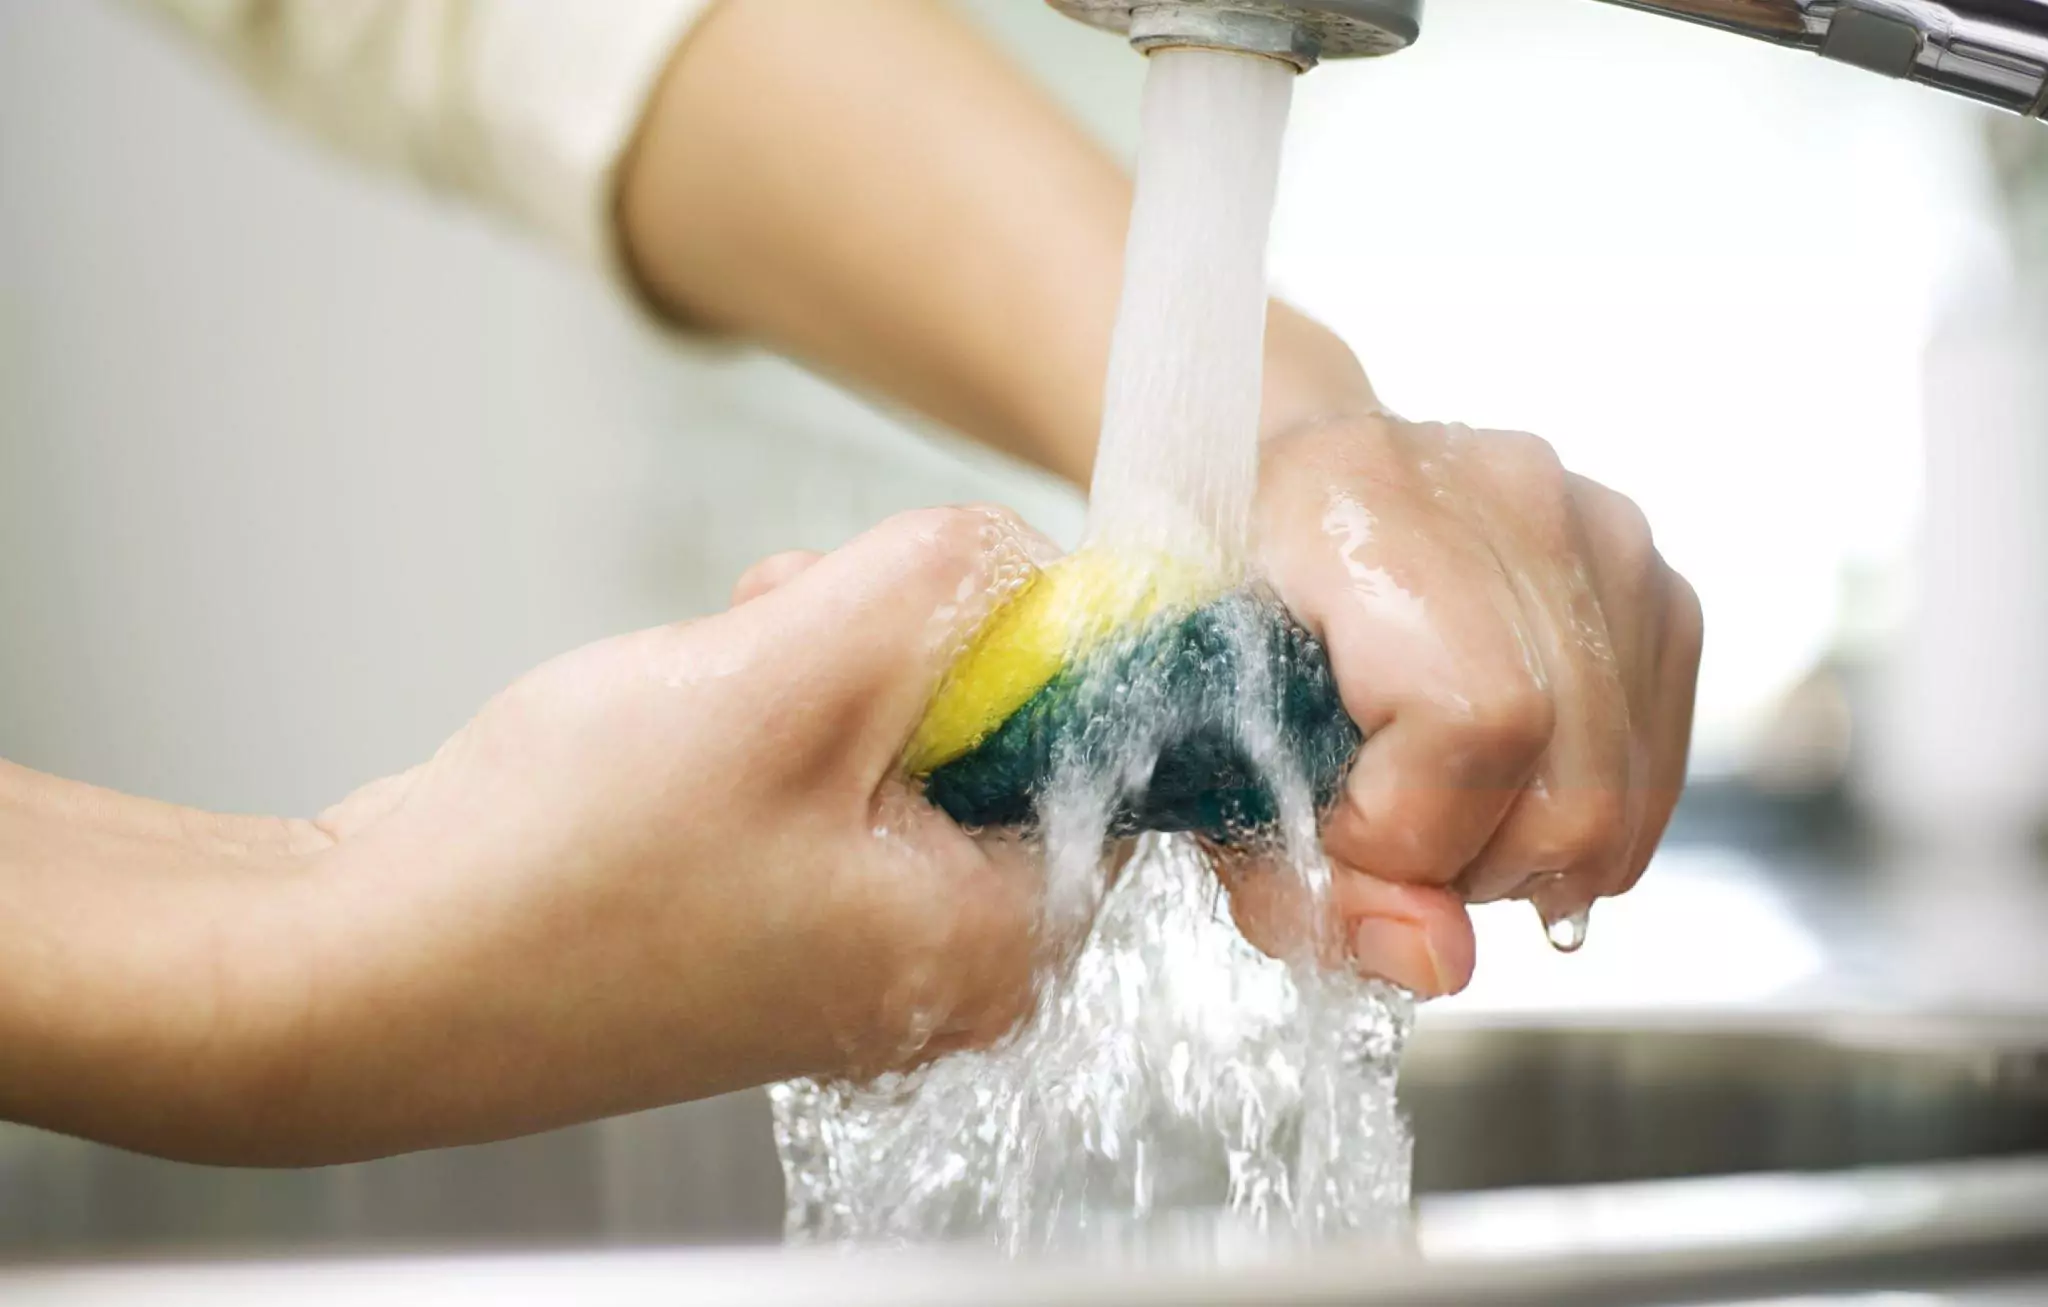
Rinsing And Squeezing
Rinse sponges and brushes with hot water after each use. This removes food bits and soap.
Squeeze out all water well. Wet sponges hold germs and smell bad fast.
- Rinse under running hot water
- Squeeze tightly to remove moisture
- Repeat if needed until clean
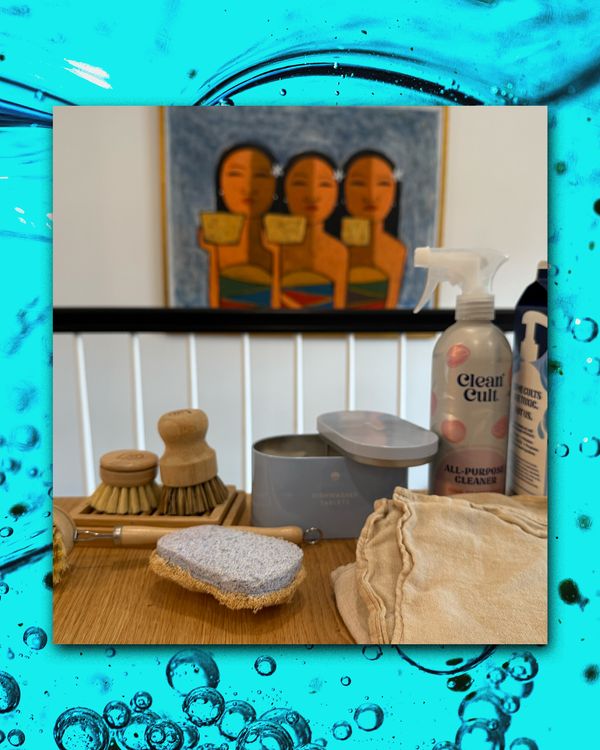
Proper Storage Practices
Store sponges and brushes where they can dry quickly. Air dries stop bacteria growth.
Keep them away from sinks and damp places. Use holders or racks that drain water well.
- Use a sponge holder with drainage holes
- Keep brushes hanging or upright to dry
- Replace sponges often to avoid germs
Microwave Disinfection Method
Kitchen sponges and brushes can hold many germs. Using a microwave can kill these germs fast. This method uses heat to disinfect your cleaning tools.
Microwave disinfection is easy and saves time. You only need a microwave-safe sponge or brush and some water.
Preparation Steps
Before microwaving, rinse the sponge or brush well. Remove any food or dirt trapped inside. Soak the sponge or brush in water.
- Use a microwave-safe container
- Fill with enough water to cover the sponge or brush
- Soak the sponge or brush for 1-2 minutes
- Make sure the sponge is wet before microwaving
Microwave Timing And Safety
Place the wet sponge or brush in the microwave. Heat it on high for 1-2 minutes. This kills most bacteria and germs.
Be careful when removing the sponge or brush. It will be hot and steam may escape. Let it cool before use.
- Microwave on high power for 1-2 minutes
- Check if the sponge or brush is wet before microwaving
- Use microwave-safe containers if soaking
- Handle with care after microwaving to avoid burns

Credit: sqwishful.com
Boiling Water Technique
Kitchen sponges and brushes can carry many germs. Boiling water is an easy way to kill these germs. It uses heat to disinfect and keep your tools safe.
This method is simple and does not require chemicals. You only need boiling water and a pot or kettle.
How To Boil Sponges And Brushes
First, fill a pot with water. Heat the water until it boils. Then, carefully place the sponge or brush into the boiling water. Let it soak for 5 minutes to kill bacteria.
After boiling, remove the items with tongs. Let them cool and dry completely before using again. This stops germs from growing back.
- Use a pot large enough for your sponge or brush
- Boil water on the stove until it bubbles strongly
- Keep the sponge or brush fully submerged for 5 minutes
- Use tongs to avoid burns when removing
- Dry items in a clean, dry place
Frequency For Best Results
Boil your kitchen sponges and brushes once every 3 to 4 days. This keeps germs low and your kitchen safer. If you use them a lot, boil more often.
Replace sponges every 1 to 2 weeks. Brushes last longer but still need regular cleaning. Boiling helps keep them fresh between replacements.
- Boil sponges every 3 to 4 days
- Boil brushes weekly or more if used heavily
- Replace sponges every 1 to 2 weeks
- Replace brushes every few months
Using Vinegar And Bleach
Kitchen sponges and brushes can hold many germs. Cleaning them often helps keep your kitchen safe. Vinegar and bleach are two good cleaners to use.
Both vinegar and bleach kill bacteria and remove smells. You can soak your sponges and brushes to clean them well.
Vinegar Soaking Process
White vinegar works well to clean kitchen tools. It kills many germs and removes bad smells. Soaking sponges and brushes in vinegar is easy and safe.
Use full-strength white vinegar for the best results. Soak the sponge or brush completely in vinegar. Let it sit for at least 5 minutes to kill germs.
- Fill a bowl with white vinegar
- Put the sponge or brush in the vinegar
- Let it soak for 5 to 10 minutes
- Rinse with clean water after soaking
- Let dry completely before use
Bleach Dilution And Soaking
Bleach is a strong cleaner that kills almost all bacteria. It must be diluted before use to avoid damage or irritation. Use a safe bleach solution to soak your sponges and brushes.
Mix bleach with water in the right ratio. Soak the kitchen tools for a few minutes. Rinse well and dry completely to keep them safe and clean.
- Mix 1 tablespoon of bleach with 1 gallon of water
- Place sponge or brush in the solution
- Let soak for 5 minutes only
- Remove and rinse thoroughly with water
- Air dry before using again
Dishwasher Cleaning
Kitchen sponges and brushes hold many germs. Cleaning them often helps keep your kitchen safe.
Using a dishwasher is a simple way to disinfect these items thoroughly and quickly.
Loading Tips For Sponges And Brushes
Place sponges and brushes where water can reach them well. Avoid stacking items on top.
Keep brushes upright to let water flow through the bristles. Lay sponges flat or place them on the top rack.
- Put sponges on the top rack for better cleaning
- Place brushes with bristles facing down or upright
- Do not overcrowd to allow water and heat circulation
- Remove large food pieces before loading
Optimal Dishwasher Settings
Use the hottest water setting available to kill bacteria on sponges and brushes. A sanitize cycle works best.
Choose a full wash cycle with high heat drying. This ensures items dry quickly and stay clean.
- Set dishwasher to sanitize or high temperature mode
- Use a full cycle to clean deeply
- Enable high heat drying to prevent moisture buildup
- Run the dishwasher empty or with other kitchen items for efficiency
When To Replace Sponges And Brushes
Kitchen sponges and brushes get dirty quickly. They can hold germs even after cleaning.
Knowing when to replace them helps keep your kitchen clean and safe.
Signs Of Wear And Tear
Look for visible damage on your sponges and brushes. Torn or broken parts can hide bacteria.
Bad smell or discoloration also means it is time to replace them.
- Sponges that are falling apart or have holes
- Brush bristles that are bent, broken, or missing
- Persistent bad odors that do not go away after cleaning
- Discoloration or stains that look deep and old
Recommended Replacement Schedule
Change sponges and brushes regularly to avoid germs. Even with cleaning, they wear out fast.
Follow this simple schedule to keep kitchen tools fresh and safe.
- Replace kitchen sponges every 1 to 2 weeks
- Replace dish brushes every 1 to 3 months
- Replace sooner if you see signs of wear or bad smells
- Use separate sponges for different tasks to last longer
Credit: tidyhere.com
Credit: nymag.com
Frequently Asked Questions
How Often Should I Disinfect Kitchen Sponges?
Disinfect kitchen sponges at least once a week. Frequent cleaning prevents bacteria buildup and keeps your kitchen hygienic. Replace sponges every two weeks or when they smell bad or fall apart to avoid contamination.
What Is The Best Way To Disinfect Kitchen Brushes?
Soak kitchen brushes in hot, soapy water for 10 minutes. Then, rinse and disinfect using a bleach solution or microwave for 1 minute if microwave-safe. This effectively kills bacteria and keeps brushes clean.
Can I Use A Microwave To Disinfect Sponges?
Yes, dampen the sponge and microwave it on high for 1-2 minutes. This kills most bacteria and germs. Always supervise to avoid fire hazards and ensure the sponge is microwave-safe before use.
Are Natural Disinfectants Effective On Kitchen Sponges?
Natural disinfectants like vinegar and lemon juice reduce some bacteria but are less effective than bleach or microwaving. For deep cleaning, use stronger methods regularly alongside natural options for added freshness.
Conclusion
Regularly cleaning kitchen sponges and brushes keeps your kitchen safe. Germs hide in damp, dirty tools. Quick methods like microwaving or soaking in vinegar work well. Replace sponges and brushes often to avoid buildup. Clean tools help prevent food contamination and illness.
Small habits make a big difference in kitchen hygiene. Stay consistent to keep your cleaning tools fresh and healthy. Your kitchen will feel cleaner and safer every day. Simple steps protect your family’s health without extra effort.