
Are you tired of a cluttered kitchen that makes cooking stressful? Setting up kitchen storage racks can be a game-changer for your space.
Imagine finding everything you need quickly, saving time and effort every day. In this guide, you’ll discover simple steps to organize your kitchen like a pro. Whether you have a small corner or a big pantry, these tips will help you create storage that works perfectly for your needs.
Keep reading to transform your kitchen into a neat, efficient space you’ll love to use.
Choosing The Right Storage Racks
Kitchen storage racks help organize your kitchen. They keep items easily accessible. Choosing the right one is key for a tidy space.
Consider the type, material, and size before buying. This ensures it fits your needs and kitchen layout.
Types Of Kitchen Storage Racks
There are many types of kitchen storage racks. Each serves a different purpose. Some are great for pots, others for spices.
- Wall-mounted racks save floor space
- Freestanding racks are movable
- Overhead racks are ideal for large pots
- Corner racks utilize unused space
Materials And Durability
Material affects the rack’s look and durability. Choose one that matches your kitchen style and lasts long.
- Stainless steel is strong and rust-resistant
- Wood offers a warm, natural look
- Plastic is lightweight and affordable
- Metal provides a modern, sleek design
Size And Capacity Considerations
Size and capacity are crucial for storage racks. Ensure the rack fits your space and holds all your items.
Measure your available space before buying. Check the rack’s weight limit to avoid overloading.
- Measure height, width, and depth of space
- Consider number of items to store
- Check weight capacity of the rack
Measuring Your Kitchen Space
Measuring your kitchen space is important before adding storage racks. It helps you find the right size and fit.
Take careful measurements to use your kitchen efficiently. This prevents buying racks that do not fit well.
Assessing Available Wall And Cabinet Space
Look at your walls and cabinets to find empty spaces. Measure the width, height, and depth of these areas.
Note any obstacles like windows or switches. This helps you avoid placing racks where they won’t fit.
- Measure wall length and height in inches or centimeters
- Check cabinet outer and inner dimensions
- Mark areas blocked by windows, doors, or switches
- Record all measurements for easy reference
Planning For Accessibility
Think about how you will reach the items on the racks. Place racks where you can easily grab what you need.
Consider your height and the height of other users. Avoid placing racks too high or too low for comfort.
- Keep frequently used items at eye level or below
- Leave enough space to open cabinet doors fully
- Ensure racks do not block walking paths
- Allow space for bending or stretching safely
Accounting For Appliance And Fixture Placement
Check where your appliances and fixtures are placed. Measure their size and how much space they use.
Make sure racks do not interfere with appliances like ovens, refrigerators, or sinks. Keep enough clearance for use.
- Measure large appliances’ width, depth, and height
- Note location of sinks and faucets
- Keep racks away from heat sources
- Leave room for appliance doors to open fully
Tools And Materials Needed
Setting up kitchen storage racks needs the right tools and materials. Having these ready helps you work fast and safe.
This guide lists the tools and items you need to install your kitchen racks correctly.
Essential Tools For Installation
You need some basic tools to put up kitchen racks. These tools help you measure, drill, and fix the racks firmly.
- Measuring tape to check space and rack size
- Drill for making holes in walls
- Screwdriver to tighten screws
- Level to keep racks straight
- Pencil to mark where to drill
- Stud finder to locate wall studs
Safety Equipment
Safety gear protects you from accidents. Always use safety equipment when installing racks.
- Safety goggles to protect your eyes from dust
- Work gloves to protect your hands
- Dust mask to avoid inhaling dust
- Ear protection if you use loud drills
Additional Hardware
You may need extra hardware to hold the racks securely. These parts fit your racks to the wall.
- Screws suitable for your wall type
- Wall anchors for drywall support
- Brackets if your racks need extra support
- Mounting plates for heavy racks

Credit: www.thepondsfarmhouse.com
Preparing The Installation Area
Before installing kitchen storage racks, prepare the area carefully. This helps the racks fit well and stay secure.
Proper preparation saves time and avoids problems during installation.
Cleaning And Clearing Space
Clear the kitchen area where you will install the racks. Remove items from walls and counters nearby.
Clean the wall surface to remove dirt and grease. A clean surface helps the racks stick or mount better.
Marking Mounting Points
Use a pencil to mark where you will place screws or hooks. Measure carefully to keep racks level and balanced.
Double-check your marks before drilling or hammering to avoid mistakes.
- Use a tape measure for accuracy
- Mark multiple points for larger racks
- Keep marks visible but easy to erase later
Checking Wall Studs And Support
Find the wall studs behind your installation area. Studs provide strong support for heavy racks.
Use a stud finder or tap the wall to locate studs. Avoid mounting racks only on drywall without support.
- Studs are usually 16 or 24 inches apart
- Mount racks on studs for better weight support
- Use anchors if studs are not available
Step-by-step Rack Installation
Installing kitchen storage racks makes your space neat and organized. Follow simple steps to set up racks safely and correctly.
This guide shows how to mount brackets, secure racks, and adjust them for the best fit.
Mounting Brackets And Supports
Start by selecting the right brackets and supports for your rack size and weight. Use sturdy brackets for heavy items.
Mark the spots on the wall where you will attach the brackets. Use a level to keep marks even. Drill holes at the marks and insert anchors if needed.
- Choose brackets that fit your rack size
- Use a level to mark even spots
- Drill holes and insert wall anchors
- Screw brackets tightly to the wall
Securing Racks To Walls Or Cabinets
Place the rack on the mounted brackets or supports. Check that it fits well and does not wobble. Use screws to fasten the rack to the brackets securely.
If attaching to cabinets, use screws made for wood. Drill pilot holes first to avoid splitting the wood. Tighten screws until the rack feels stable.
- Set the rack on brackets carefully
- Use screws to fasten rack to brackets
- Drill pilot holes for cabinet screws
- Tighten screws to secure the rack firmly
Adjusting And Leveling Racks
Check if the rack is level using a spirit level. Adjust the brackets or supports if needed to make the rack even. This prevents items from sliding off.
Some racks have adjustable feet or hooks. Use these features to fine-tune the height and balance. Tighten all screws after adjustments to keep the rack stable.
- Use a level to check rack balance
- Adjust brackets or supports as needed
- Use adjustable feet or hooks if available
- Tighten all screws after adjustments

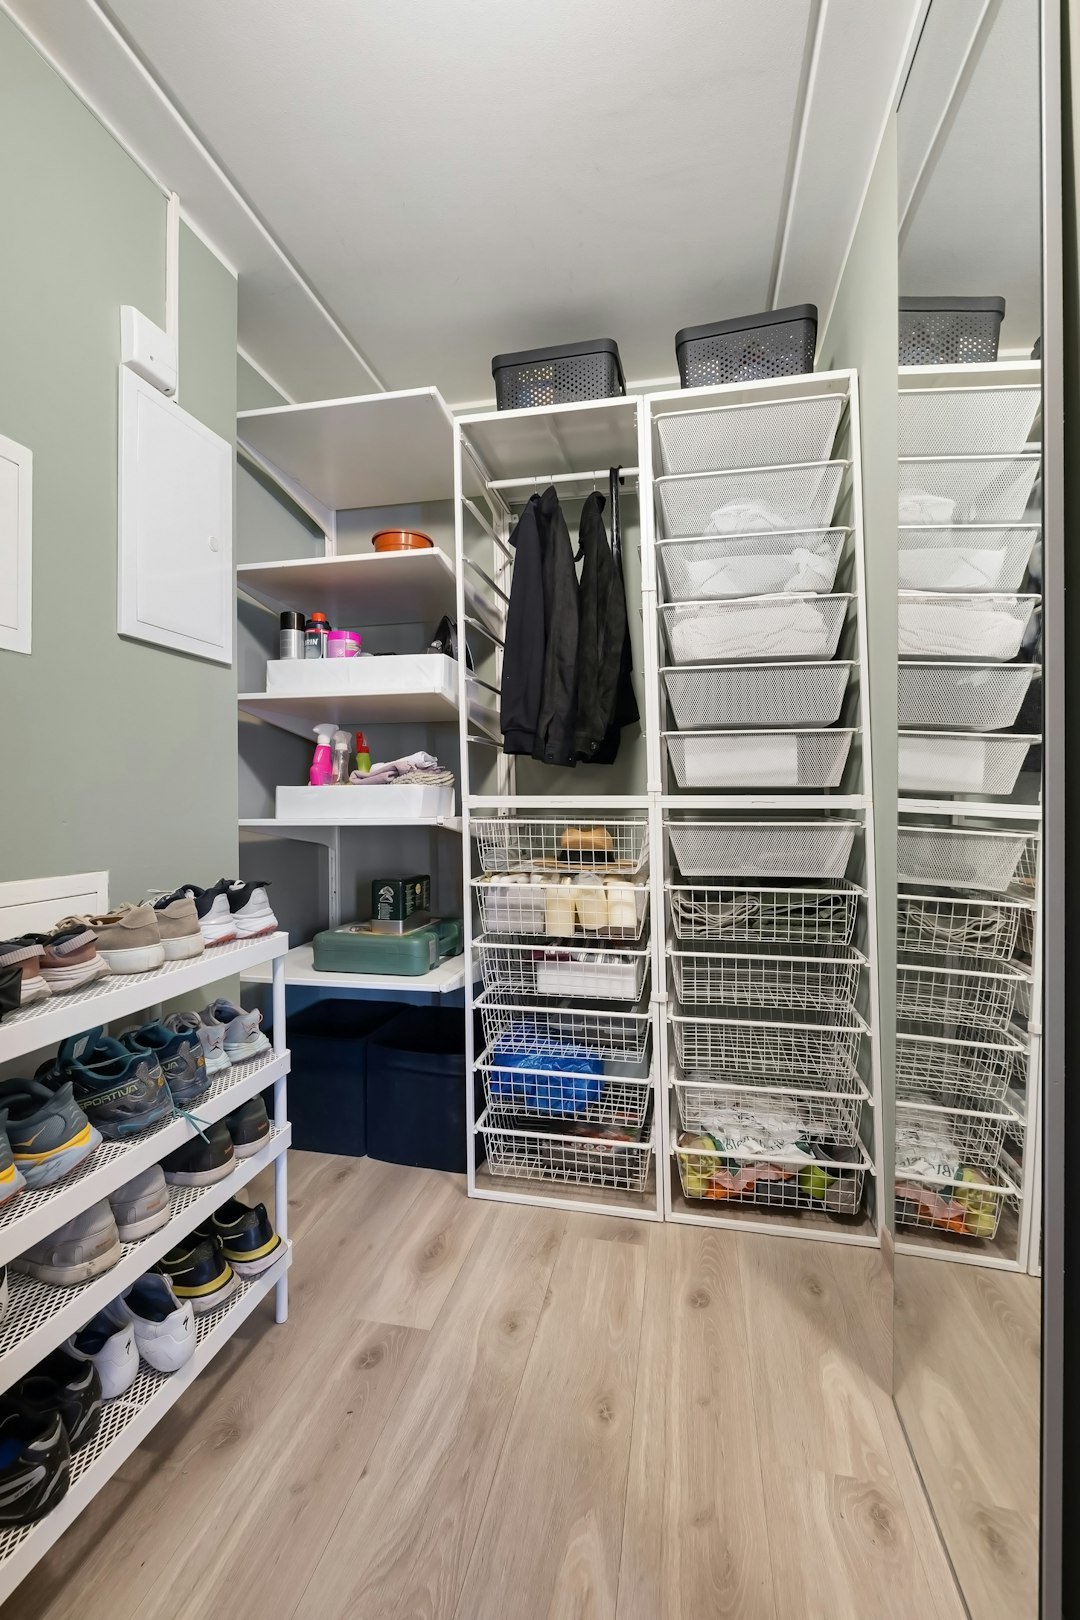
Credit: www.ikea.com
Organizing Items On Racks
Setting up kitchen storage racks helps keep your kitchen neat and tidy. Proper organization makes it easy to find what you need quickly.
Using the right methods to arrange items on racks can save space and reduce clutter. It also protects your kitchen tools and ingredients.
Grouping Similar Items
Keep items that are alike close to each other on the racks. This way, you can find things faster and avoid mixing different types.
Group spices, baking supplies, canned goods, or utensils separately. This helps you know where each item belongs and keeps the rack organized.
- Place spices together in one section
- Store baking items like flour and sugar nearby
- Keep cooking oils and sauces on one shelf
- Arrange utensils and tools in the same area
Maximizing Vertical Space
Use the full height of your racks by stacking items safely. This frees up more room on the shelves and keeps your kitchen tidy.
Add tiered racks or risers to create levels. This way, you can store more without making the rack look crowded.
- Use stackable shelves to add layers
- Hang hooks under shelves for mugs or tools
- Place taller items at the back and shorter ones in front
- Keep heavy items on lower shelves for safety
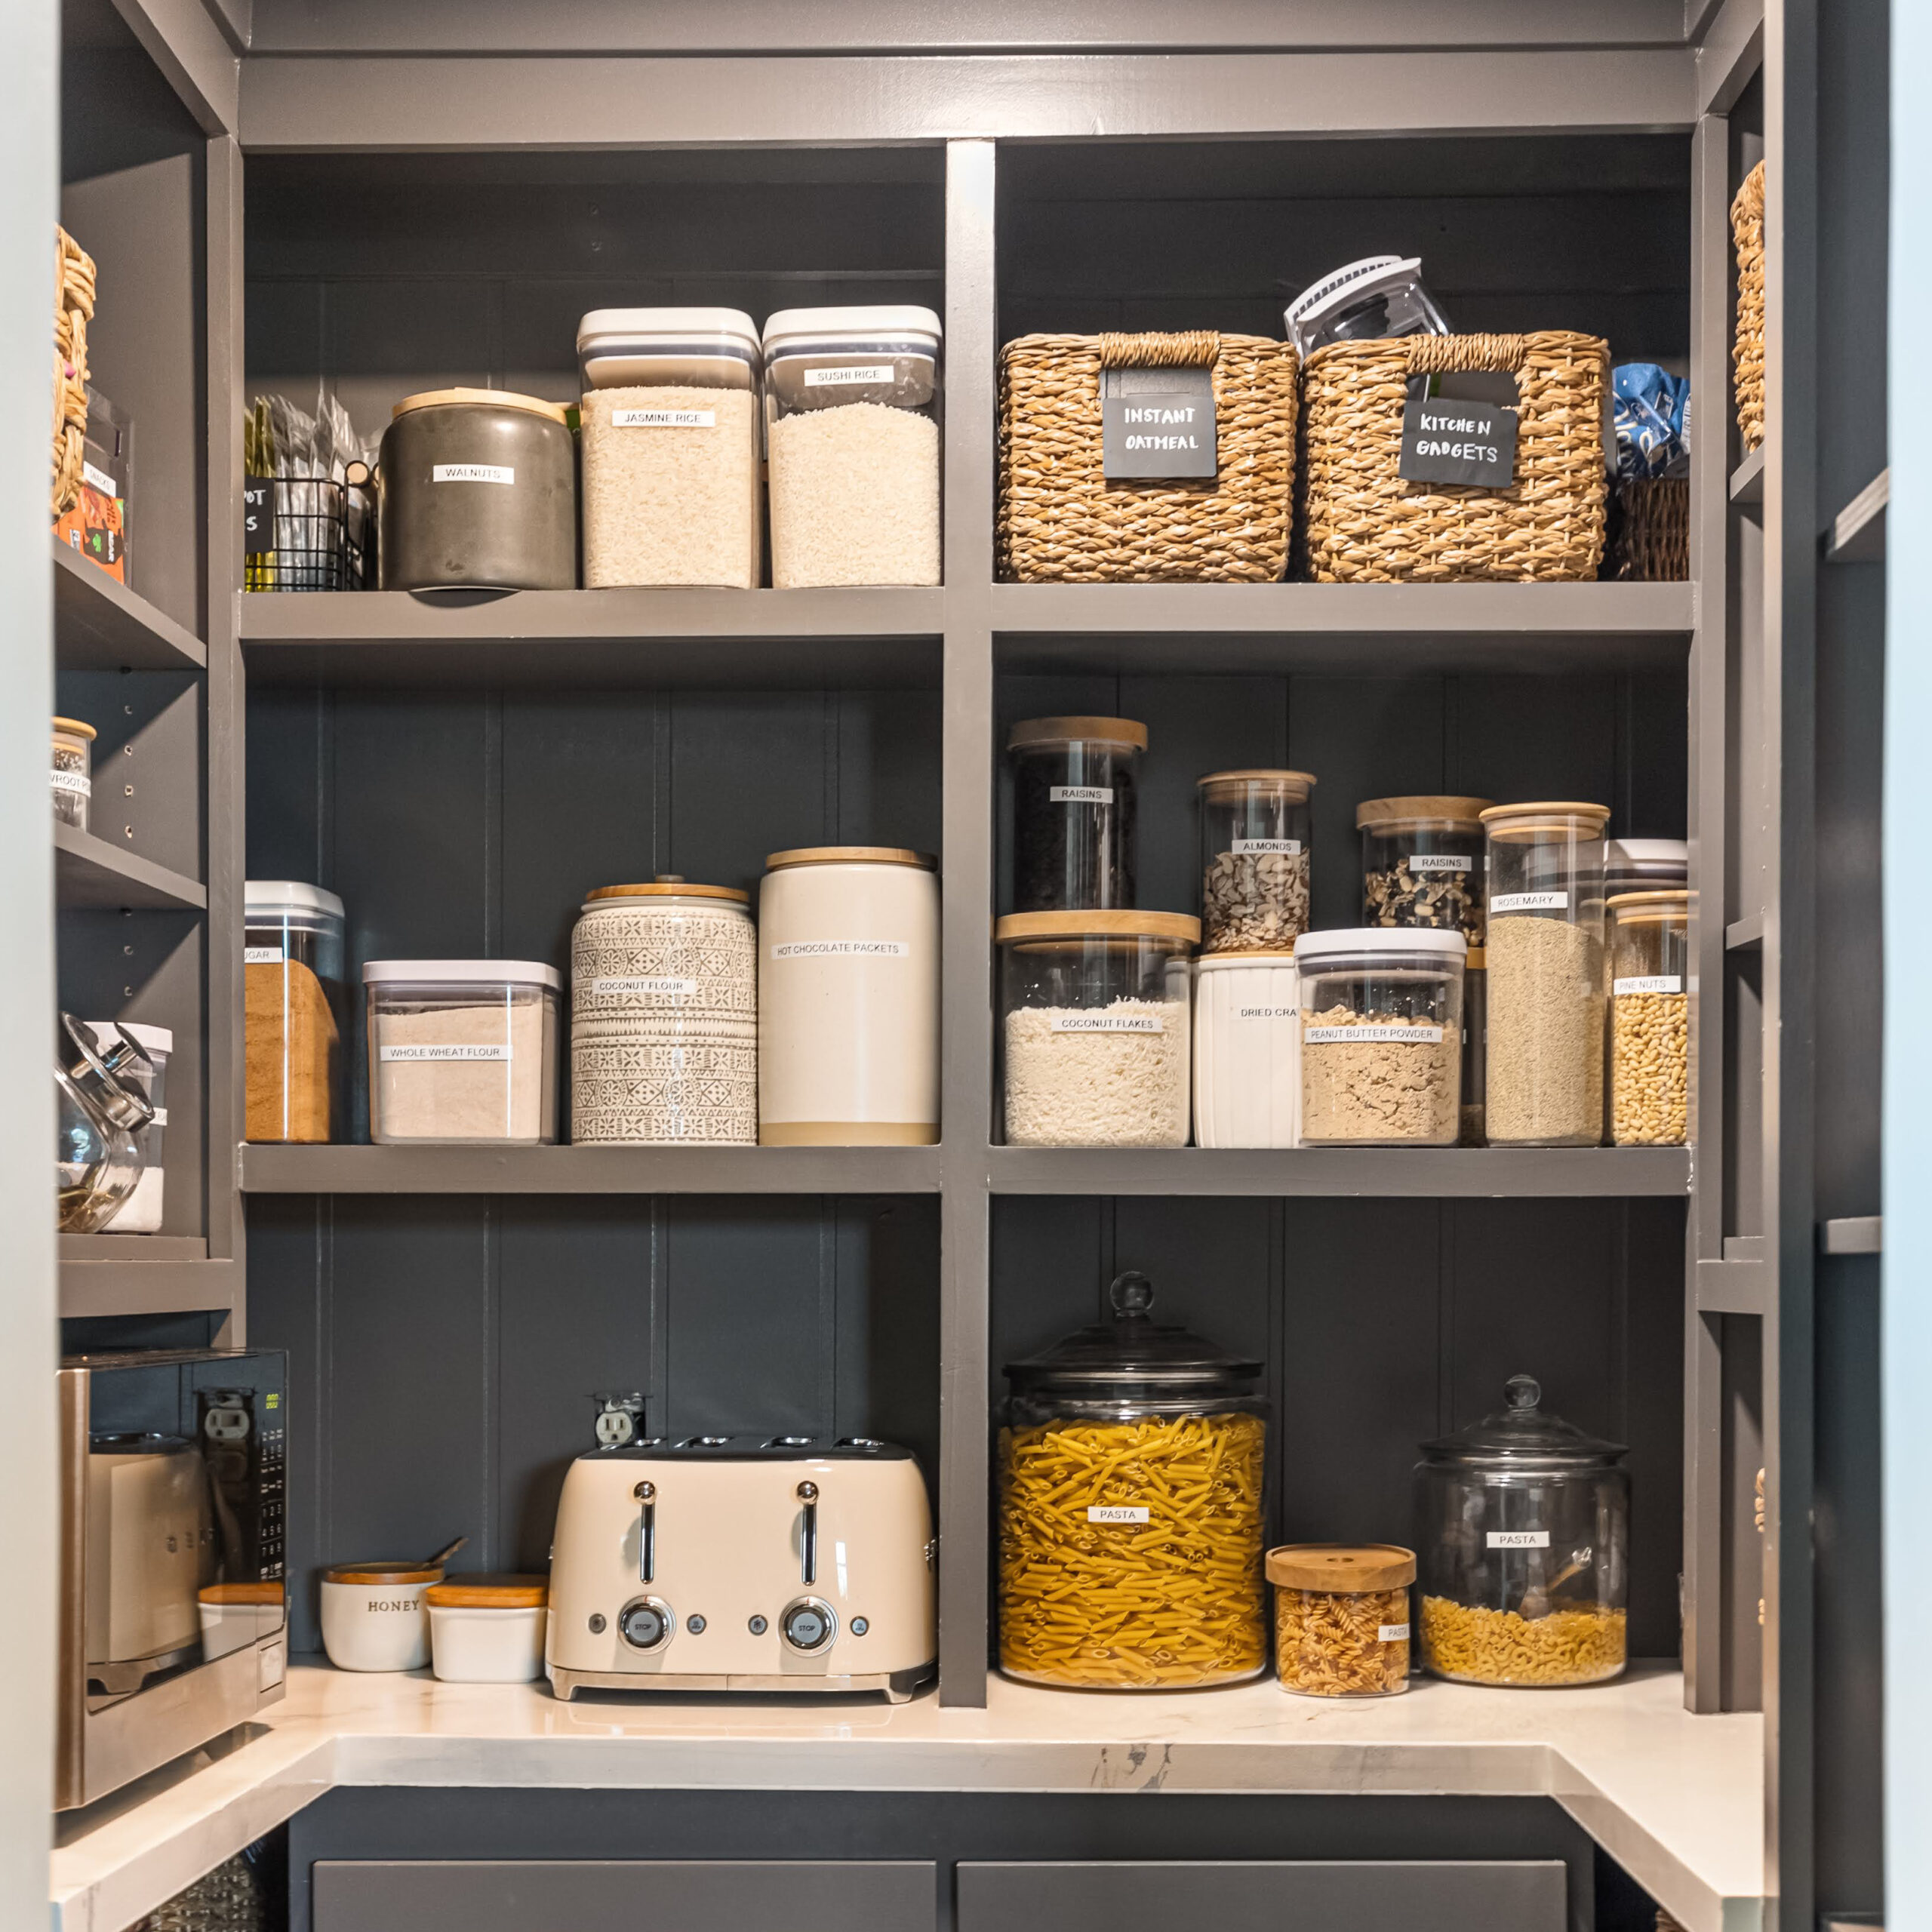
Using Containers And Labels
Containers keep small or loose items together and prevent spills. They also make the racks look neat and uniform.
Label containers clearly to find what you need quickly. Labels help everyone in the kitchen know where things belong.
- Use clear containers to see contents easily
- Choose containers that fit your rack size
- Write labels with item names and expiration dates
- Group labeled containers by item type
Maintaining Your Storage Racks
Proper care helps your kitchen storage racks last longer. It also keeps your kitchen neat and safe.
Regular maintenance prevents damage and clutter buildup on your racks.
Regular Cleaning Tips
Clean your racks often to remove dust and spills. Use a damp cloth and mild soap for best results.
Dry the racks well after cleaning to stop rust or mold from forming.
- Wipe shelves weekly
- Remove items before cleaning
- Use gentle cleaning products
- Dry racks completely after cleaning
Periodic Tightening And Inspection
Check your racks regularly for loose screws and weak joints. Tighten screws to keep racks stable.
Look for signs of damage like cracks or bends. Fix or replace parts to avoid accidents.
- Inspect screws monthly
- Tighten bolts with a screwdriver or wrench
- Check for rust or wear
- Repair or replace damaged parts
Updating Organization Over Time
Change your rack setup as your needs change. Moving items keeps your kitchen efficient.
Remove unused items to free space. Add new racks if needed to keep things organized.
- Rearrange items every few months
- Declutter unused kitchen tools
- Add shelves for new storage needs
- Label shelves for easy access
Credit: crystelmontenegrohome.com
Frequently Asked Questions
What Are The Best Materials For Kitchen Storage Racks?
The best materials include stainless steel, wood, and plastic. Stainless steel is durable and rust-resistant. Wood offers a classic look but needs sealing. Plastic is lightweight and affordable. Choose based on your kitchen style and usage needs.
How Do I Maximize Space With Kitchen Storage Racks?
Use vertical racks to utilize wall space efficiently. Opt for adjustable shelves to fit different items. Group similar items together for easy access. Installing racks inside cabinets also saves counter space. This keeps your kitchen organized and clutter-free.
Can Kitchen Storage Racks Support Heavy Cookware?
Yes, many storage racks are designed to hold heavy cookware. Look for racks made from sturdy materials like steel. Check the weight capacity before purchasing. Proper installation ensures safety and durability. This prevents accidents and keeps your kitchen organized.
How To Install Kitchen Storage Racks Safely?
Use appropriate wall anchors for your wall type. Follow manufacturer instructions carefully during installation. Measure and mark before drilling holes. Use a level to keep racks straight. Proper installation ensures stability and prevents damage.
Conclusion
Setting up kitchen storage racks saves space and keeps things neat. Choose racks that fit your kitchen size and style. Organize items by use and size for easy access. Regularly clean and adjust racks to suit your needs. A well-planned storage system makes cooking easier and faster.
Simple steps lead to a tidy, efficient kitchen. Start today and enjoy a clutter-free cooking space!