
Are you tired of overcooked meals or constantly checking the clock while cooking? Learning how to program smart kitchen timers efficiently can change the way you cook forever.
Imagine setting your timer quickly and accurately, freeing your mind to focus on other tasks or simply relax. You’ll discover simple tips and tricks to master your smart timer, making your cooking experience smoother and more enjoyable. Ready to save time and reduce kitchen stress?
Keep reading to unlock the secrets to smart kitchen timing.
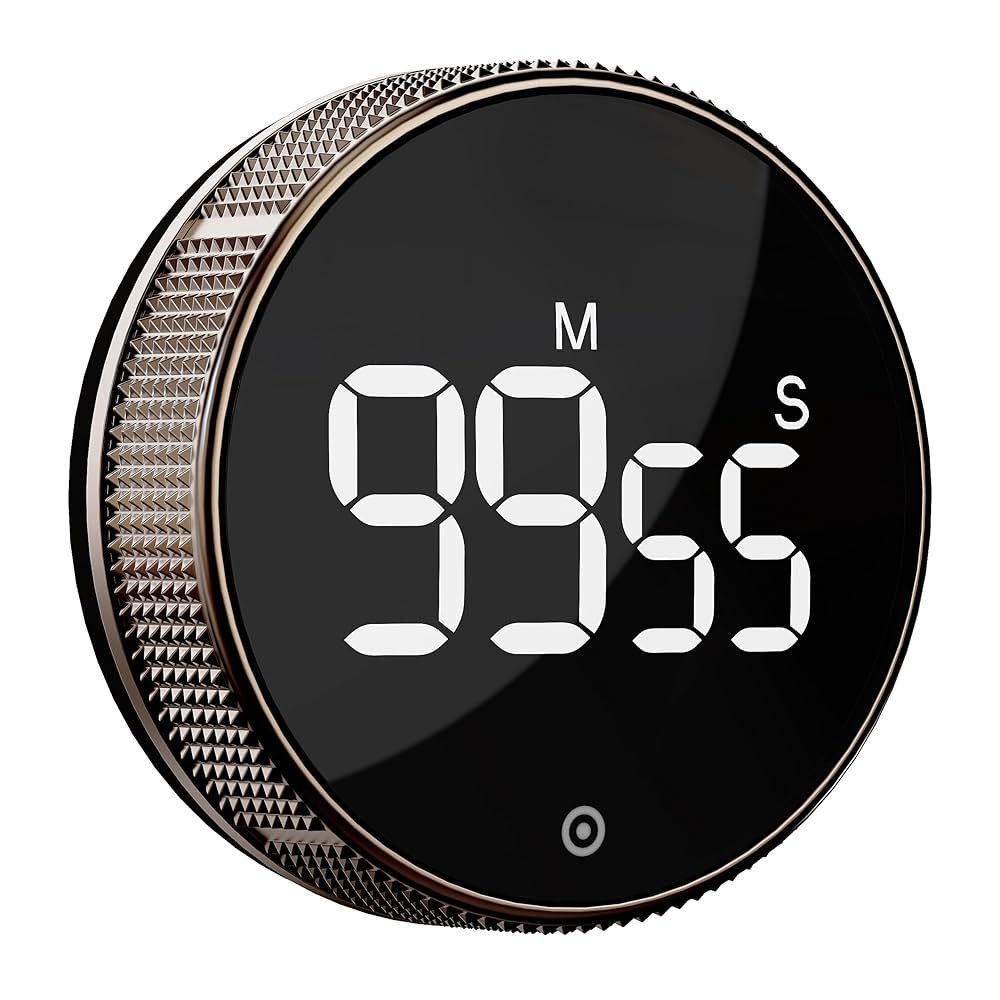
Choosing The Right Timer Hardware
Programming a smart kitchen timer starts with selecting the right hardware. The choice of components impacts the timer’s functionality and efficiency.
Consider the microcontroller, display type, and power source. Each plays a crucial role in the overall design and operation.
Microcontroller Options
Microcontrollers are the brains of your timer. They execute commands and process information.
Common options include Arduino, Raspberry Pi, and ESP8266. Each has unique features and capabilities.
- Arduino: Simple and widely used.
- Raspberry Pi: Powerful with more processing power.
- ESP8266: Great for wireless connectivity.
Display Types
The display shows the timer’s countdown and other information. Choose a type that suits your needs.
Options include LCD, LED, and OLED displays. Each offers different clarity and power usage.
- LCD: Energy-efficient and easy to read.
- LED: Bright and vibrant.
- OLED: High contrast and low power.
Power Sources
A reliable power source keeps your timer running smoothly. Consider battery life and availability.
Options include batteries, USB power, and solar energy. Each has its own pros and cons.
- Batteries: Portable but need replacing.
- USB: Convenient for constant power.
- Solar: Eco-friendly but weather-dependent.
Credit: www.amazon.com
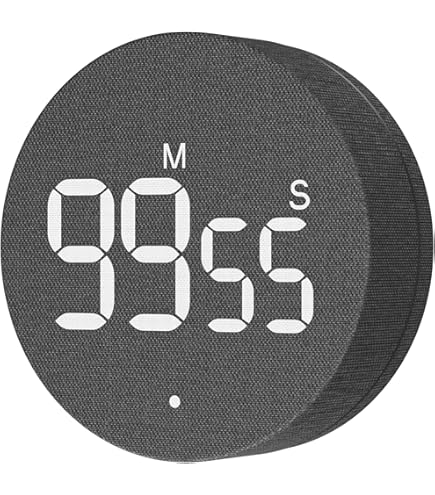
Essential Timer Features
Smart kitchen timers help cook meals perfectly. Knowing key features makes programming easier and faster.
Good timers improve kitchen tasks and reduce mistakes. Focus on features that fit your cooking style.
Multiple Timer Settings
Using more than one timer lets you track many dishes at once. This keeps all food ready at the right time.
Choose timers that support setting different times easily. This helps when cooking meals with several steps.
- Allow multiple countdowns to run at the same time
- Save preset timers for common cooking tasks
- Show each timer clearly on the screen
Sound And Alert Customization
Alerts tell you when time is up. Custom sounds help you notice timers in noisy kitchens.
Pick timers with different alert tones. Adjust volume so you hear it without disturbing others.
- Choose from various alert sounds
- Set volume levels for different environments
- Option to use vibrations or visual alerts
User Interface Design
A clear interface makes timer use quick and simple. Big buttons and clear text reduce errors.
Look for timers that show time left clearly. Easy controls let you start, stop, or reset fast.
- Large, readable numbers and labels
- Simple touch or button controls
- Clear display of multiple timers at once
Programming Basics
Programming smart kitchen timers helps you control cooking times accurately. You write code that tells the timer when to start and stop.
Good programming makes timers easy to use and reliable. Understanding basics helps you build better timer functions.
Setting Up The Development Environment
Start by installing a code editor like Visual Studio Code. It helps you write and test your timer code.
Use tools that support your timer hardware. This includes libraries for buttons, displays, and sensors.
- Choose a code editor with debugging features
- Install libraries for hardware control
- Set up simulator software if available
- Connect your timer device to your computer
Writing Timer Logic
Timer logic decides how the timer counts down time. Use simple loops or interrupts to track seconds.
Make sure your code updates the display to show the remaining time clearly to users.
- Initialize timer value in seconds
- Use a loop to decrease time step by step
- Update display after each second
- Stop timer when time reaches zero
Handling User Inputs
User inputs control the timer start, stop, and reset actions. Use buttons or touch sensors to get commands.
Make input handling quick and responsive. Avoid delays that can confuse users during cooking.
- Detect button presses or screen taps
- Convert input into timer commands
- Ignore accidental or repeated inputs
- Provide feedback like beep or light
Advanced Functionality
Smart kitchen timers do more than just count down. They can connect with other devices and learn from your habits. This makes cooking easier and more fun.
Using advanced functions helps you program timers in a smarter way. You can save time and avoid mistakes in the kitchen.
Integrating Voice Control
Voice control lets you set or stop timers without touching your device. It is useful when your hands are busy or dirty.
To add voice control, connect your timer to a voice assistant like Alexa or Google. Use simple commands to control the timer.
- Say “Start timer for 10 minutes” to begin
- Use “Pause timer” to stop temporarily
- Ask “How much time left?” to check
Connectivity With Smart Home Devices
Smart timers can link with other kitchen devices like ovens and refrigerators. This helps create a connected cooking environment.
By syncing devices, timers can start or stop based on cooking steps. This reduces guesswork and keeps food safe.
- Link timer with oven to adjust cooking time
- Connect timer to lights for kitchen alerts
- Sync with fridge to track food freshness
Data Logging And Usage Analytics
Logging timer data helps you see how often and when you cook. It shows patterns that improve your kitchen habits.
Usage analytics offer insights to avoid overcooking or undercooking. You can adjust timers based on past results.
| Data Type | Benefit |
|---|---|
| Timer duration | Find ideal cooking times |
| Frequency of use | Plan meals better |
| Alerts triggered | Improve timing accuracy |
Testing And Debugging
Testing and debugging are key to making smart kitchen timers work well. They help find errors and improve how the timer runs.
Good testing checks if the timer counts down correctly and alerts on time. Debugging fixes any problems found during tests.
Simulating Timer Scenarios
Simulate different situations to see how the timer behaves. Test short and long countdowns, pauses, and resets.
Simulations reveal if the timer handles real-life use cases like stopping and restarting without errors.
- Set timers for various durations
- Pause and resume the timer
- Reset the timer during countdown
- Test timer notifications and alarms
Common Bugs And Fixes
Timers may stop early or not alert on time. These bugs affect user experience and need quick fixes.
Fix bugs by checking the code that controls time tracking and alert triggers. Watch for logic errors.
- Timer stops before reaching zero – check countdown logic
- Alerts do not sound – verify notification setup
- Timer resets unexpectedly – fix state management
- UI shows wrong time – correct display updates
Optimizing Performance
Good performance means the timer uses little battery and runs smoothly. Avoid delays and freezes.
Optimize by reducing heavy tasks inside the timer loop. Keep code simple and efficient.
- Use efficient time tracking methods
- Limit background processes during countdown
- Update display only when needed
- Test timer on different devices for speed
Power Efficiency Techniques
Smart kitchen timers need to use power wisely. This helps them last longer on batteries.
Using power efficiency techniques makes devices better and saves energy.
Low Power Modes
Low power modes reduce energy use when the timer is not active. The device can sleep or shut down parts.
Timers should wake only for important tasks like alerts or button presses.
- Use sleep mode to save power between uses
- Turn off the display when idle
- Disable unused sensors or modules
Efficient Code Practices
Write code that runs fast and uses less power. Avoid busy loops that waste energy.
Use timers and interrupts to handle events instead of constant checking.
- Keep code simple and clean
- Use interrupts for timing and input
- Minimize processor wake-ups
Hardware Optimization
Choose hardware parts that use less power. Efficient chips and components save energy.
Optimize power supply design to reduce losses and improve battery life.
- Select low-power microcontrollers
- Use energy-efficient displays
- Design circuits with power-saving features
User Experience Enhancements
Smart kitchen timers help users cook with ease and precision. Improving their user experience makes cooking more enjoyable.
Designing these timers with user-friendly features helps everyone use them without trouble.
Customizable Alerts
Customizable alerts let users choose how they want to be notified. This adds flexibility and comfort while cooking.
Users can change sounds, vibrations, or light signals based on their needs or preferences.
- Set different alert tones for various timers
- Adjust volume levels for quiet or loud environments
- Choose vibration patterns for silent notifications
- Enable flashing lights for hearing-impaired users
Multi-language Support
Multi-language support allows users to interact with the timer in their preferred language. This makes the device easier to understand.
It helps people from different backgrounds use the timer without language barriers.
- Display timer instructions in multiple languages
- Allow users to switch language settings quickly
- Use clear icons paired with text for better understanding
Accessibility Features
Accessibility features ensure that all users can operate the timer easily. This includes people with disabilities or special needs.
Designing with accessibility in mind improves usability for everyone.
- Provide large, easy-to-press buttons for users with limited dexterity
- Include voice commands for hands-free operation
- Offer screen readers or audio feedback for visually impaired users
- Use high-contrast displays for better visibility

Credit: www.aliontimer.com
Deployment And Maintenance
Programming smart kitchen timers requires careful deployment and regular maintenance. Proper setup ensures the device works well right away.
Ongoing care keeps the timer accurate and reliable in everyday use. This guide covers key areas for smooth operation.
Firmware Updates
Firmware updates improve the timer’s features and fix bugs. Keep the device software current to avoid problems.
Updates often add new functions and improve battery life. Install them as soon as they are available from the manufacturer.
- Check for updates regularly
- Use a stable internet connection
- Follow update instructions carefully
- Restart the timer after updating
Remote Troubleshooting
Remote troubleshooting lets you fix issues without physical access. This saves time and reduces downtime.
Use apps or web portals provided by the timer maker. They help diagnose problems and change settings remotely.
- Connect the timer to Wi-Fi
- Access the device through the app
- Run diagnostic tests
- Change settings if needed
- Contact support if issues persist
User Feedback Integration
User feedback helps improve smart kitchen timers over time. Listening to users shows what works and what needs fixing.
Collect feedback via surveys or app reviews. Use this data to plan updates and improve the timer’s design and functions.
- Ask users about ease of use
- Identify common problems
- Track feature requests
- Update firmware based on feedback
- Communicate changes to users

Credit: www.amazon.com.au
Frequently Asked Questions
How Do I Set A Smart Kitchen Timer Quickly?
To set a smart kitchen timer quickly, use voice commands or preset options. Most smart timers support apps for easy programming. This saves time and ensures accuracy when cooking multiple dishes simultaneously.
Can Smart Kitchen Timers Be Programmed For Multiple Dishes?
Yes, smart kitchen timers can handle multiple dish timers simultaneously. You can label each timer, making it easy to track different cooking times. This feature prevents overcooking and helps manage complex meals efficiently.
What Are Common Programming Mistakes To Avoid?
Avoid setting incorrect time units or forgetting to start the timer. Ensure the device is connected to Wi-Fi if required. Double-check settings before cooking to prevent timing errors and food waste.
Are Smart Kitchen Timers Compatible With Other Smart Devices?
Most smart kitchen timers integrate well with smart home systems like Alexa or Google Home. This compatibility allows voice control and automation for a seamless cooking experience. Check device specs for specific integrations.
Conclusion
Programming smart kitchen timers can make cooking easier and faster. Simple steps help you set accurate times for any recipe. This saves energy and prevents food from burning. Using timers correctly keeps your kitchen safe and organized. Practice a few times to get comfortable with your device.
Soon, you will enjoy cooking with less stress and better results. Smart timers are tools that help, not complicate. Try these tips and see how smooth your cooking can become.