
Are you tired of overcooked meals or forgotten timers while you’re busy in the kitchen? Imagine having a smart kitchen timer that takes the stress out of cooking and helps you perfect every dish.
Learning how to program these timers can save you time, reduce mistakes, and make your cooking experience smoother. You’ll discover simple steps to set up your smart kitchen timer so it works exactly how you need it. Keep reading to unlock the secret to smarter, easier cooking!
Choosing The Right Smart Kitchen Timer
Smart kitchen timers help you cook with more control and ease. Picking the right timer makes cooking simple and fun.
There are many timers with different features. Knowing what to look for helps you find one that fits your needs.
Features To Look For
Good smart timers should have clear displays and easy controls. Look for timers that beep loudly or flash when time is up.
Some timers offer multiple timers at once. This helps when cooking many dishes together.
- Large, easy-to-read display
- Loud alarm sounds or visual alerts
- Multiple timers for different tasks
- Simple buttons or touch controls
- Battery life or rechargeable options
Compatibility With Smart Devices
Check if the timer works with your phone or smart home system. Compatibility lets you control the timer remotely.
Some timers connect via Bluetooth or Wi-Fi. Choose one that fits your device type for easy setup.
- Works with iOS or Android devices
- Connects via Bluetooth or Wi-Fi
- Compatible with smart assistants like Alexa or Google
- Easy app control and notifications
- Automatic updates for new features
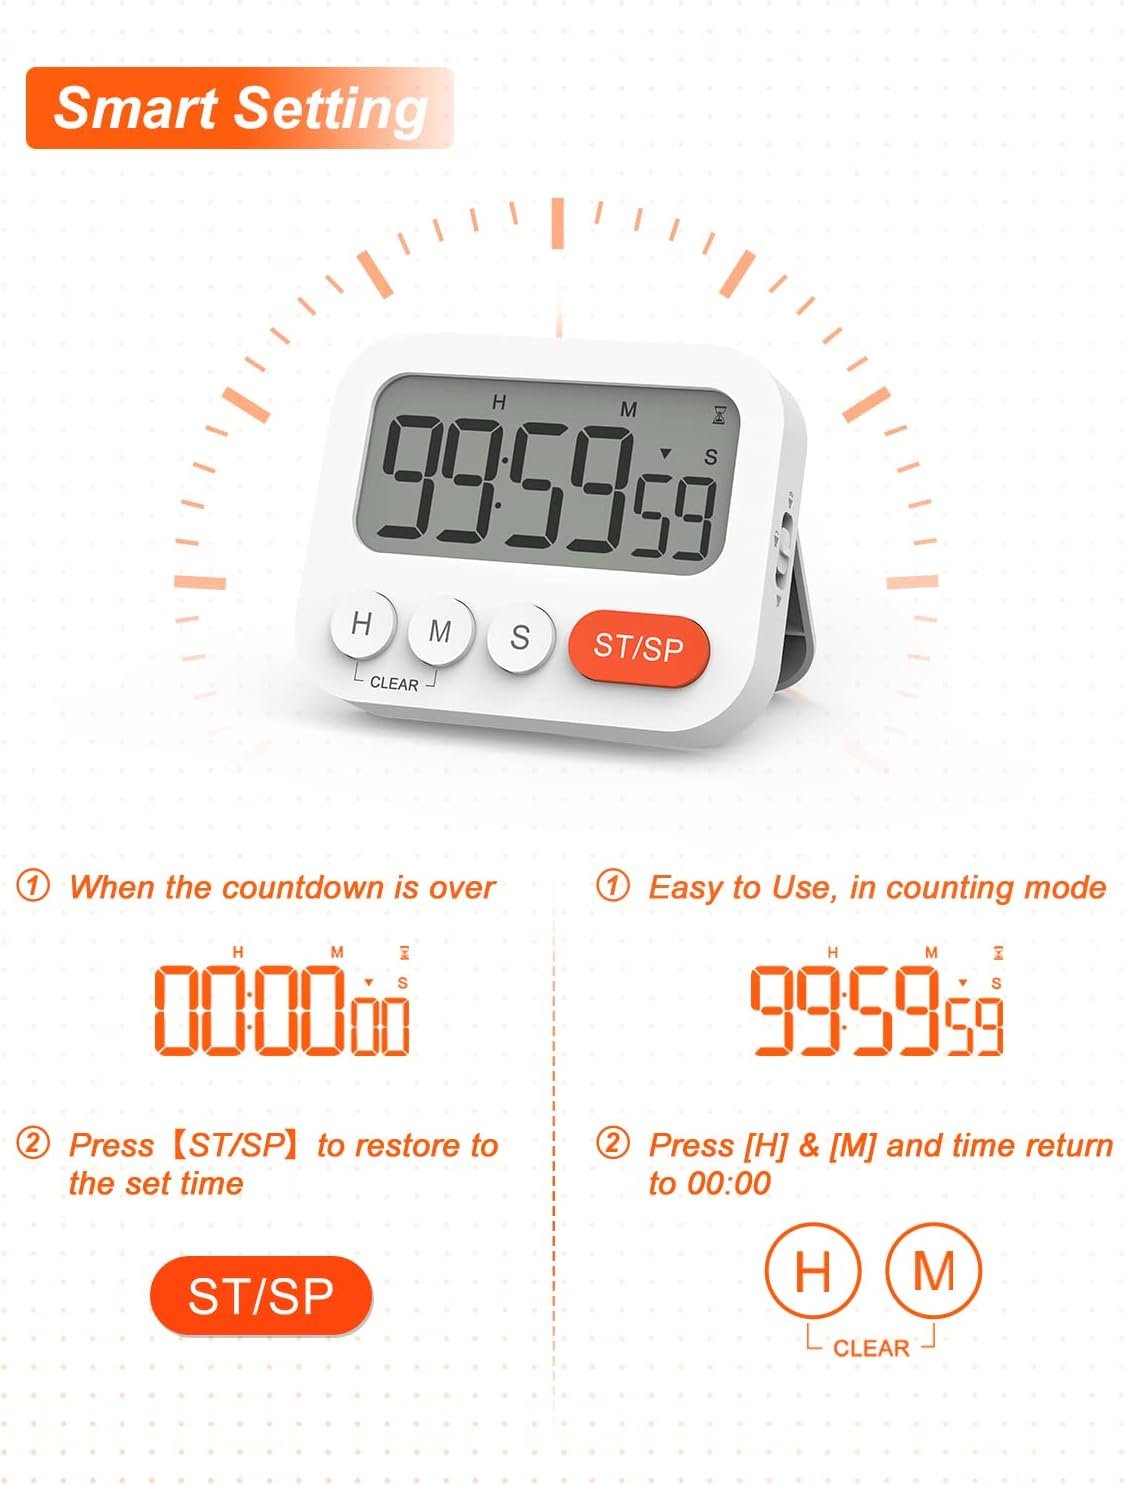
Credit: www.amazon.com
Setting Up Your Smart Kitchen Timer
Smart kitchen timers help you cook with perfect timing. Setting them up is easy and quick.
Follow these steps to connect your timer and start using its smart features.
Connecting To Wi-fi
First, turn on your smart kitchen timer. Find the Wi-Fi settings in its menu.
Choose your home Wi-Fi network. Enter the password carefully to connect.
- Make sure your Wi-Fi signal is strong near the timer
- Use a 2.4 GHz network if your timer does not support 5 GHz
- Wait for confirmation that the timer is connected
Syncing With Mobile Apps
Download the timer’s app on your phone. Open the app and create an account.
Follow app instructions to sync it with your timer. This lets you control the timer remotely.
- Turn on Bluetooth if needed
- Keep your phone near the timer during setup
- Check for app updates to ensure smooth syncing
Programming Cooking Times
Smart kitchen timers help you cook food for the right amount of time. You can set the timer to avoid overcooking or undercooking meals.
These timers often include preset options and allow you to customize cooking durations. Learning to program them saves time and improves cooking results.
Using Preset Options
Many smart kitchen timers have preset cooking times for common foods. These presets make it easy to start the timer quickly.
You just select the food type, and the timer sets the ideal cooking time automatically.
- Select the preset button for your food.
- Check the suggested cooking time on the display.
- Press start to begin the countdown.
- Adjust if your recipe needs a different time.
Customizing Cooking Durations
You can set your own cooking times if presets do not fit your recipe. Custom times work well for special dishes or personal preferences.
Use the timer buttons or touchscreen to enter the exact minutes and seconds you want.
- Press the custom time option.
- Use plus or minus buttons to set minutes.
- Set seconds if needed.
- Start the timer and watch it count down.

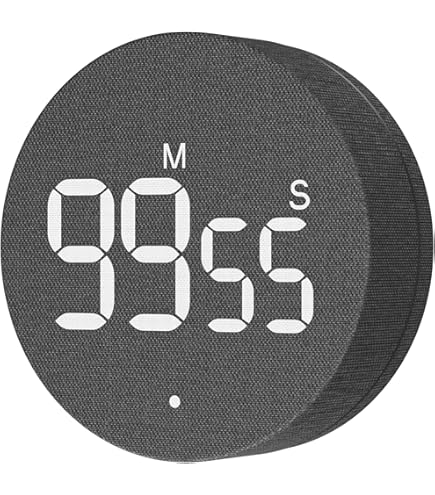
Credit: nutsrvph.com
Utilizing Advanced Timer Features
Smart kitchen timers help you cook with better control. They offer features beyond simple countdowns.
Using these advanced features can improve your cooking results and save time in the kitchen.
Multi-stage Cooking
Multi-stage cooking lets you set different cooking times for each step. It is useful for recipes needing varied heat levels.
You can program the timer to alert you when to change temperature or add ingredients. This keeps your cooking precise and easy.
- Set a timer for boiling, then one for simmering
- Adjust alerts to remind you when to stir or check food
- Use pause and resume functions to manage interruptions
Integration With Smart Home Systems
Smart kitchen timers can connect with your home’s smart system. This allows voice control and automation.
You can start, stop, or check timers using voice assistants or smartphone apps. This makes cooking hands-free and safer.
- Link timers with devices like Amazon Alexa or Google Home
- Receive alerts on your phone or smart speakers
- Automate timers to start with kitchen appliances
Troubleshooting Common Issues
Smart kitchen timers help make cooking easier. Sometimes, they may not work as expected.
Knowing how to fix common problems saves time and frustration.
Connectivity Problems
Smart timers need a good connection to work right. If the timer does not connect, check your Wi-Fi first.
Make sure the timer is close to your router. Walls and appliances can block signals.
- Restart your router and timer to refresh connections
- Check if your Wi-Fi password is correct
- Update the timer’s firmware if available
- Avoid interference from other wireless devices
App Syncing Errors
Smart timers often sync with apps on phones or tablets. If syncing fails, check your app version.
Close and reopen the app. Make sure your device has internet access.
- Log out and log back into the app
- Clear the app cache to remove old data
- Restart your phone or tablet
- Check for app updates in the app store
- Uninstall and reinstall the app if needed
Tips For Precision Cooking
Using a smart kitchen timer helps you cook food exactly right. It stops overcooking or undercooking your meals.
Learning how to program timers improves your cooking skills. You get better taste and texture every time.
Optimizing Timer Settings
Set the timer based on the recipe’s exact cooking time. Adjust for your stove or oven’s heat level.
Use the timer’s sound or vibration alerts to avoid missing the end. This helps keep your food from burning.
- Check your device’s time accuracy before cooking
- Use countdown mode for precise finish times
- Set short timers for delicate tasks like boiling eggs
- Increase timer length for slow cooking or baking
Leveraging Multiple Timers
Use more than one timer if you cook multiple dishes. This helps you manage different cooking times easily.
Assign a timer for each step in complex recipes. It keeps you on track and prevents mistakes.
- Start timers for sauces, sides, and main dishes separately
- Label timers if your device allows to avoid confusion
- Pause and reset timers as needed for recipe changes
- Use timers to time resting or cooling periods too
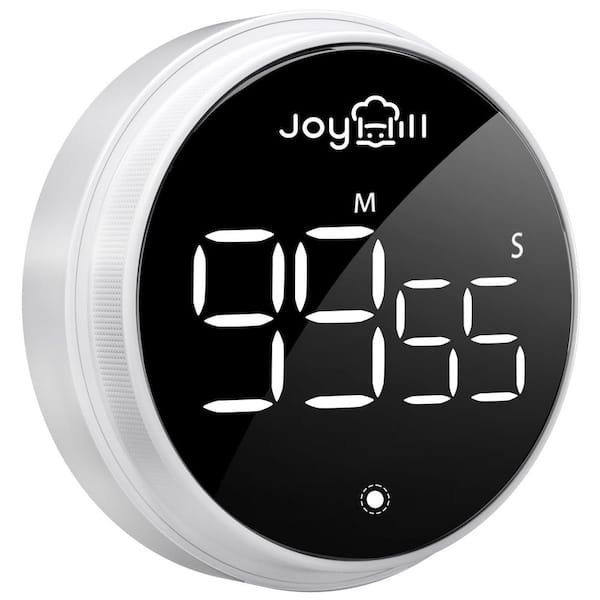
Credit: www.homedepot.com
Frequently Asked Questions
How Do I Set A Smart Kitchen Timer?
To set a smart kitchen timer, use the app or voice command. Choose the desired time and start the timer. The device will alert you when the time ends.
Can Smart Kitchen Timers Connect To Other Devices?
Yes, many smart kitchen timers can connect via Wi-Fi or Bluetooth. This allows synchronization with smartphones, smart speakers, and other smart home devices for seamless control.
Are Smart Kitchen Timers Easy To Program?
Smart kitchen timers are designed for easy programming. Most have intuitive apps or voice activation, making it simple for anyone to set cooking times quickly.
What Features Should I Look For In Smart Timers?
Look for features like multiple timers, voice control, app integration, and loud alarms. These enhance convenience and help manage cooking tasks efficiently.
Conclusion
Programming smart kitchen timers can save time and reduce stress. You control cooking with clear, simple steps. Set timers quickly to avoid overcooking or burning food. This helps you cook meals perfectly every time. Using smart timers makes kitchen work easier and more fun.
Try these tips today and enjoy better cooking results. Small changes can bring big improvements to your cooking routine. Cooking smarter, not harder.