
Are you tired of overcooked meals or forgotten timers ruining your cooking? Using a kitchen timer might seem simple, but mastering it can change the way you cook.
Imagine finishing your dishes perfectly every time, saving you stress and wasted food. In this post, you’ll discover easy tips to use your kitchen timer like a pro. These tricks will help you stay on track, save time, and boost your confidence in the kitchen.
Keep reading to unlock the secrets of efficient timer use and transform your cooking experience.

Credit: www.amazon.com.au
Choosing The Right Kitchen Timer
A kitchen timer helps you keep track of cooking times. Picking the right one can make cooking easier and more fun.
There are many types of timers. Understanding their features helps you find the best fit for your needs.
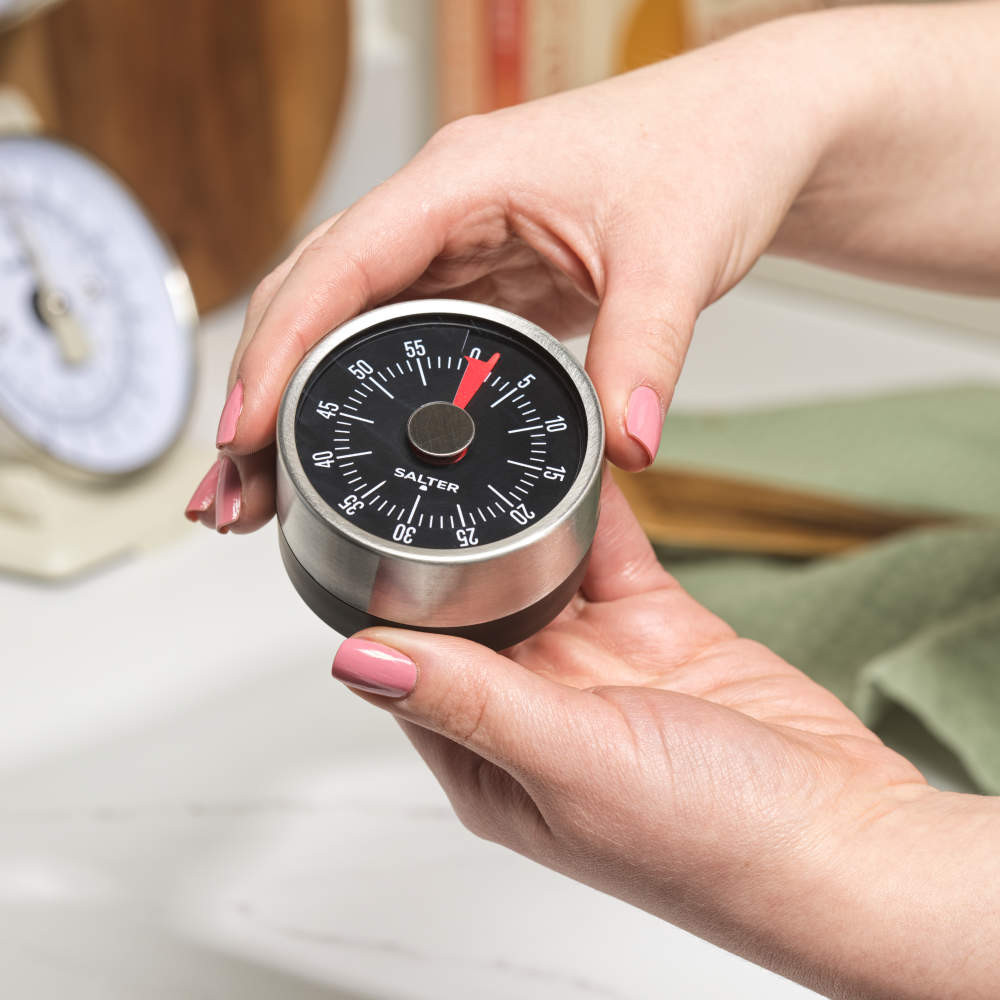
Digital Vs. Analog
Digital timers show time on a screen. They are easy to read and set. Analog timers use a dial you turn to set time.
Digital timers usually have more features. Analog timers are simple and do not need batteries.
- Digital timers give exact time and can count up or down
- Analog timers are simple, with a loud ticking sound
- Digital timers often have a louder alarm
- Analog timers work without batteries or electricity
Key Features To Consider
Look for features that match your cooking style. A good timer is easy to use and fits your kitchen setup.
- Clear display for easy reading
- Simple buttons or dials for quick setting
- Strong alarm sound that you can hear from another room
- Compact size to save counter space
- Battery life or power source type
- Extra functions like clock or multiple timers
Setting Accurate Time Intervals
Using a kitchen timer helps you cook food perfectly. Setting the right time keeps food from burning or being undercooked.
Knowing how to set time intervals correctly is important. It makes your cooking easier and tastier.
Understanding Recipe Timing
Recipes give a time to cook or bake food. This time is based on common kitchen tools and normal conditions.
Follow the recipe time closely but watch your food. Sometimes you need to add or reduce time for best results.
- Read the whole recipe before starting
- Set the timer for the exact minutes given
- Check food a few minutes before timer ends
- Adjust time if food looks done early or late
Adjusting For Altitude And Equipment
Altitude changes how food cooks. High places cook food slower, so you may need more time.
Different ovens and stoves heat unevenly. Your timer might need changes based on your kitchen tools.
| Condition | Time Adjustment |
|---|---|
| High Altitude (above 3,000 ft) | Add 5-10 minutes to baking time |
| Gas Oven | Check food 5 minutes early |
| Electric Oven | Follow recipe time closely |
| Old or uneven oven | Rotate food halfway through cooking |
Integrating Timers Into Meal Prep
Using a kitchen timer helps keep track of cooking times for different dishes. It prevents overcooking and saves energy.
Timers make meal preparation more organized. You can focus on other tasks while your food cooks perfectly.
Coordinating Multiple Dishes
When cooking many dishes at once, timers help you manage each item’s cooking time. This keeps all food ready at the same moment.
Set timers for each dish based on their cooking times. Check on dishes only when timers go off to avoid guesswork.
- Start dishes with the longest cooking time first
- Use separate timers or a multi-timer device
- Note cooking times on a paper or phone
- Adjust timers if you pause or move dishes
Efficient Batch Cooking
Batch cooking saves time by preparing large amounts of food at once. Timers help you keep track of each batch’s cooking time.
Set timers for each batch to avoid burning or undercooking. This keeps all meals safe and tasty to eat later.
- Cook similar foods together to save time
- Use timers to monitor oven or stove time
- Label cooked batches with cooking dates
- Cool food quickly after cooking to keep freshness
Using Timers For Food Safety
Using a kitchen timer helps keep food safe to eat. It reminds you when cooking time is done.
Timers reduce the risk of food sitting out too long. This stops bacteria from growing.
Avoiding Overcooking And Undercooking
Cooking food for the right time keeps it safe and tasty. Overcooking can dry food out.
Undercooking can leave harmful bacteria alive. Timers help you cook food fully and safely.
- Set timer for exact cooking time
- Check food when timer rings
- Adjust timer for different recipes
Maintaining Proper Temperature
Food must reach a safe temperature to kill bacteria. Timers help track cooking time closely.
Use a timer with a thermometer for best results. This ensures food stays at safe heat.
- Start timer when food reaches cooking temperature
- Keep food at safe temperature during cooking
- Use timer alerts to check food temperature
Enhancing Baking With Timers
Using a kitchen timer helps bakers manage their baking process well. It keeps track of time so you don’t overbake or underbake your goods.
A timer improves your chances of perfect results by reminding you when to check or remove items from the oven.
Perfecting Rise And Bake Times
Set your timer to match the exact rise and bake times in your recipe. This helps dough rise just right and bake evenly.
Check the dough or batter at the timer’s alert to avoid missing the best moment to move to the next step.
- Use the timer for proofing dough to prevent over or under rising.
- Adjust bake times based on your oven’s heat accuracy.
- Pause and reset the timer if you need more rising or baking time.
Timing For Consistent Results
Timers help you bake with the same quality every time. Consistent timing means your baked goods will have steady texture and flavor.
Keep a timer nearby to track each stage, like mixing, rising, and baking. This habit makes your baking more reliable.
- Record your ideal baking times and use a timer to match them.
- Use the timer for resting dough to keep it from drying out.
- Set alarms for checking doneness to avoid burnt or raw centers.
Credit: salter.com
Creative Uses Beyond Cooking
A kitchen timer is not just for cooking. It helps with many kitchen tasks. Using it in new ways can save time and stress.
Try timing other kitchen chores or baking steps. This makes your work more organized and efficient.
Timing Kitchen Clean-up
Set the timer to limit clean-up time after meals. This helps keep the kitchen tidy without spending too long.
Short timed sessions make cleaning easier and less tiring. You can focus on one area at a time.
- Set timer for 10-15 minutes
- Focus on clearing counters and washing dishes
- Stop when timer rings, then take a break
- Repeat if needed to finish cleaning
Managing Rest Periods For Dough
Use a timer to track dough rest times. Proper timing helps dough rise and develop flavor.
The timer reminds you when to check or work the dough again. This prevents over or under resting.
- Set timer for the recommended rest time
- Use alerts to knead or shape dough on time
- Adjust timer based on room temperature or recipe needs
Troubleshooting Common Timer Issues
Kitchen timers help you cook food for the right time. Sometimes, timers do not work as expected. This guide shows how to fix common problems.
Fixing small issues can save time and avoid food burning. Check the tips below for easy solutions.
Battery And Power Problems
Many kitchen timers use batteries. If your timer does not turn on or stops working, check the battery first. Weak batteries can cause the timer to fail.
Replace the battery with a new one. Make sure it fits correctly. Clean the battery contacts if they are dirty or rusty. This helps the timer get power without interruption.
- Remove old batteries carefully.
- Use the correct battery type.
- Clean battery contacts with a dry cloth.
- Check for loose battery connections.
- Test the timer after replacing batteries.
Inaccurate Timekeeping Solutions
If your timer rings too early or late, it may be inaccurate. Some timers lose time if they are old or broken. Resetting the timer can help fix this issue.
Keep the timer away from strong magnets or electrical devices. These can affect its accuracy. Use a simple mechanical timer if electronic ones do not work well.
- Reset the timer by turning it off and on.
- Test timing with a clock or phone stopwatch.
- Avoid placing the timer near magnets or TVs.
- Replace old timers if they lose time often.
- Use mechanical timers for better accuracy.

Credit: salter.com
Frequently Asked Questions
How Can I Set A Kitchen Timer Accurately?
To set a kitchen timer accurately, first select the desired time. Press the start button immediately after setting. Avoid distractions to prevent incorrect timing. Use clear, easy-to-read timers for precision. This ensures your cooking is perfectly timed and prevents overcooking or burning.
What Are The Best Kitchen Timers For Efficiency?
The best kitchen timers are digital, loud, and easy to use. Look for timers with clear displays and multiple timing options. Magnetic backs or stands add convenience. Efficient timers help monitor cooking times closely, improving kitchen productivity and food quality.
How Does A Kitchen Timer Improve Cooking Results?
A kitchen timer prevents overcooking by alerting you when time’s up. It helps manage multiple dishes simultaneously. Using timers ensures consistent results and reduces stress. Accurate timing makes meals tastier and saves energy by avoiding unnecessary reheating.
Can I Use A Smartphone As A Kitchen Timer?
Yes, smartphones have built-in timer apps that are easy to use. They offer customizable alarms and multiple timers for complex cooking. Using a smartphone timer is convenient but ensure it’s charged and within hearing range for best results.
Conclusion
Using a kitchen timer well saves time and reduces stress. Set clear times for each task. Keep the timer close to your workspace. Check it often to stay on track. Short breaks help keep focus sharp. A timer stops food from burning or overcooking.
It also helps in multitasking safely. Practice makes using it easy and natural. Small steps lead to better cooking habits. Try these tips and enjoy smoother kitchen work.