
Your kitchen timer is more than just a tool—it’s your secret weapon for perfect meals every time. But have you ever noticed it starting to lose accuracy or stop working altogether?
If you want your timer to keep ticking smoothly and help you cook like a pro, you need to take good care of it. You’ll discover simple, practical tips to maintain your kitchen timer and ensure it lasts for years.
Keep reading, and you’ll never have to worry about overcooked dinners or missed reminders again!

Credit: www.amazon.com
Choosing The Right Kitchen Timer
A kitchen timer helps you cook food for the right time. It stops you from overcooking or burning meals.
Picking the right timer makes your cooking easier and more fun. There are many types to choose from.
Digital Vs. Analog
Digital timers use numbers on a screen. They show exact time and often have extra features.
Analog timers have a dial you turn. They are simple and do not need batteries.
- Digital timers are easy to read and set.
- Analog timers are usually louder when time ends.
- Digital timers may have memory for repeat timing.
- Analog timers are more classic and durable.
Features To Consider
Look for features that fit your cooking style and kitchen needs. Some features help with accuracy and ease.
Battery life, sound volume, and timer length are key points to check before buying.
- Long timer range for slow cooking or baking
- Loud alarm for noisy kitchens
- Clear display or dial for easy reading
- Magnet or stand for easy placement
- Simple buttons for quick setting
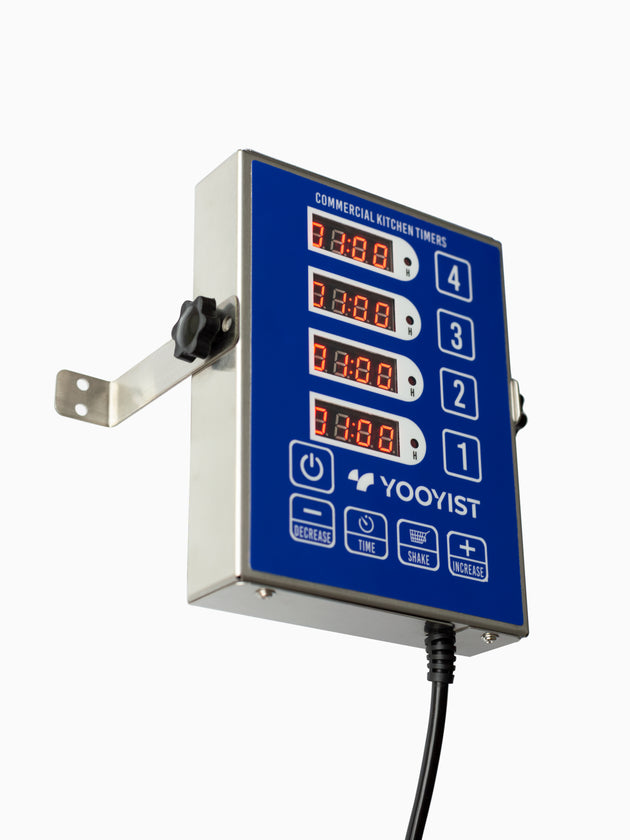
Credit: www.yooyisttimers.com
Proper Usage Techniques
Keeping a kitchen timer working well needs the right use. Using it properly helps it last longer and stay accurate.
Follow simple steps to set the time right and avoid wearing out the timer too fast.
Setting Accurate Time
Always set the timer to the exact time you need. This stops food from being overcooked or undercooked.
Turn the dial or press buttons gently. Avoid forcing the controls to keep them working well.
- Check the timer’s display before starting
- Use clear numbers for easy reading
- Set only the needed time, no more
- Turn knobs smoothly without extra pressure
Avoiding Overuse
Do not keep the timer running longer than necessary. Overusing can wear out the parts inside.
Give the timer breaks if you use it many times in a row. This helps it stay accurate and last longer.
- Use the timer only when you need it
- Turn it off after the alarm rings
- Avoid pressing buttons too fast or too often
- Store the timer safely when not in use
Cleaning And Care
Keeping your kitchen timer clean helps it work well for a long time. Dirt and dust can stop it from working properly.
Simple care steps can protect your timer from damage. Clean it gently and avoid harmful conditions.
Cleaning Methods
Use a soft cloth to wipe the outside of your timer. This removes dust and food particles safely.
If needed, dampen the cloth slightly with water or mild soap. Do not soak the cloth to avoid moisture inside the timer.
- Use a dry, soft cloth for daily cleaning
- Damp cloth with mild soap for sticky spots
- Use a dry toothbrush for small crevices
- Avoid abrasive cleaners or rough scrubbers
Avoiding Water Damage
Keep your kitchen timer away from water sources. Water can damage the internal parts and stop it from working.
Do not immerse your timer in water or place it near the sink. Use a dry cloth only for cleaning.
- Keep timer away from sinks and wet surfaces
- Never submerge the timer in water
- Dry hands before using the timer
- Store timer in a dry place after use
Battery Maintenance
Keeping your kitchen timer working well needs good battery care. Batteries power the timer and keep it accurate.
Checking and changing batteries can stop the timer from losing power or breaking.
Types Of Batteries
Kitchen timers use different battery types. Knowing the type helps you buy the right ones.
Common types include alkaline, lithium, and rechargeable batteries. Each type lasts different times.
- Alkaline batteries:Easy to find and affordable.
- Lithium batteries:Last longer but cost more.
- Rechargeable batteries:Can be used many times.
Replacing Batteries
Change batteries when the timer shows low power or stops working. Old batteries can leak and damage the timer.
Turn off the timer before replacing batteries. Use the same type of battery as before for best results.
- Open the battery cover carefully.
- Remove old batteries and dispose of them properly.
- Insert new batteries in the right direction.
- Close the cover securely.
- Test the timer to make sure it works.
Storage Tips
Keeping your kitchen timer in good shape helps it work well for a long time. Proper storage is key to avoid damage.
Storing the timer carefully protects its parts and keeps it clean. Follow these tips to store your timer safely.
Ideal Storage Conditions
Store your kitchen timer in a dry place. Moisture can cause rust or damage its electronics.
Keep it away from dust and dirt. Use a small container or drawer to protect it from debris.
- Dry and clean area
- Use a box or drawer
- Avoid places with grease or food spills
Avoiding Extreme Temperatures
Do not store your timer in very hot or cold places. Extreme temperatures can harm the timer’s parts.
Avoid placing it near ovens, stoves, or windows with direct sunlight. These spots can cause heat damage.
- Keep away from heat sources
- Do not leave in cold garages or basements
- Store at room temperature for best care
Troubleshooting Common Issues
Kitchen timers help you cook food on time. Sometimes, they stop working right. Knowing how to fix them saves time.
This guide explains how to handle common timer problems. It also tells you when to get expert help.
Handling Malfunctions
If your kitchen timer does not count down, check the batteries first. Dead batteries are the most common cause.
Clean the timer’s buttons if they stick. Dirt and grease can stop buttons from working well.
- Replace old batteries with fresh ones
- Wipe buttons with a soft, dry cloth
- Press buttons several times to test
- Reset the timer to factory settings if possible
If the timer screen is blank, check battery placement. Make sure batteries are inserted the right way.
For digital timers, avoid water exposure. Moisture can cause the timer to fail.
When To Seek Professional Help
Call a professional if your timer still does not work after basic fixes. Complex problems may need expert tools.
Do not open electronic timers yourself. This can cause damage or void the warranty.
- The timer does not turn on after battery change
- Buttons feel loose or broken
- The display is cracked or unreadable
- Timer works intermittently or stops randomly
A professional can safely repair or replace parts. They ensure your timer works well again.
Extending Timer Lifespan
Keeping your kitchen timer in good shape helps it last longer. Simple care can prevent damage and ensure it works well.
Use these tips to keep your timer running smoothly for many cooking tasks.
Regular Maintenance
Clean your kitchen timer often to remove dirt and grease. Wipe it with a soft, dry cloth after each use.
Avoid using water or harsh chemicals to clean. These can damage the timer’s surface and internal parts.
- Keep the timer dry and free from spills
- Store it in a cool, dry place
- Check and replace batteries if needed
- Turn the dial gently to avoid breaking it
Signs Of Wear And Tear
Watch for signs that your timer needs repair or replacement. Early detection helps prevent full failure.
Common signs include buttons sticking, numbers fading, or the timer not counting down correctly.
- Buttons or dials that don’t move smoothly
- Timer stops working suddenly or delays
- Visible cracks or damage on the timer case
- Battery leaks or corrosion inside the compartment

Credit: www.amazon.com
Frequently Asked Questions
How Often Should I Clean My Kitchen Timer?
Clean your kitchen timer monthly to prevent dirt buildup. Use a soft, damp cloth and mild soap. Avoid water entering internal parts. Regular cleaning ensures smooth functioning and extends its lifespan.
What Is The Best Way To Store A Kitchen Timer?
Store your kitchen timer in a dry, cool place away from heat. Avoid placing it near stovetops or sinks. Proper storage prevents damage from moisture and heat, maintaining its accuracy and durability.
How Do I Replace The Battery In A Kitchen Timer?
Open the battery compartment, usually at the back or bottom. Remove the old battery carefully and insert a new one matching the timer’s specifications. Replace the cover securely and test the timer for proper operation.
Can I Use A Kitchen Timer For Other Tasks?
Yes, kitchen timers are versatile and can track time for workouts, study sessions, or meetings. Their simple interface and loud alerts make them useful beyond cooking, helping improve time management in daily activities.
Conclusion
Maintaining your kitchen timer keeps it working well and lasting long. Clean it regularly to avoid dirt buildup. Check the batteries or wind it carefully. Store it in a dry place to prevent damage. Small efforts help save money on replacements.
A well-kept timer makes cooking easier and more fun. Remember, simple care goes a long way for your kitchen tools. Keep your timer ready for every recipe!